VMware
This article refers to Platform v2.9.0. The current Platform version is v3.3.0.
Overview
This guide walks you through installing Barbara OS on a VMware virtual machine. Two flavours are supported:
- VMware Workstation — single-machine virtualization for development and testing (Windows, macOS).
- VMware vSphere — datacenter-scale virtualization on ESXi hosts.
In both cases, the procedure is the same at a high level: download the Barbara OS image from Barbara Panel, attach the included virtual disk to a freshly created VM, switch the VM to EFI boot with Secure Boot disabled, and let Barbara OS boot.
Workstation is best for prototyping on a developer laptop. vSphere is the right choice when you need datacenter features (HA, vMotion, shared storage). The image and overall workflow are identical; only the hypervisor-specific steps differ.
Pre-requisites
- Download the Barbara OS image for VMware from Barbara Panel. If you cannot see the image you need, ask the platform administrator for access.
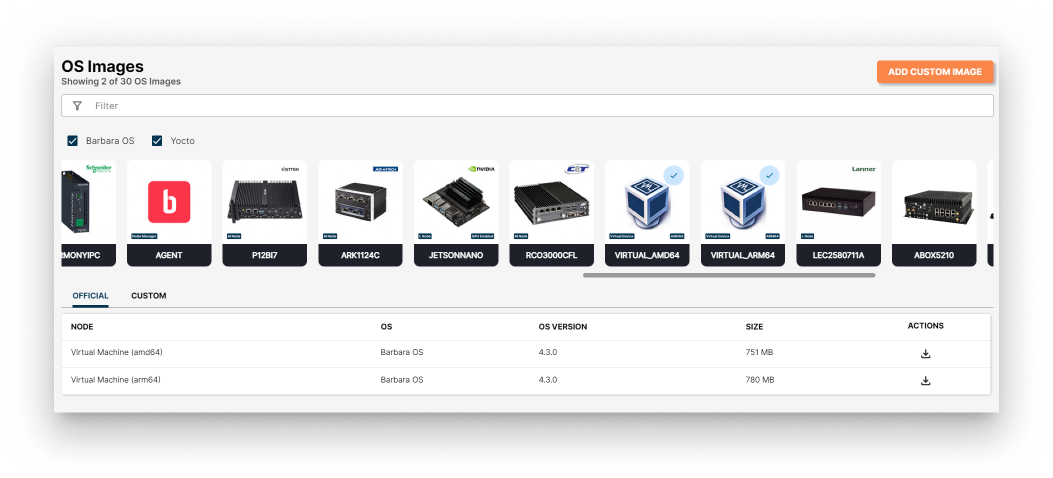
Download a VMware OS image from Barbara Panel
- Unzip the downloaded archive. You will use the resulting
.vmdkfile as the VM's primary disk.
Hardware requirements
Minimum
- RAM: 2 GB
- Disk: 32 GB
- CPU: 1 socket / 2 cores
- Network: 1 × Ethernet interface
Recommended
- RAM: 4 GB
- Disk: 64 GB
- CPU: 2 sockets / 2 cores
- Network: 2 × Ethernet interfaces
Workstation
Requirements
- VMware Workstation 17 or later.
Create the virtual machine
- Launch the New Virtual Machine wizard. From the Workstation main menu, choose File → New Virtual Machine.
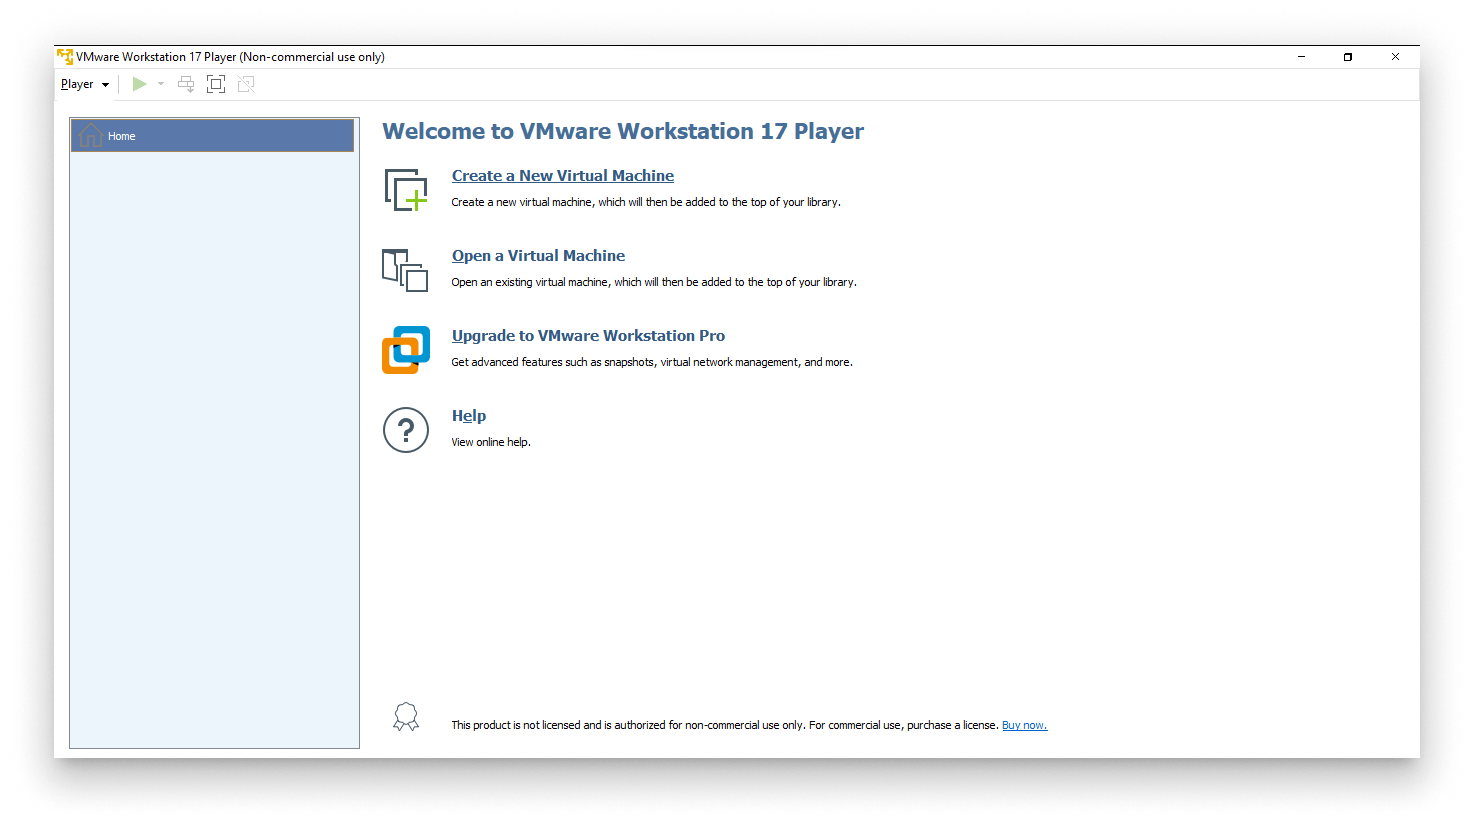
New Virtual Machine wizard
- Defer OS installation. Select I will install the operating system later — Barbara OS is already inside the downloaded virtual disk, so we don't need any installer media.
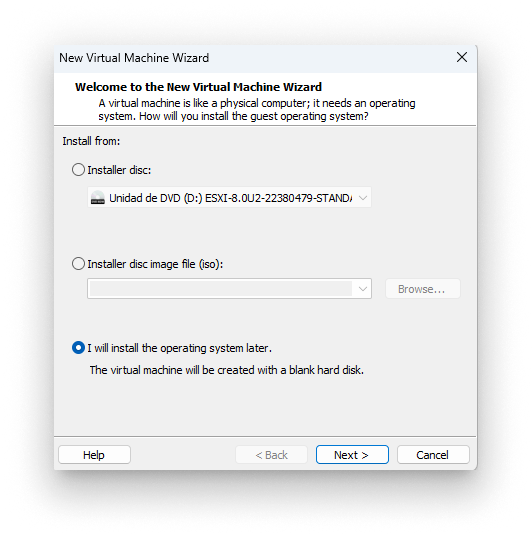
Install the operating system later
- Pick the guest OS. Choose Linux as the guest, and Other Linux 5.x kernel 64-bit as the version.
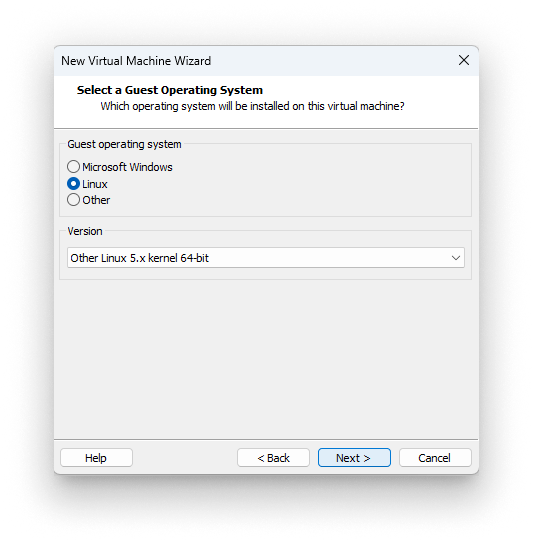
Select Linux as the guest OS
- Name the VM. Give it a descriptive name and choose a location on disk to store its files.
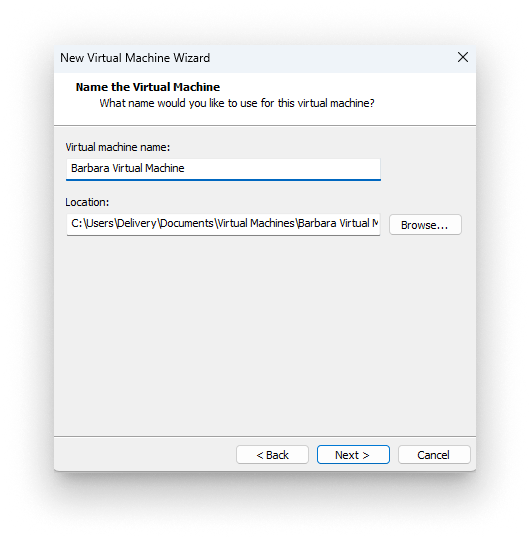
Name and location for the VM
- Set a maximum disk size of 32 GB and select Store virtual disk as a single file.
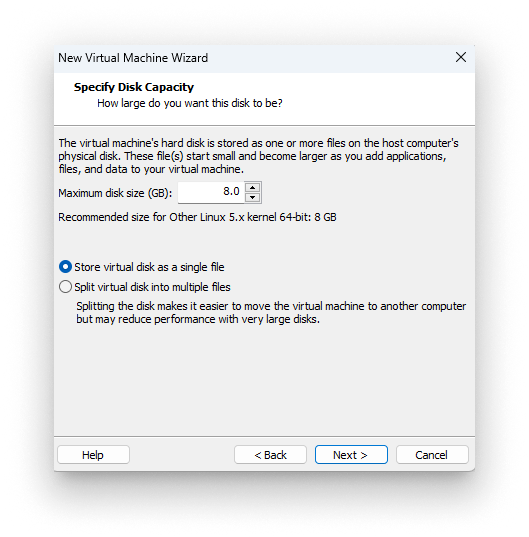
Virtual disk as single file
- Review the summary and click Finish to create the VM.
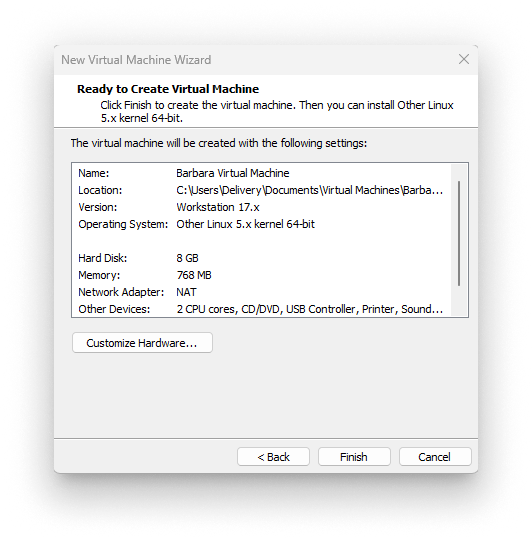
VM creation summary
Attach the Barbara OS disk
- Open the VM settings. Right-click the new VM and choose Edit Settings.

Edit VM settings
- Remove the default disk. In the Hardware tab, select the existing hard disk and click Remove.
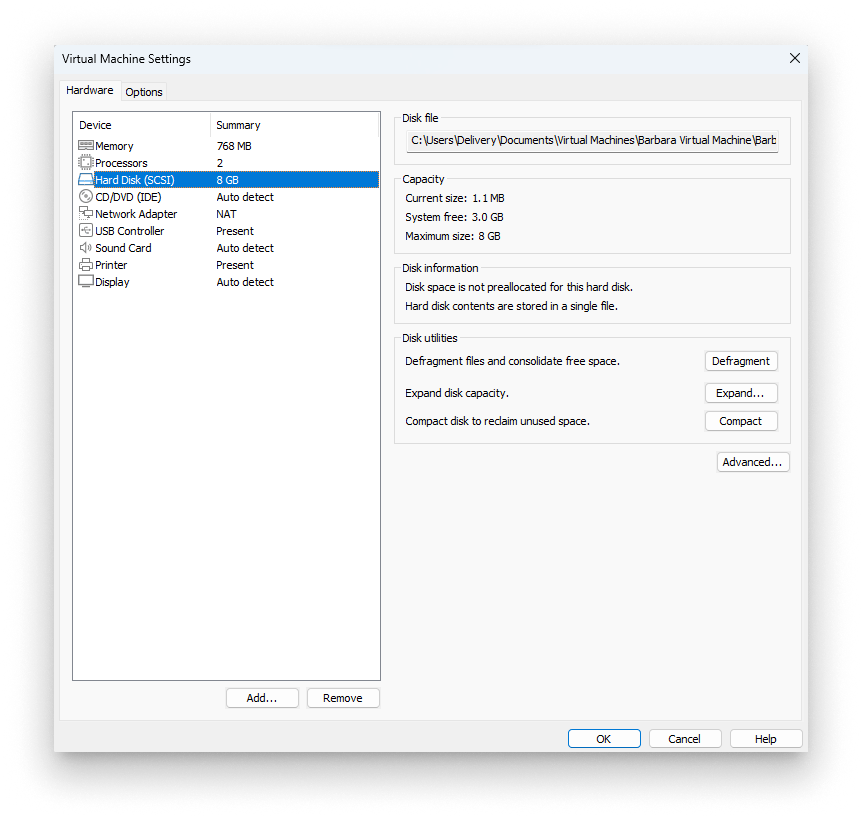
Remove the default disk
- Add an NVMe disk. Click Add and choose NVMe as the disk type.
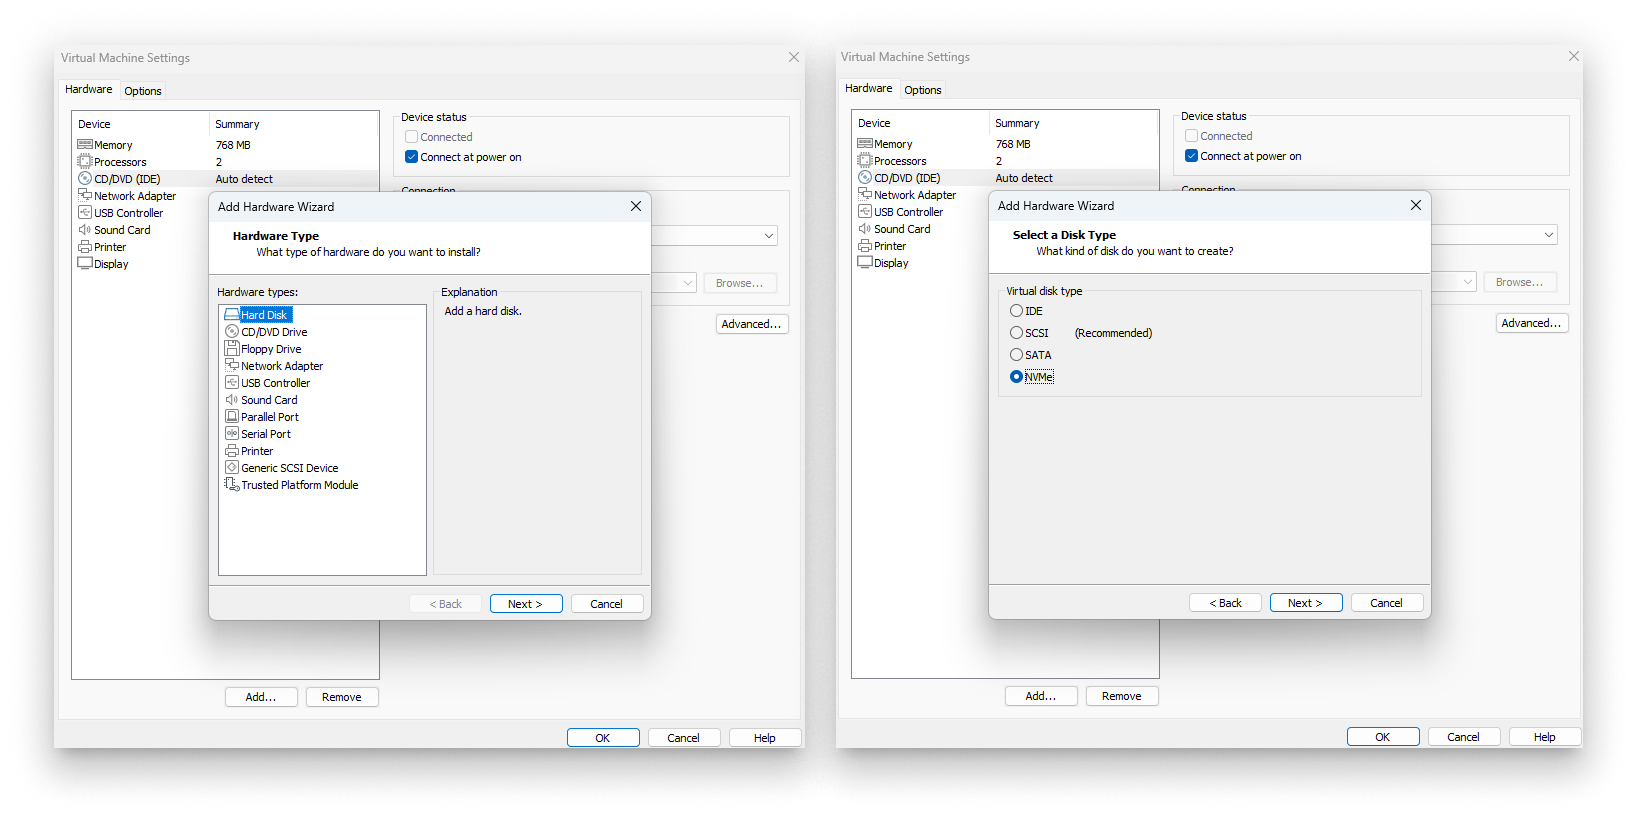
Add NVMe disk
- Pick the Barbara OS disk. Browse to the location where you unzipped the downloaded archive and select the
.vmdkfile.
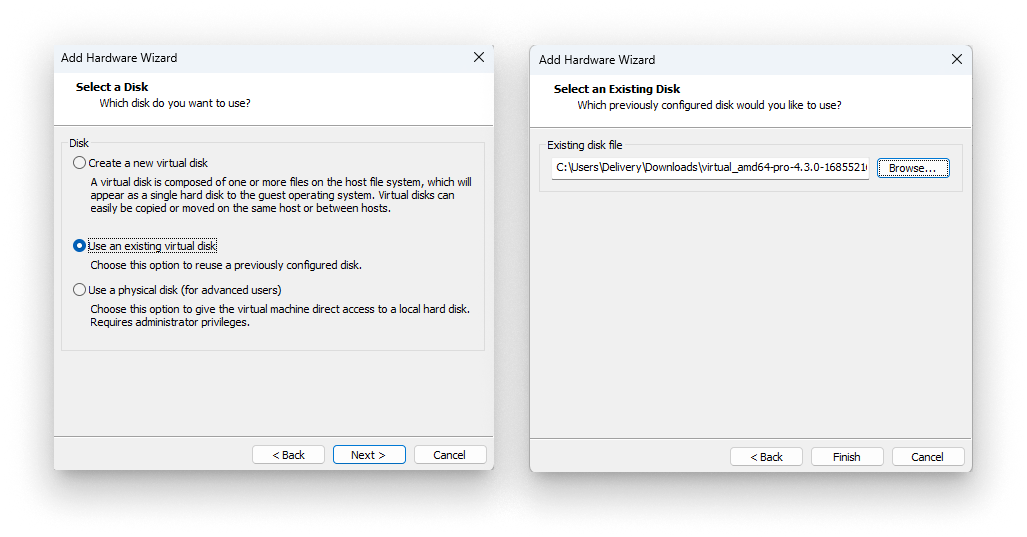
Select the Barbara OS .vmdk
- Keep the existing disk format if Workstation prompts you.
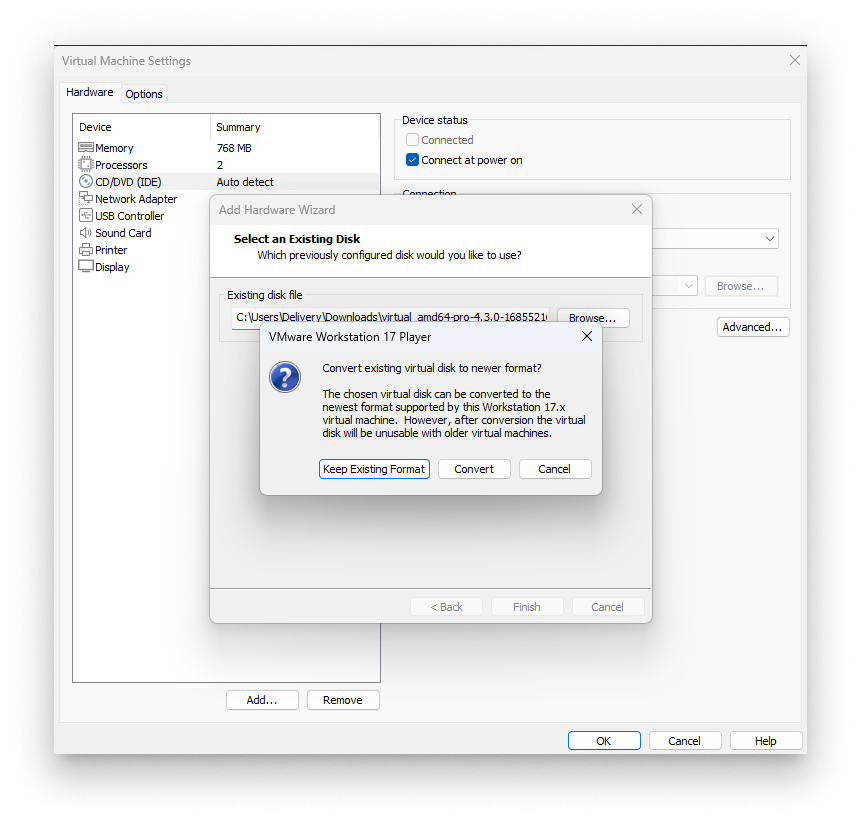
Keep existing disk format
Enable EFI boot
VMware Workstation does not expose a UI to enable EFI for new VMs, so we edit the .vmx descriptor by hand.
- Close VMware Workstation.
- Navigate to the folder where the VM is stored (typically
Documents/Virtual Machines/<name>).
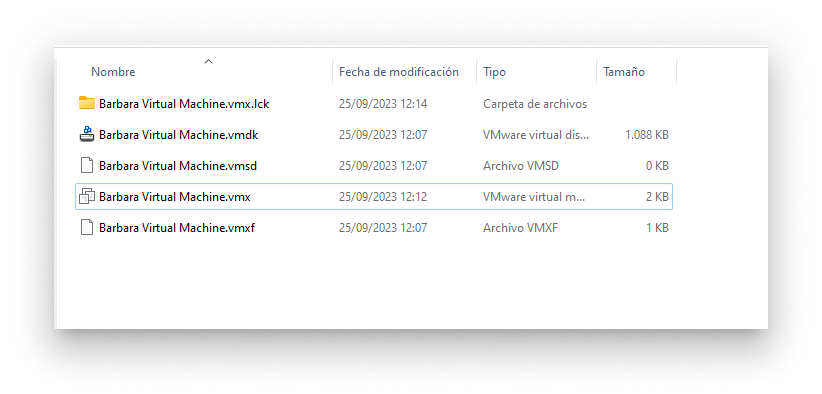
VM folder on disk
-
Open the
.vmxfile with a text editor (Notepad, TextEdit, etc.) and add the following line:firmware="efi"
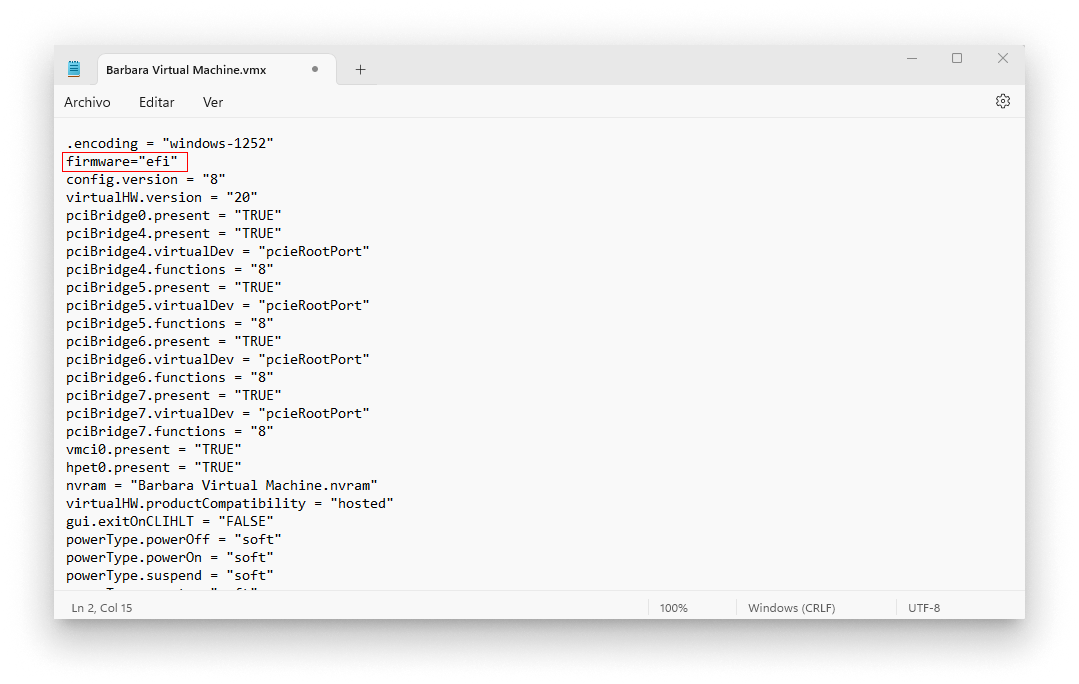
Editing the .vmx file
- Save the
.vmxfile. Skip to Start the virtual machine.
vSphere
Requirements
- ESXi 8.0
- VMware vCenter Server 8.0 U2
- VMware vCenter Converter 6.3.0
Convert the virtual disk
The .vmdk shipped in the Barbara Panel archive must be converted to a vSphere-native format before you can attach it to a VM.
With the vSphere Web Client
- Locate the datastore path. Open the vSphere web client, go to the storage section, and copy the path to the datastore that will host the VM files.
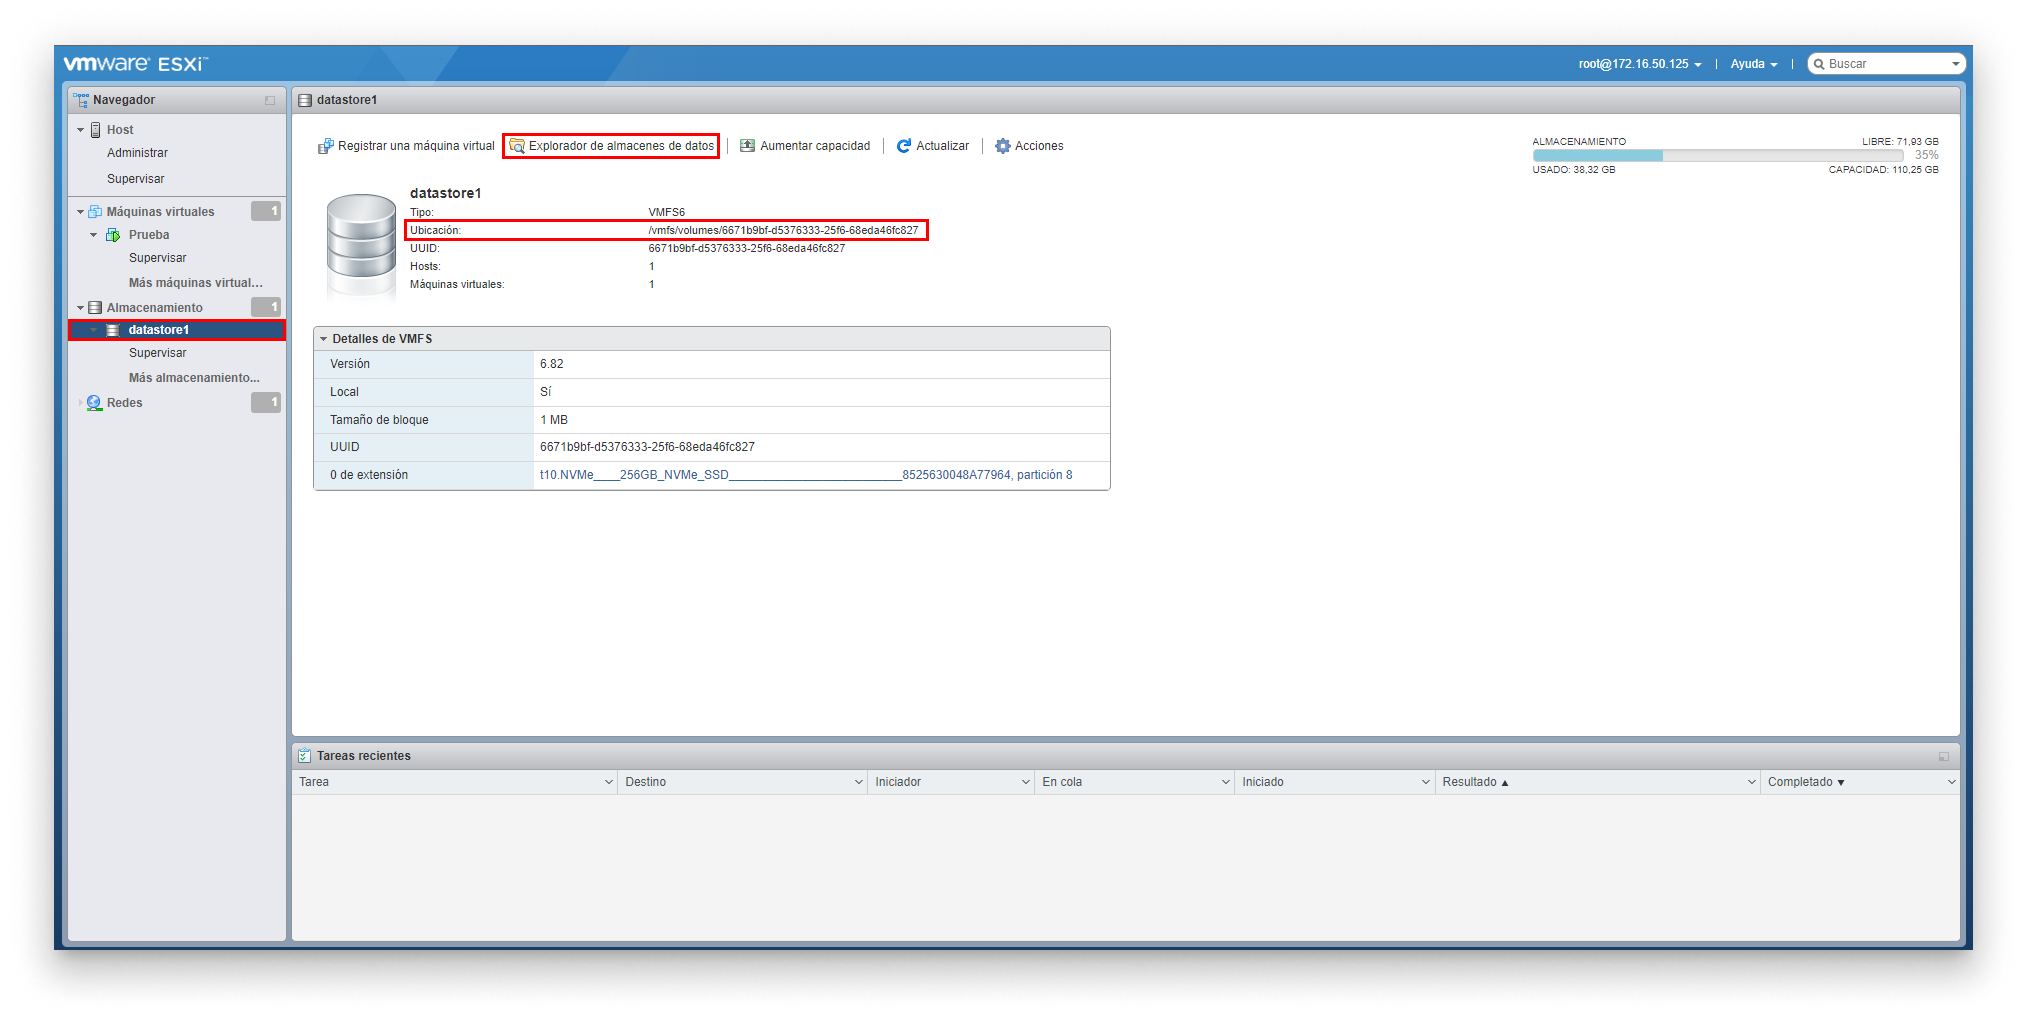
Datastore path
- Upload the original disk. Use the datastore browser to create a folder for the original disk, then upload the
.vmdkextracted from the Panel archive into that folder.
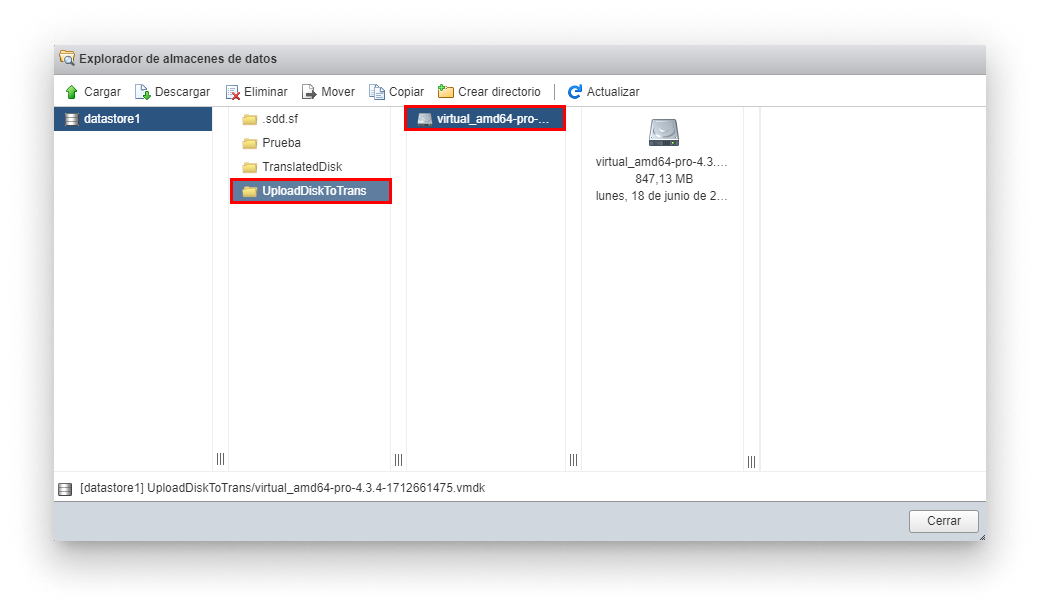
Upload the original disk
- Create the conversion folder. Create a second, empty folder in the same datastore to hold the converted disk.
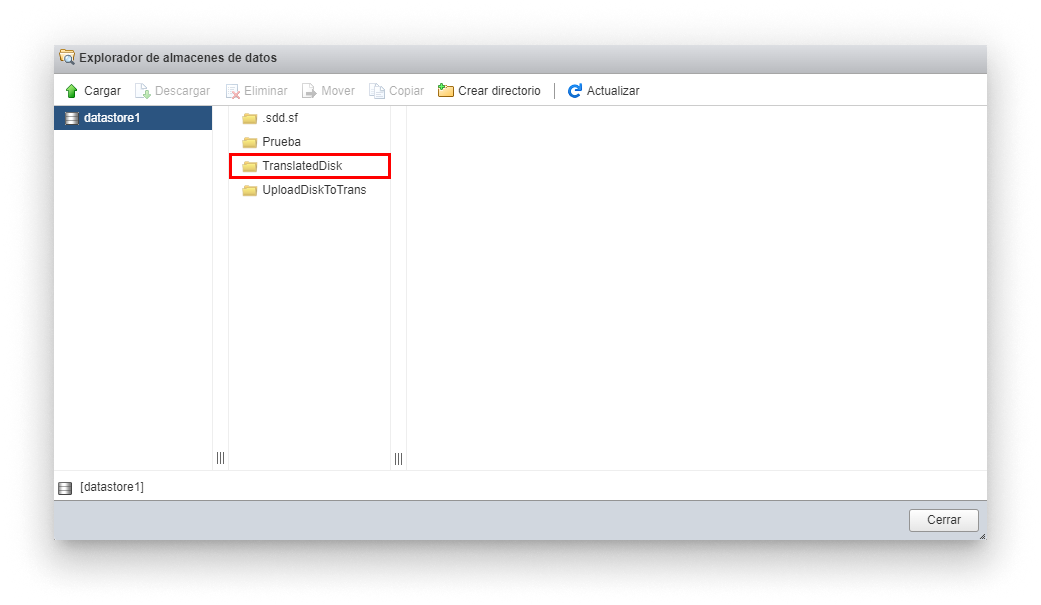
Conversion folder
Convert from the ESXi shell
- SSH into the ESXi host with administrative credentials.
- Navigate to the datastore with
cd, then list its contents to confirm both folders are present.
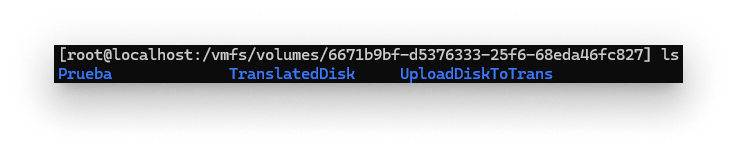
Check the datastore folders
-
Run the conversion. Replace
originalDiskPathandconvertedDiskPathwith the actual paths inside the datastore:vmkfstools -i originalDiskPath convertedDiskPath

Run vmkfstools to convert the disk
Create the virtual machine
- Start the New Virtual Machine wizard. In the vSphere client, right-click the target location and select New virtual machine → Create a new virtual machine.
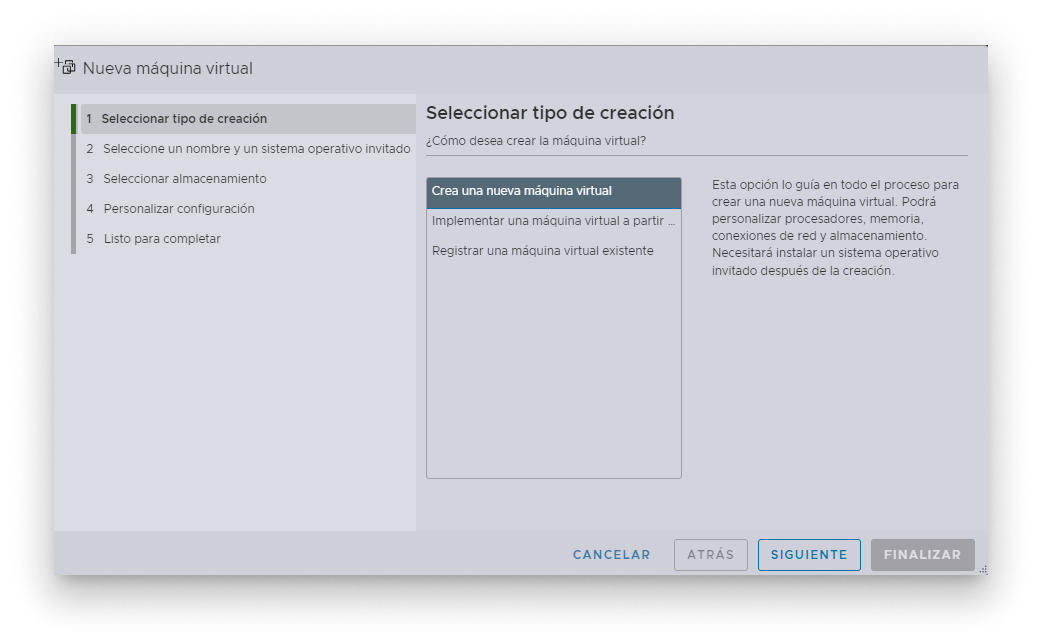
Create a new VM in vSphere
- Set the name and compatibility. Enter a descriptive name; fill in the rest of the wizard fields as shown.
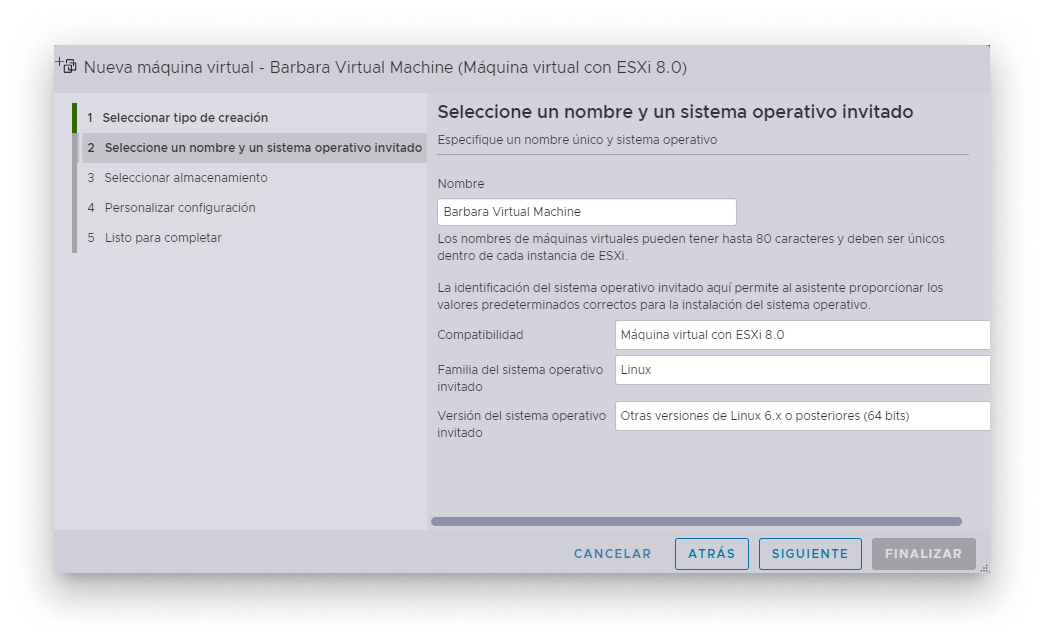
VM name and compatibility
- Continue through the remaining wizard steps. Some of the settings cannot be changed yet — accept the defaults for now and continue.
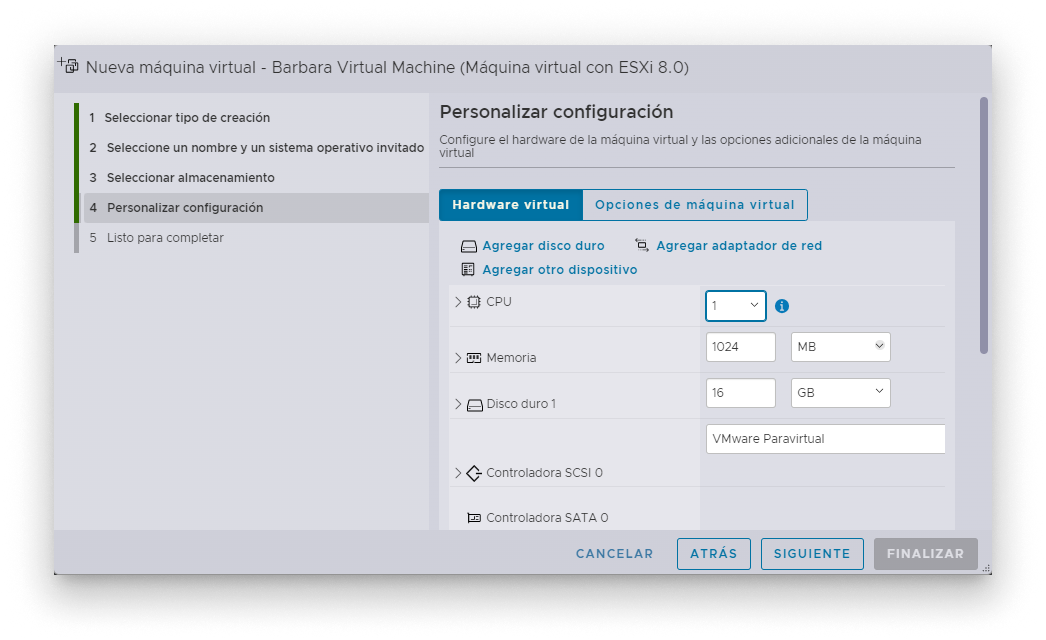
Continue through the wizard
- Enable EFI. Under Firmware, choose EFI and uncheck Secure UEFI Boot.
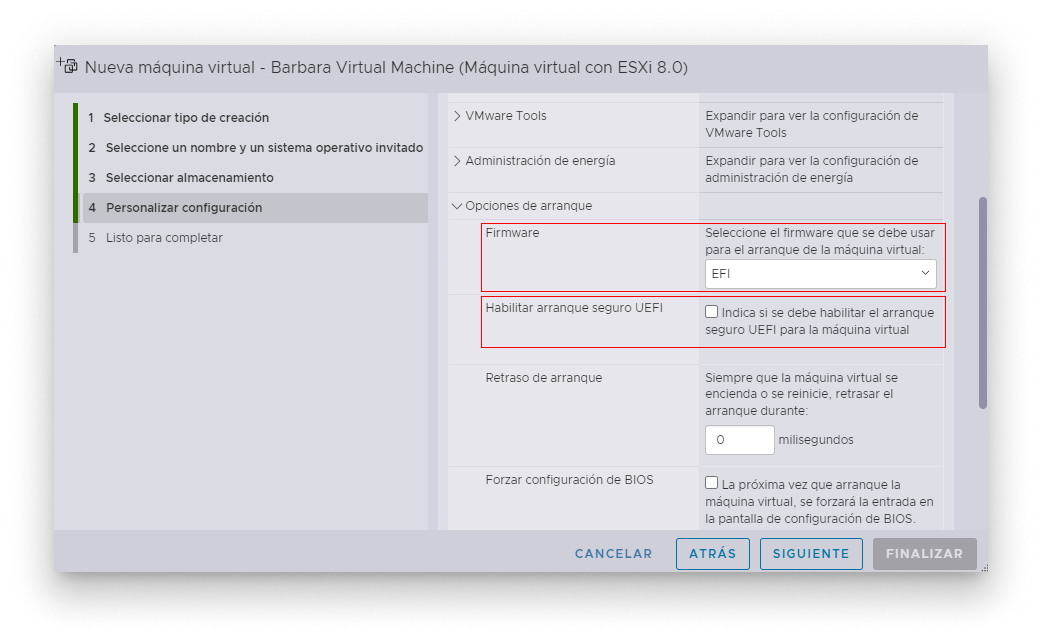
Enable EFI firmware
- Confirm the configuration and click Next.
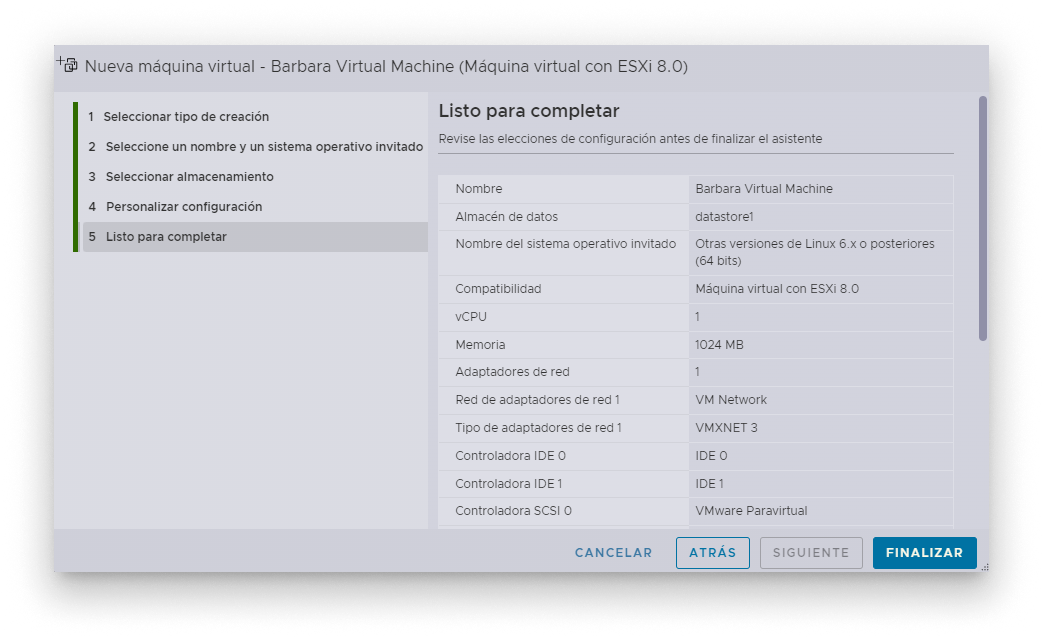
Confirm VM settings
- Click Finish to create the VM. We will edit its hardware in the next step, before the first power-on.
Edit VM settings
Attach the Barbara OS disk
- Remove the default hard disk and CD/DVD drive from the VM hardware.
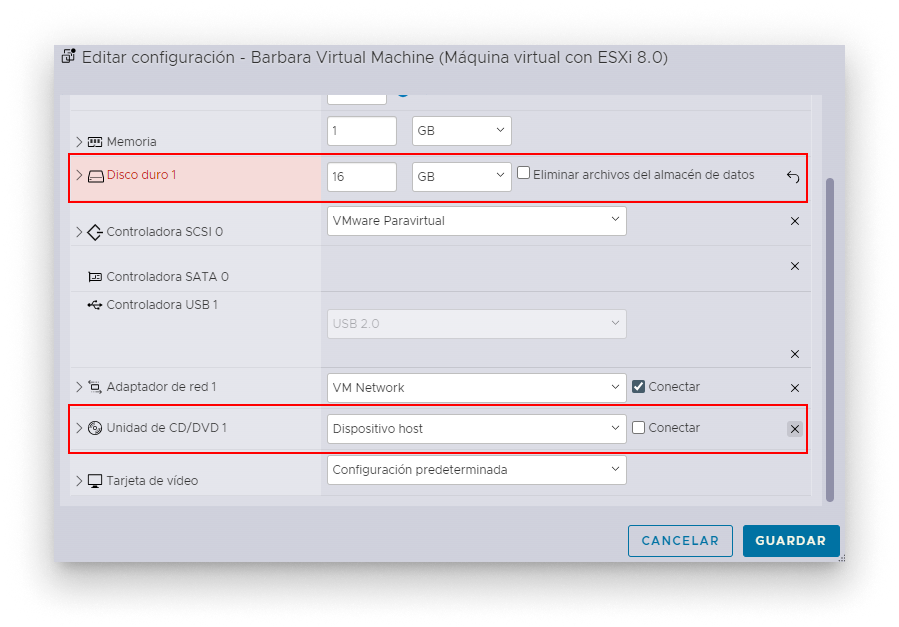
Remove default disk and CD
- Save the changes (click OK). vSphere does not always apply the removal if you immediately re-edit settings, so close the dialog first.
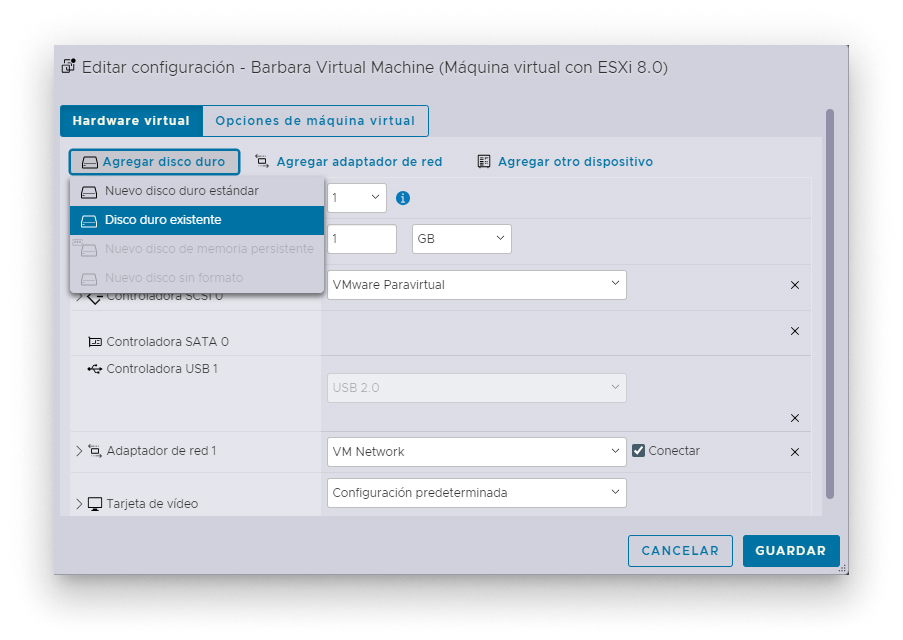
- Re-open Edit settings and click Add Hard Disk → Existing virtual disk. Select the converted
.vmdkyou prepared earlier.
If you skipped the disk conversion step, the disk will not attach correctly. Convert the .vmdk first — see Convert the virtual disk.
Add the converted disk
- Add an NVMe controller under Add device → NVMe Controller.
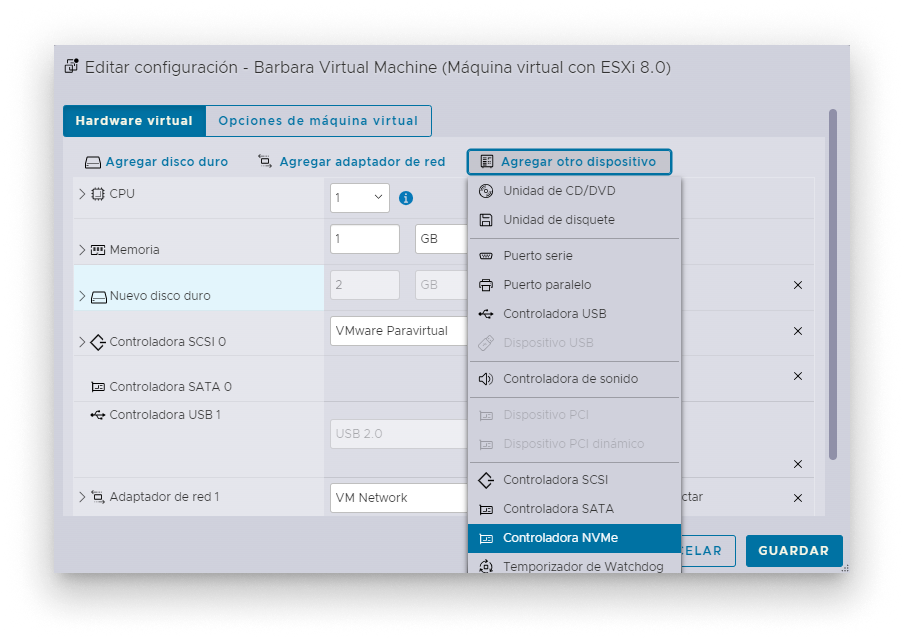
Add NVMe controller
- Attach the hard disk to the NVMe controller.
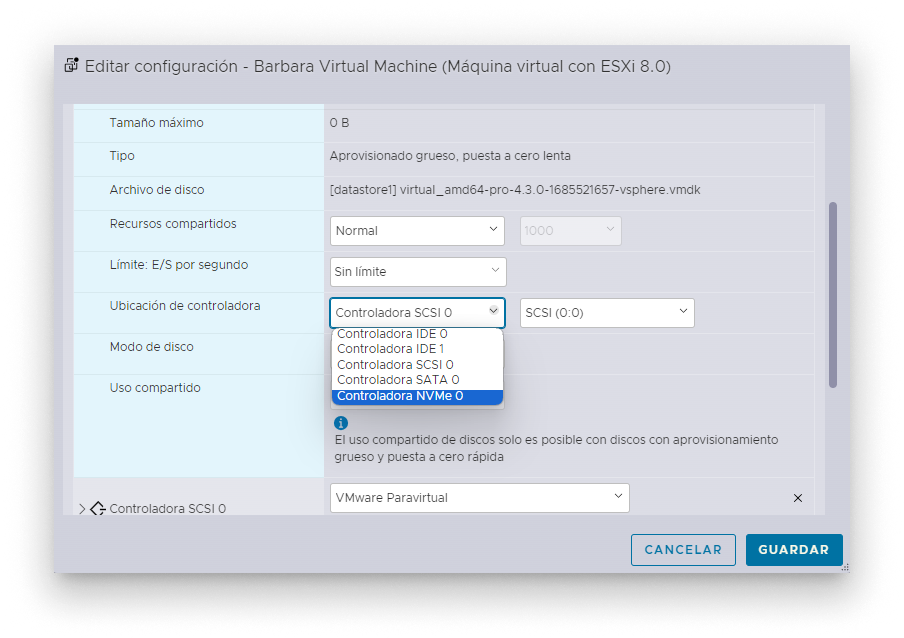
Attach disk to NVMe controller
- Set the network adapter to VMXNET3.
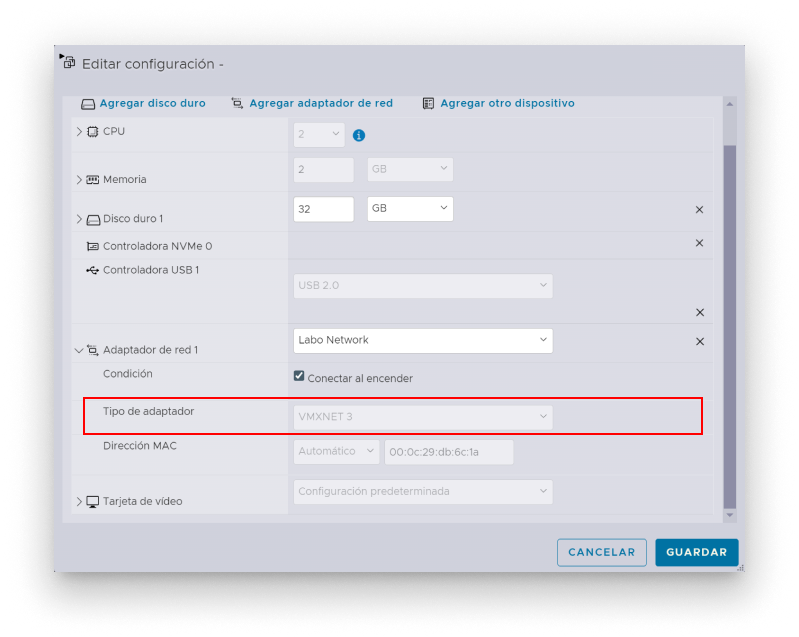
Select VMXNET3 network adapter
- Save the changes. The VM is ready to boot.
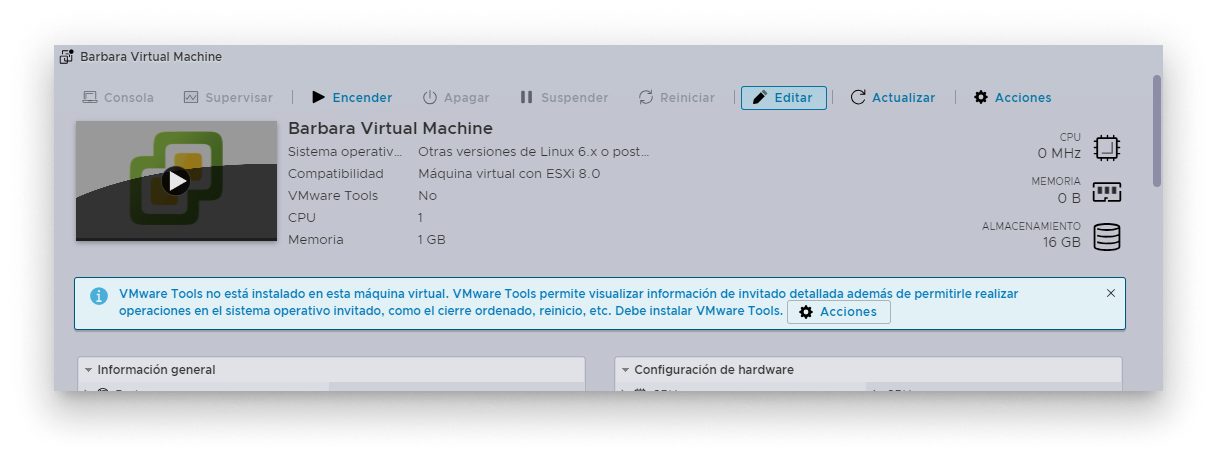
Start the virtual machine
- Power on the VM. Watch the console; once Barbara OS finishes booting, it displays the Barbara ID and a QR code.
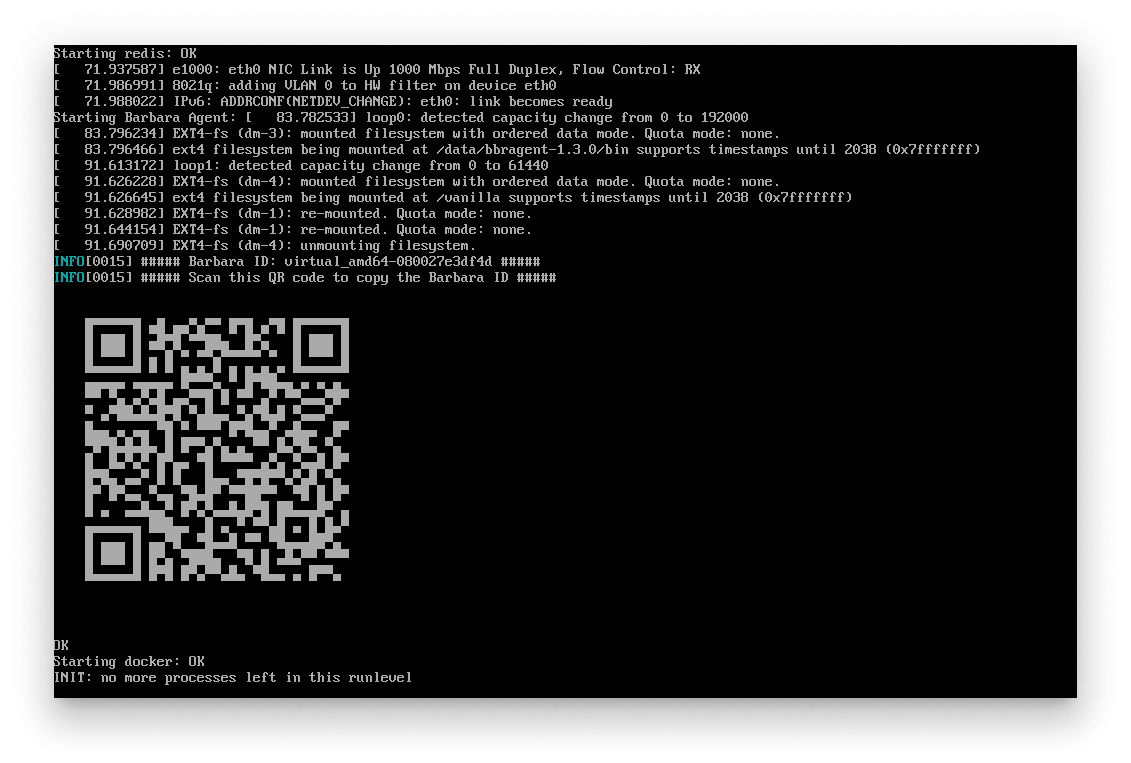
Barbara ID QR code on first boot
- Scan the QR or read the Barbara ID directly from the console.
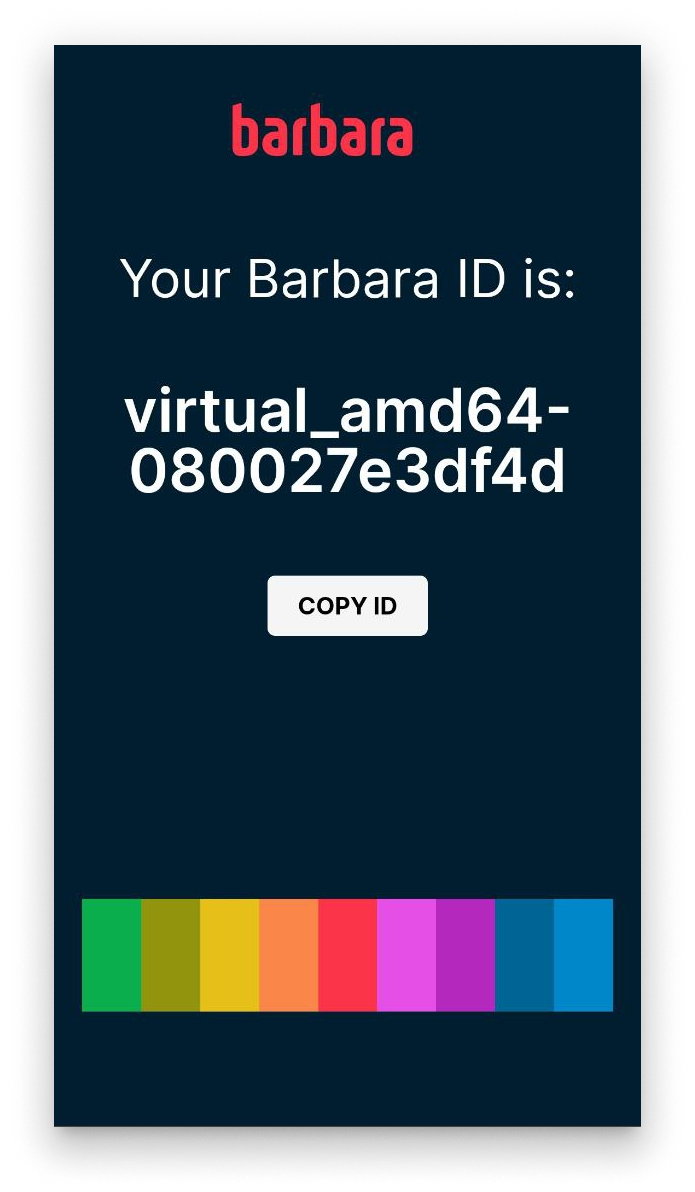
Barbara ID page
- In Barbara Panel, open the Nodes List and click + Add Node to register the VM.
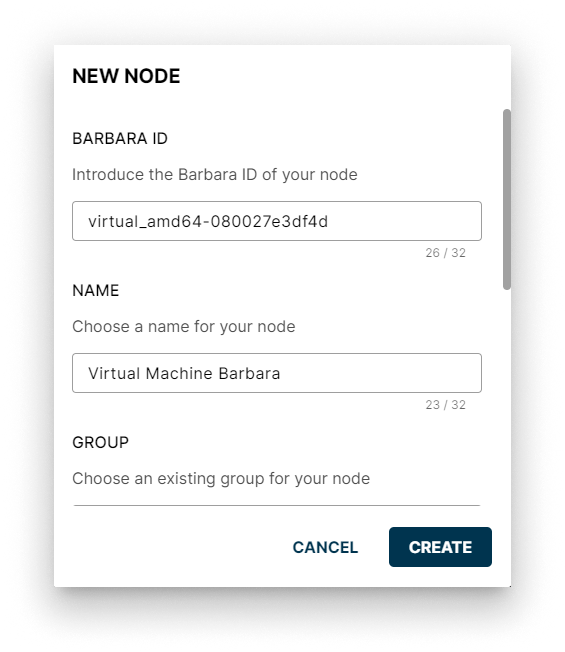
Add Node in Panel
- Paste the Barbara ID, give the node a name, and complete the form. After the activation reboot and the disk encryption complete, the node appears as online.
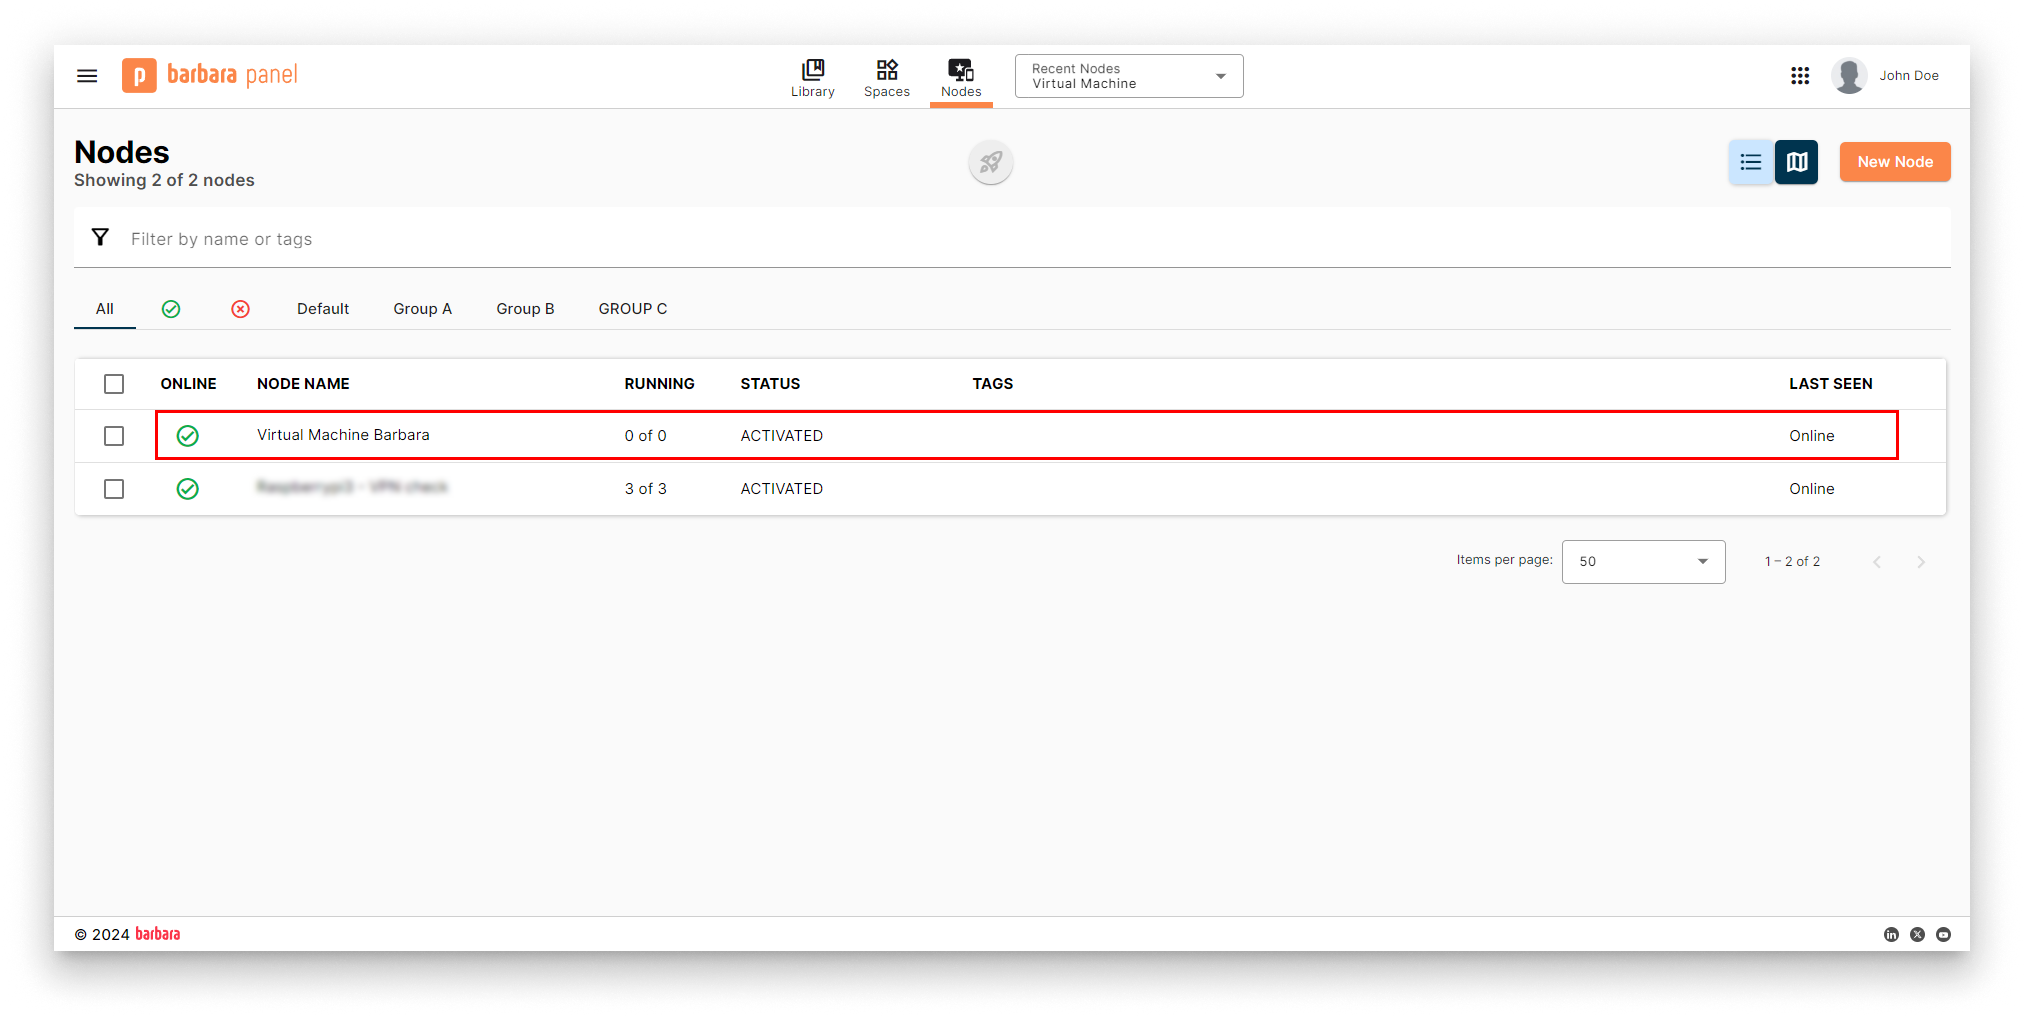
VM online in Panel
Summary
You have deployed Barbara OS on either a Workstation or a vSphere VM, configured EFI boot with Secure Boot disabled, attached the Barbara OS disk through an NVMe controller, and registered the resulting VM in Barbara Panel. For the full activation walkthrough, see Add the node to Panel.