Hyper-V
This article refers to Platform v2.9.0. The current Platform version is v3.3.0.
Overview
This guide walks you through installing Barbara OS on a Hyper-V virtual machine running on a Windows host. Barbara OS ships as a .vhdx image that you attach to a Generation 2 VM. Because Barbara OS is not signed against the Microsoft Secure Boot keys, you also need to disable Secure Boot on the VM.
Hyper-V is only available on Windows Professional and Windows Server 2019 or newer.
Pre-requisites
- Enable the Hyper-V feature on your Windows host. Microsoft and your hardware vendor publish detailed instructions — for example, this Dell guide for Windows 11.
- Download the Hyper-V Barbara OS image from Barbara Panel as a
.zip, then extract it to a folder you can reach from Hyper-V Manager.
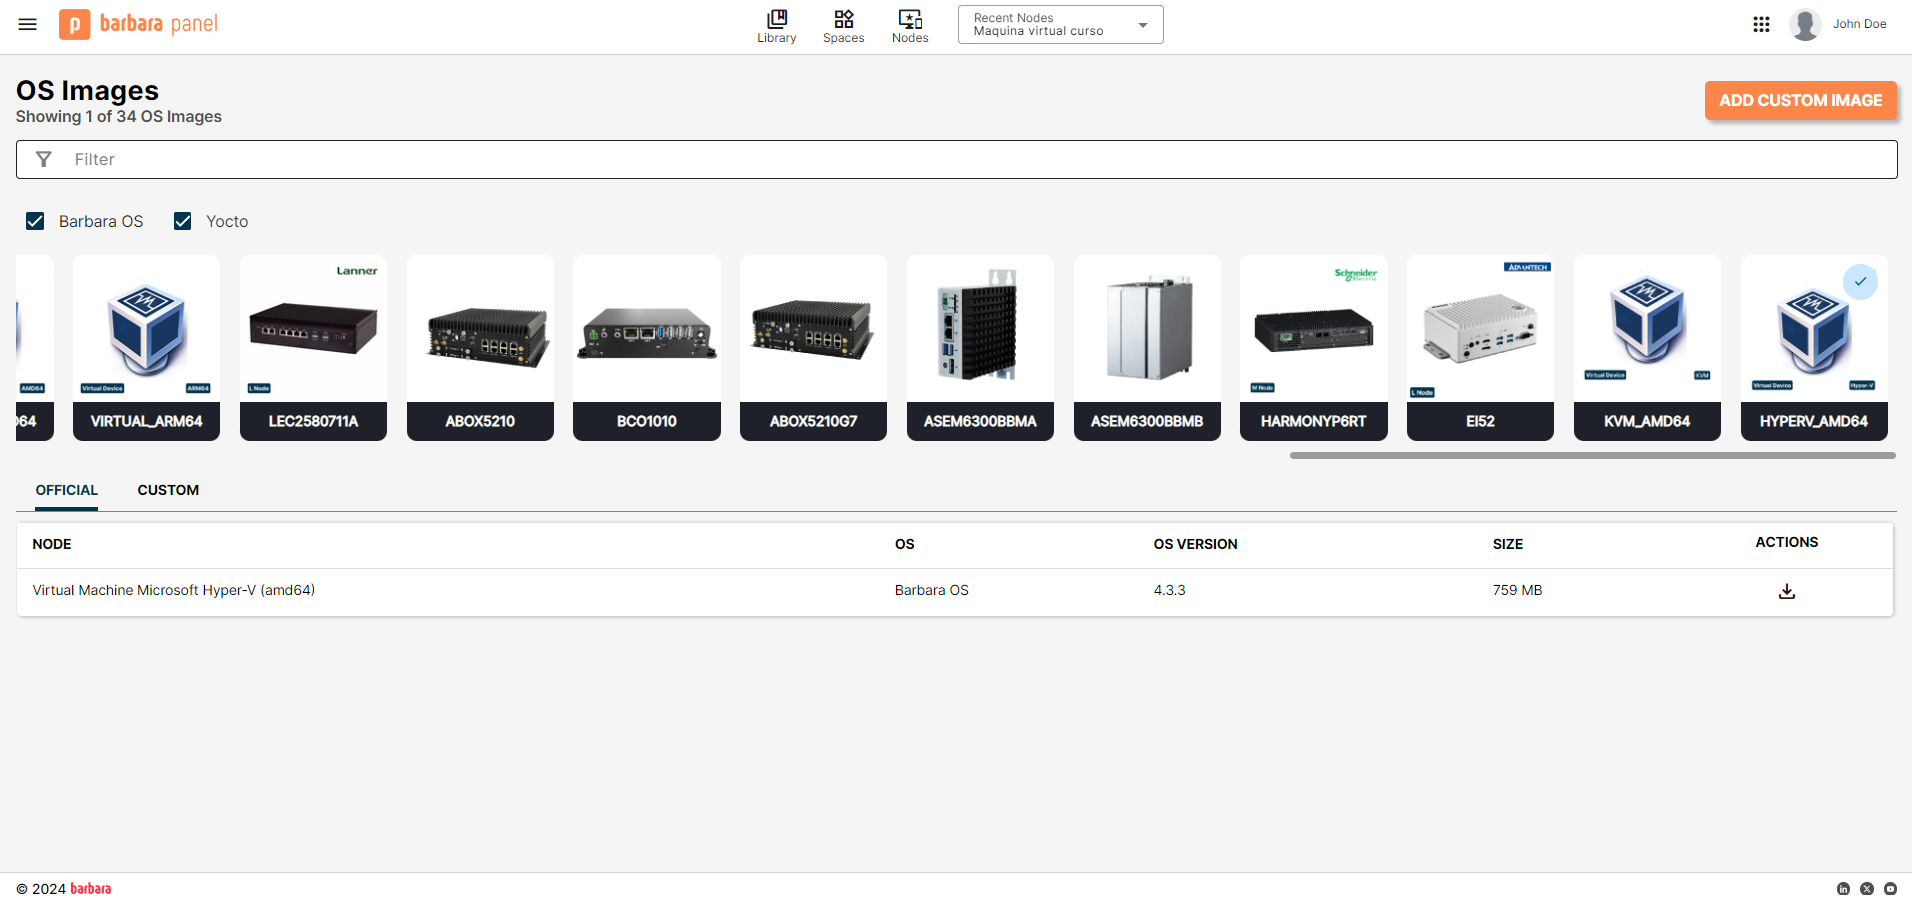
Download the Hyper-V image from Barbara Panel
Hardware requirements
Minimum
- RAM: 2 GB
- Disk: 32 GB
- CPU: 1 socket / 2 cores
- Network: 1 × Ethernet interface
Recommended
- RAM: 4 GB
- Disk: 64 GB
- CPU: 2 sockets / 2 cores
- Network: 2 × Ethernet interfaces
Create the virtual machine
- Open Hyper-V Manager and choose New → Virtual Machine.
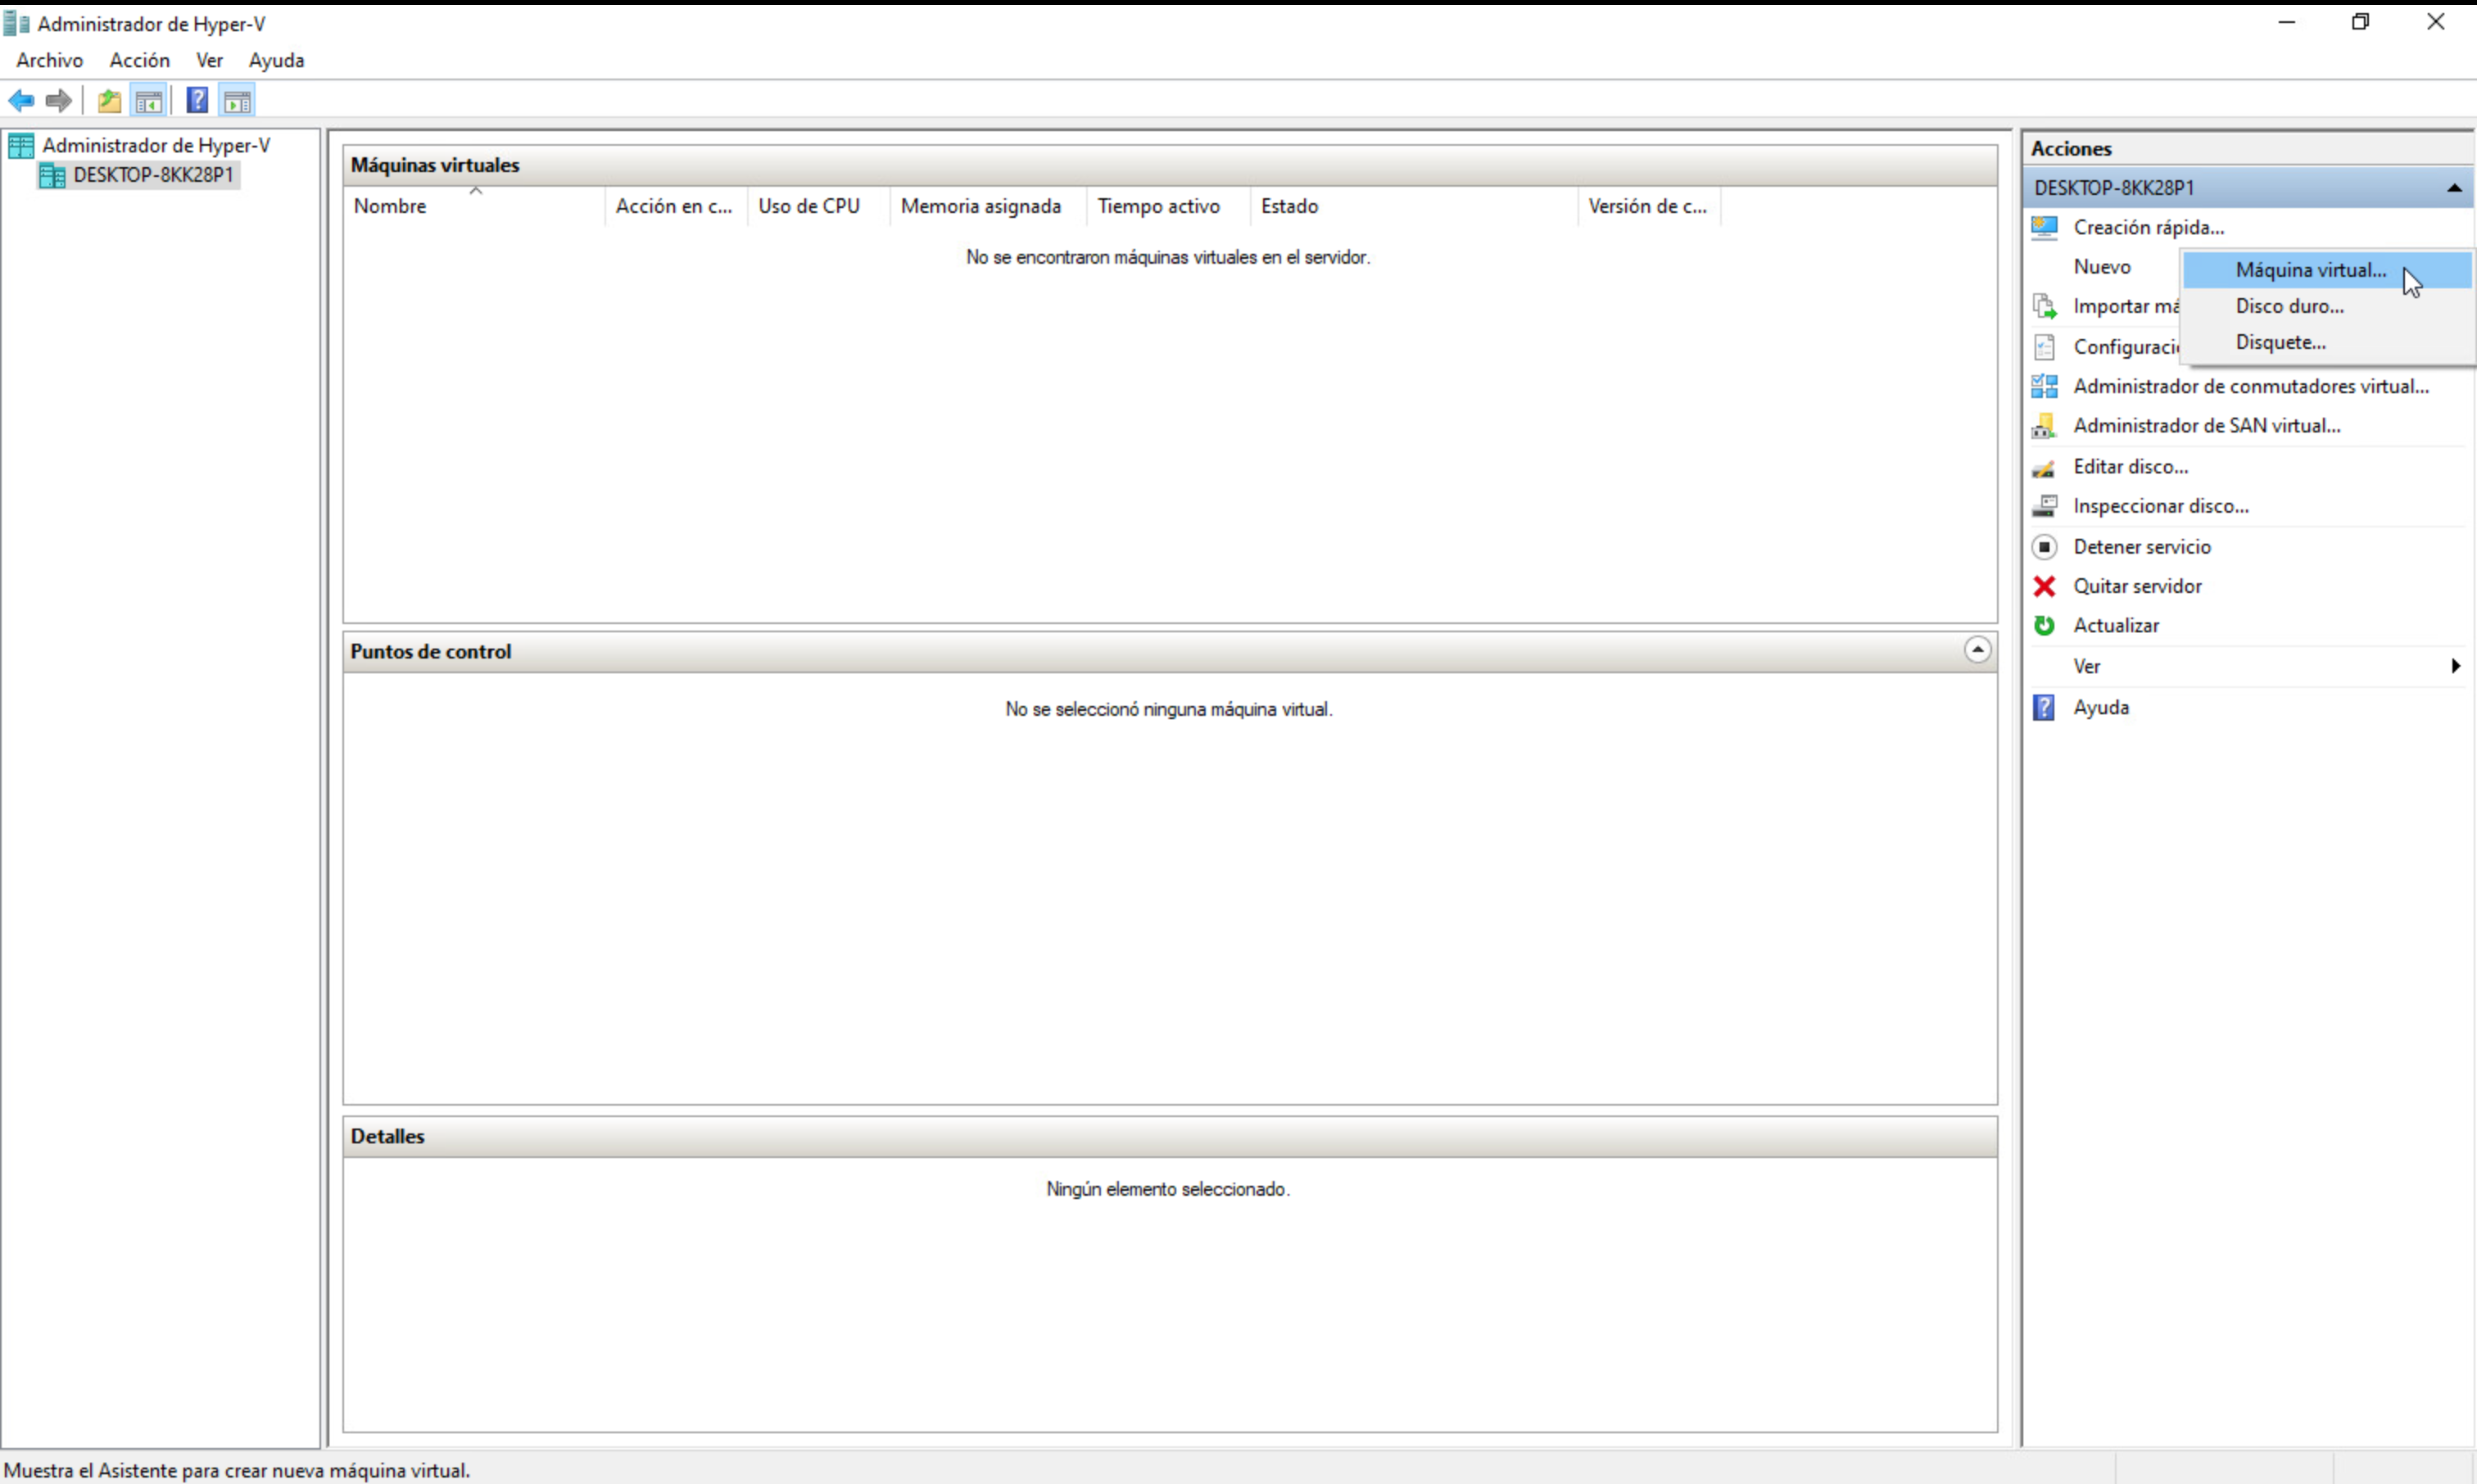
New Virtual Machine option in Hyper-V Manager
- Name the VM (for example,
Barbara-Edge-Node) and click Next.
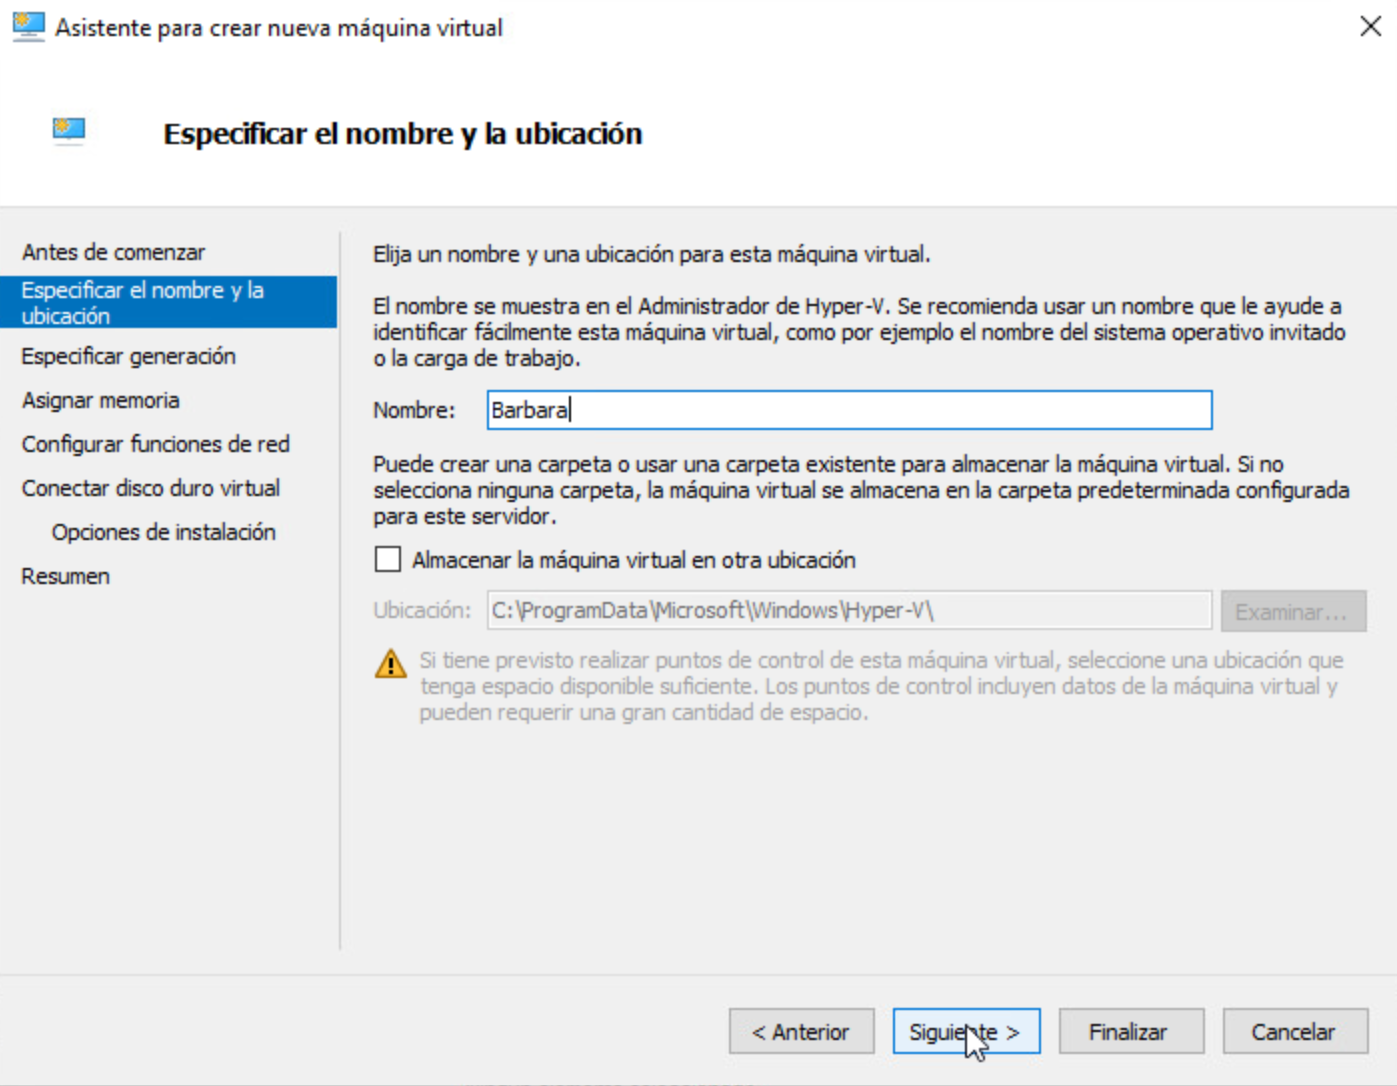
Specify a name for the VM
- Select Generation 2. This is required for UEFI boot.
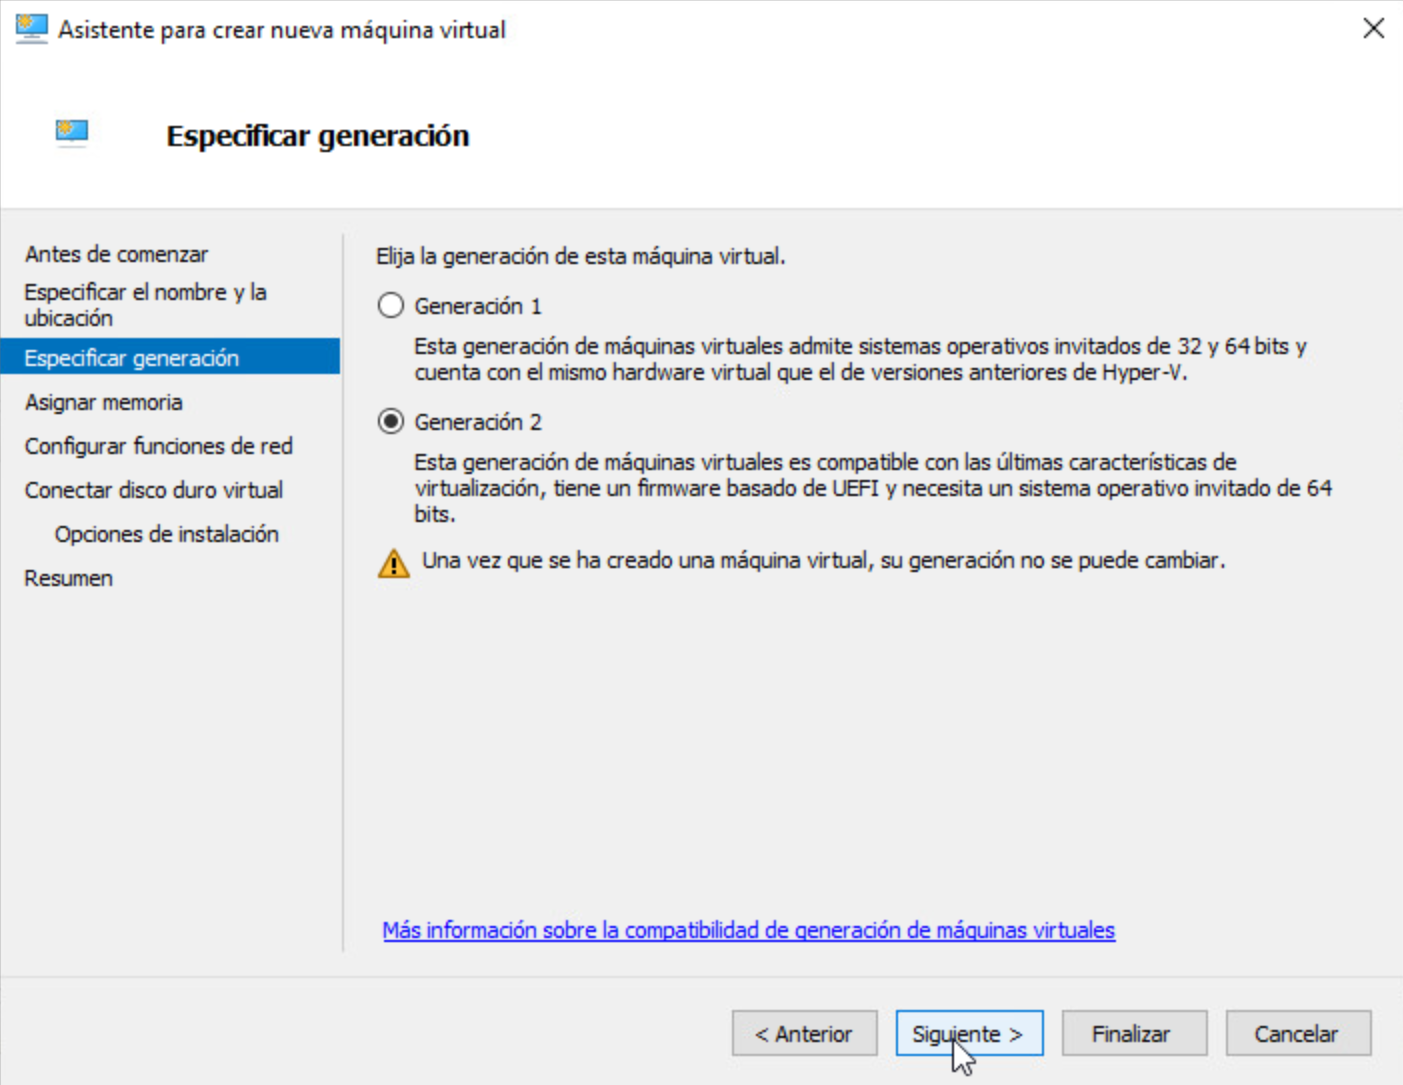
Select Generation 2
- Assign memory. Use at least 2048 MB. Keep Dynamic Memory enabled and click Next.

Assign memory
- Configure the network. Select Default Switch (or any virtual switch that gives the VM access to Barbara Panel).
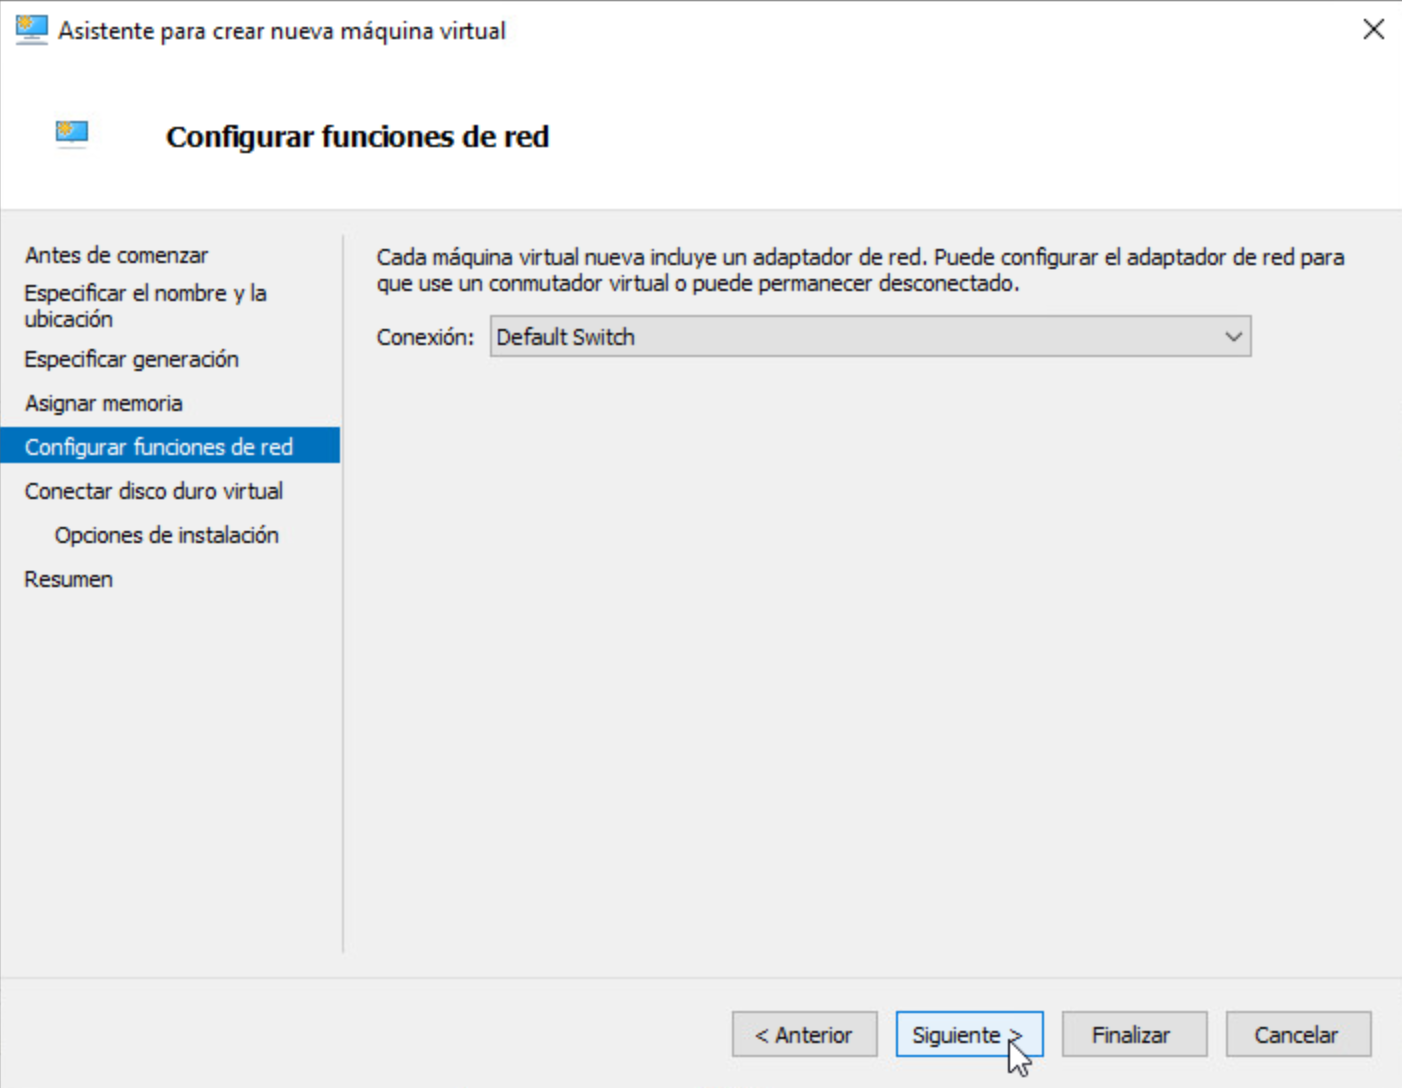
Select the Default Switch
- Connect the virtual disk. Choose Use an existing virtual hard disk and select the
.vhdxyou downloaded from Panel.
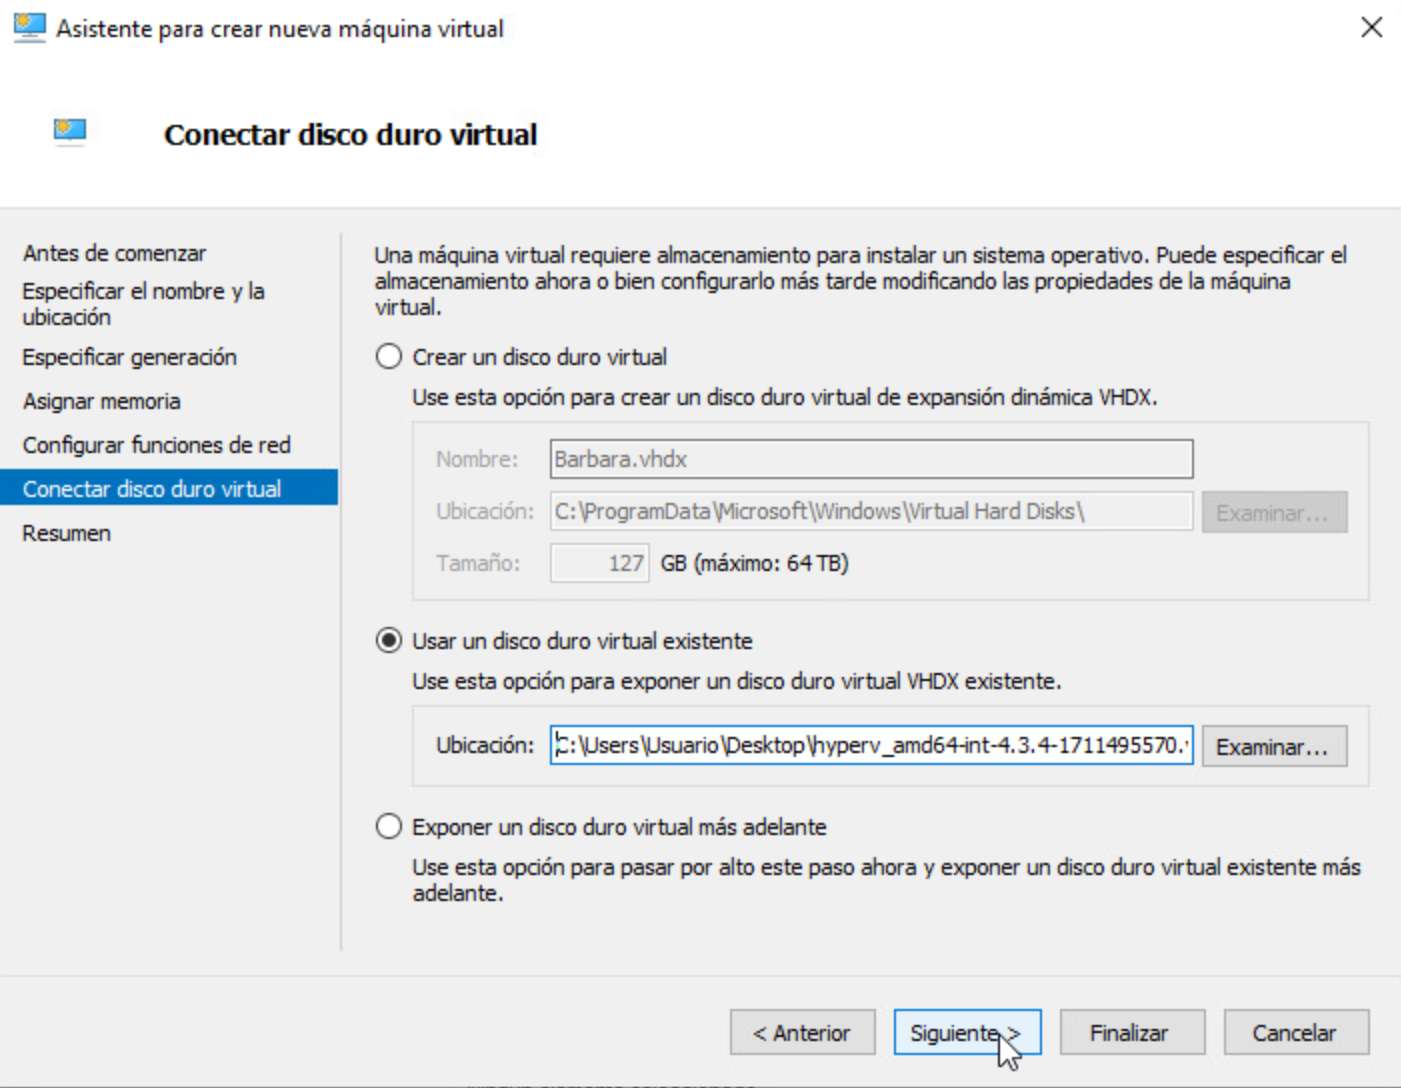
Select the Barbara OS VHDX
- Review the configuration and click Finish.
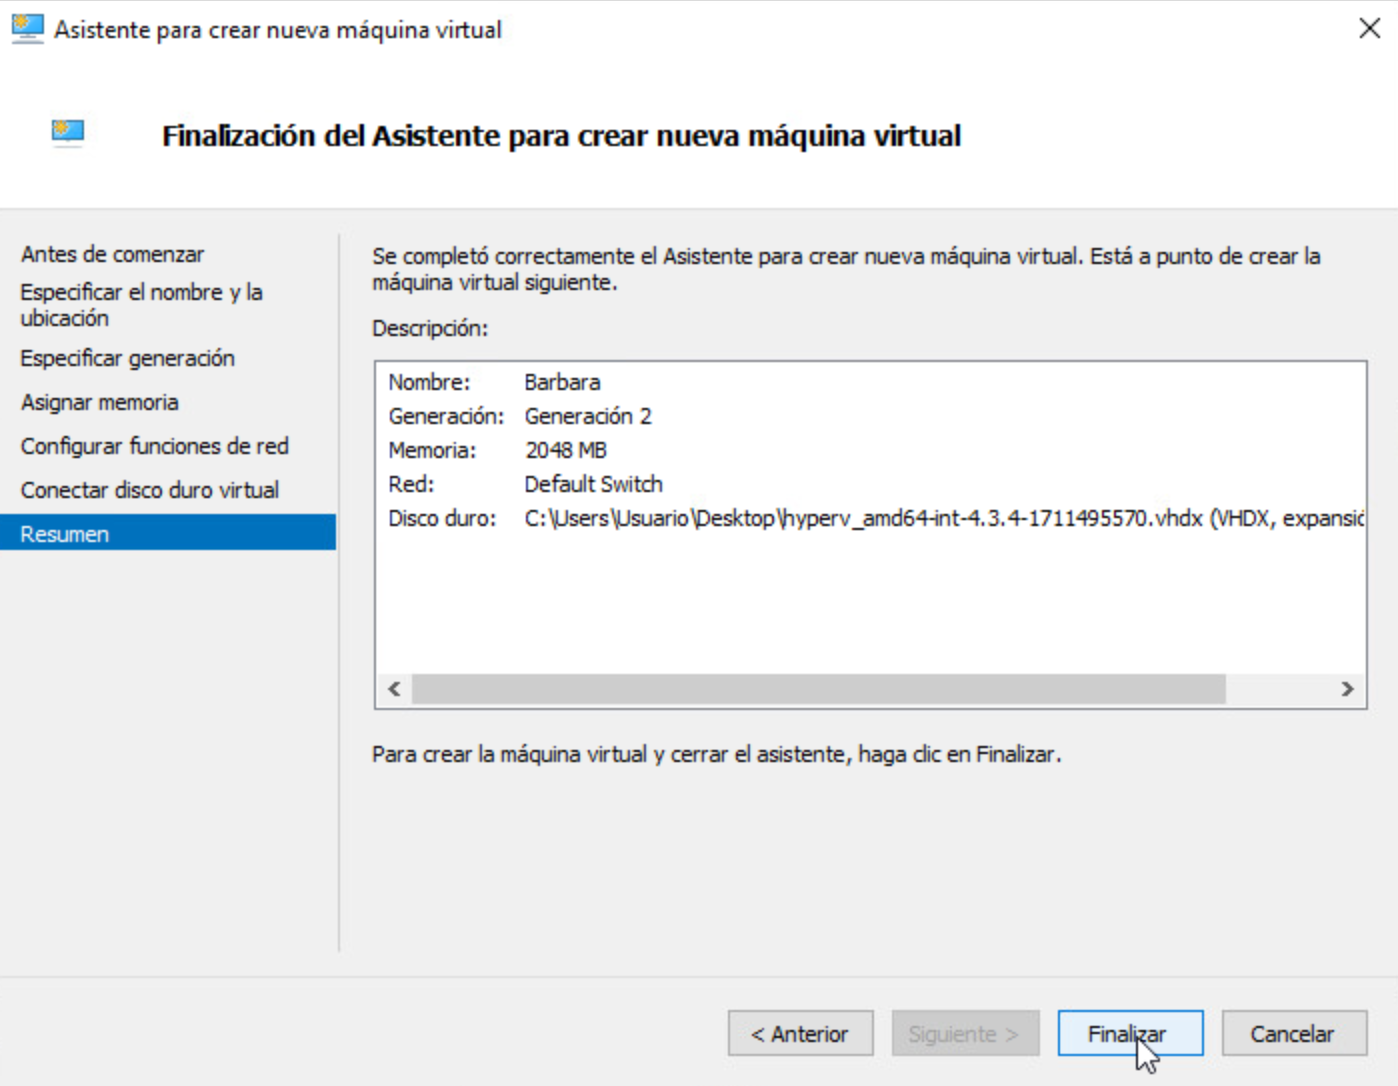
Review the VM configuration
Disable Secure Boot
Right-click the newly created VM and open Settings → Security. Uncheck Secure Boot.
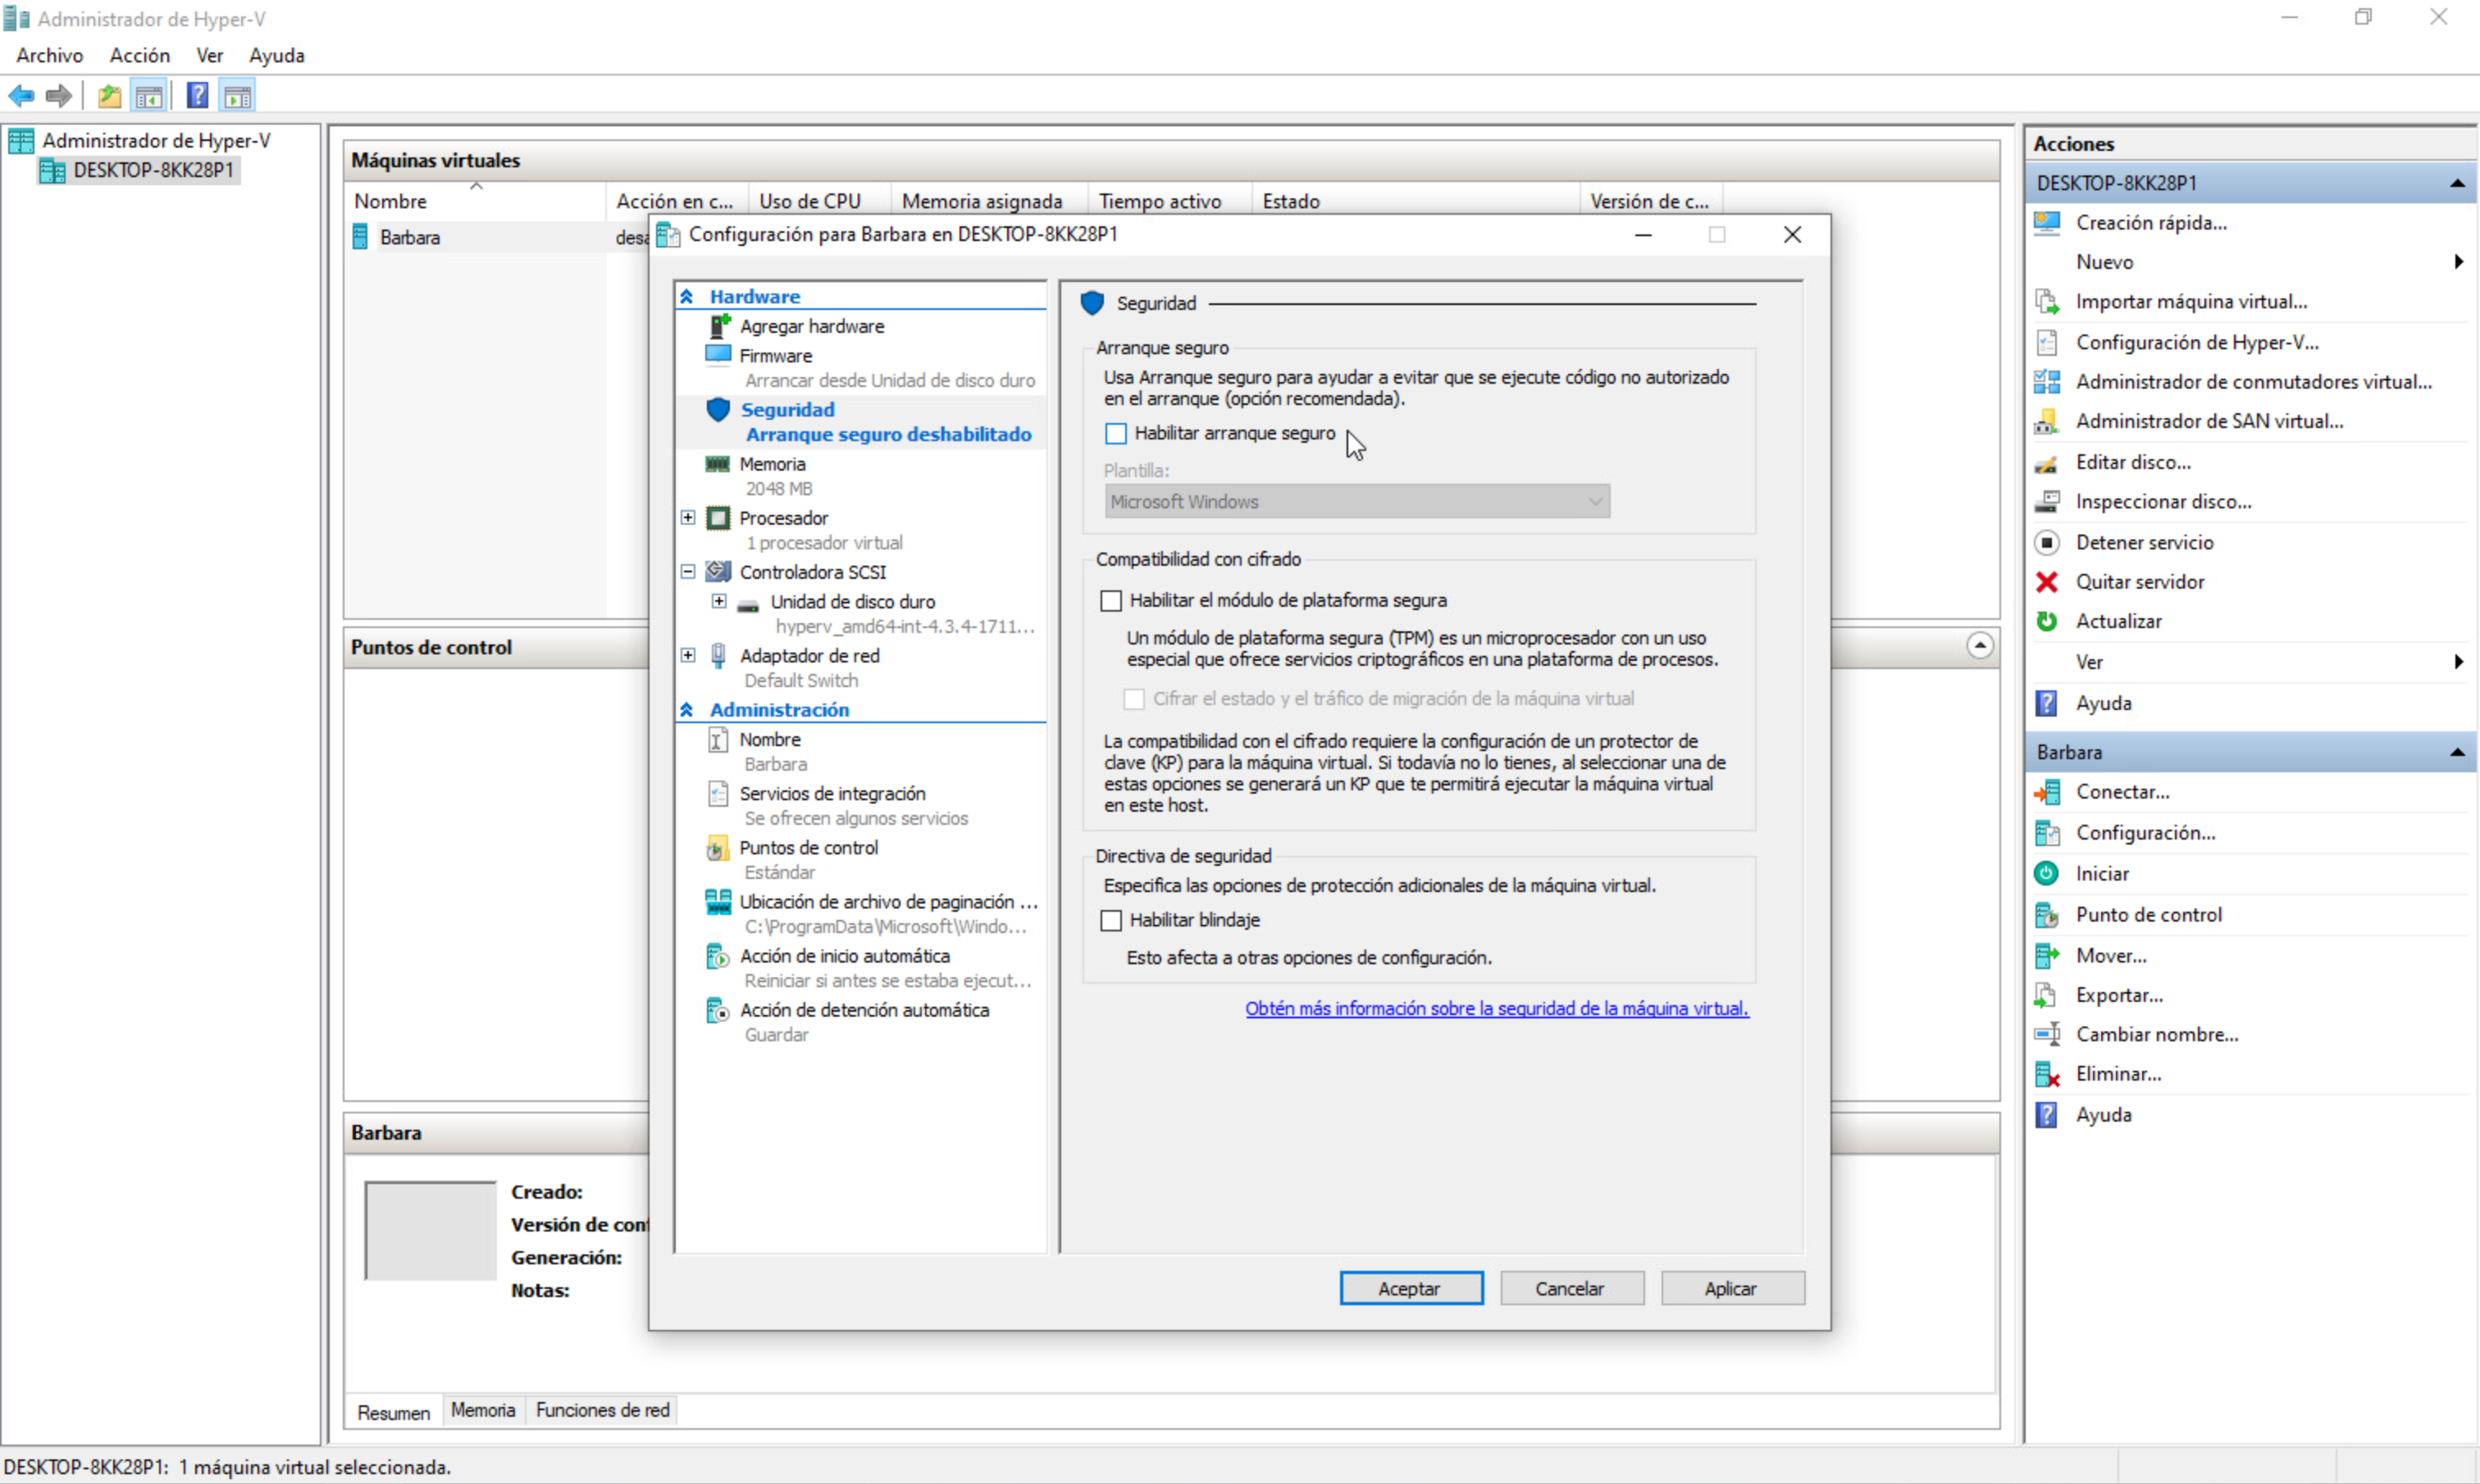
Disable Secure Boot on the VM
If Secure Boot is left enabled, Barbara OS will not boot.
Boot Barbara OS
- From Hyper-V Manager, Connect to the VM.
- Click Start to power it on.
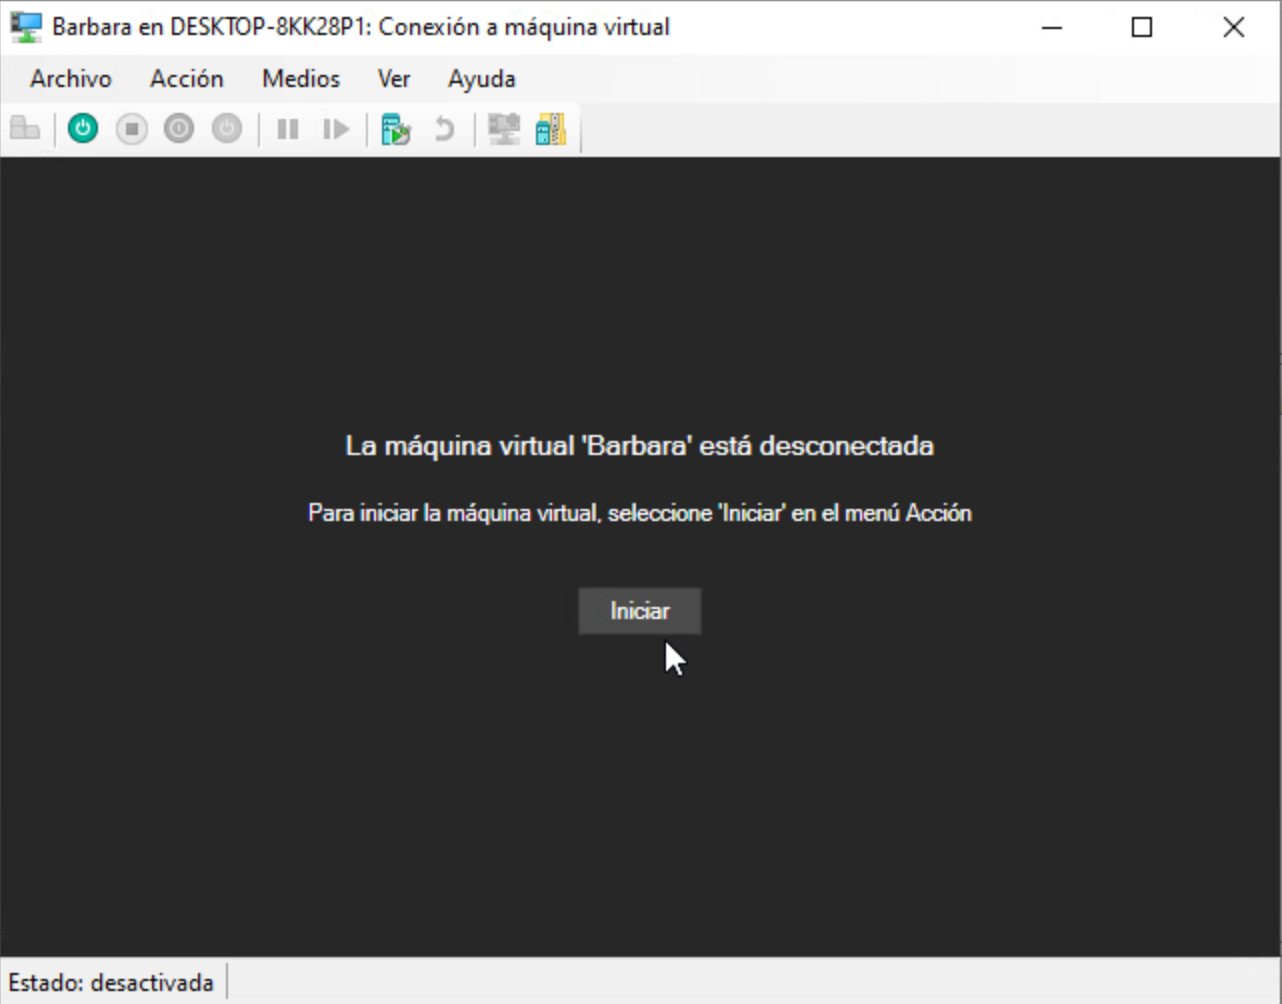
Connect to the VM
Barbara OS boots on the VM. The console eventually displays the Barbara ID and a QR code.
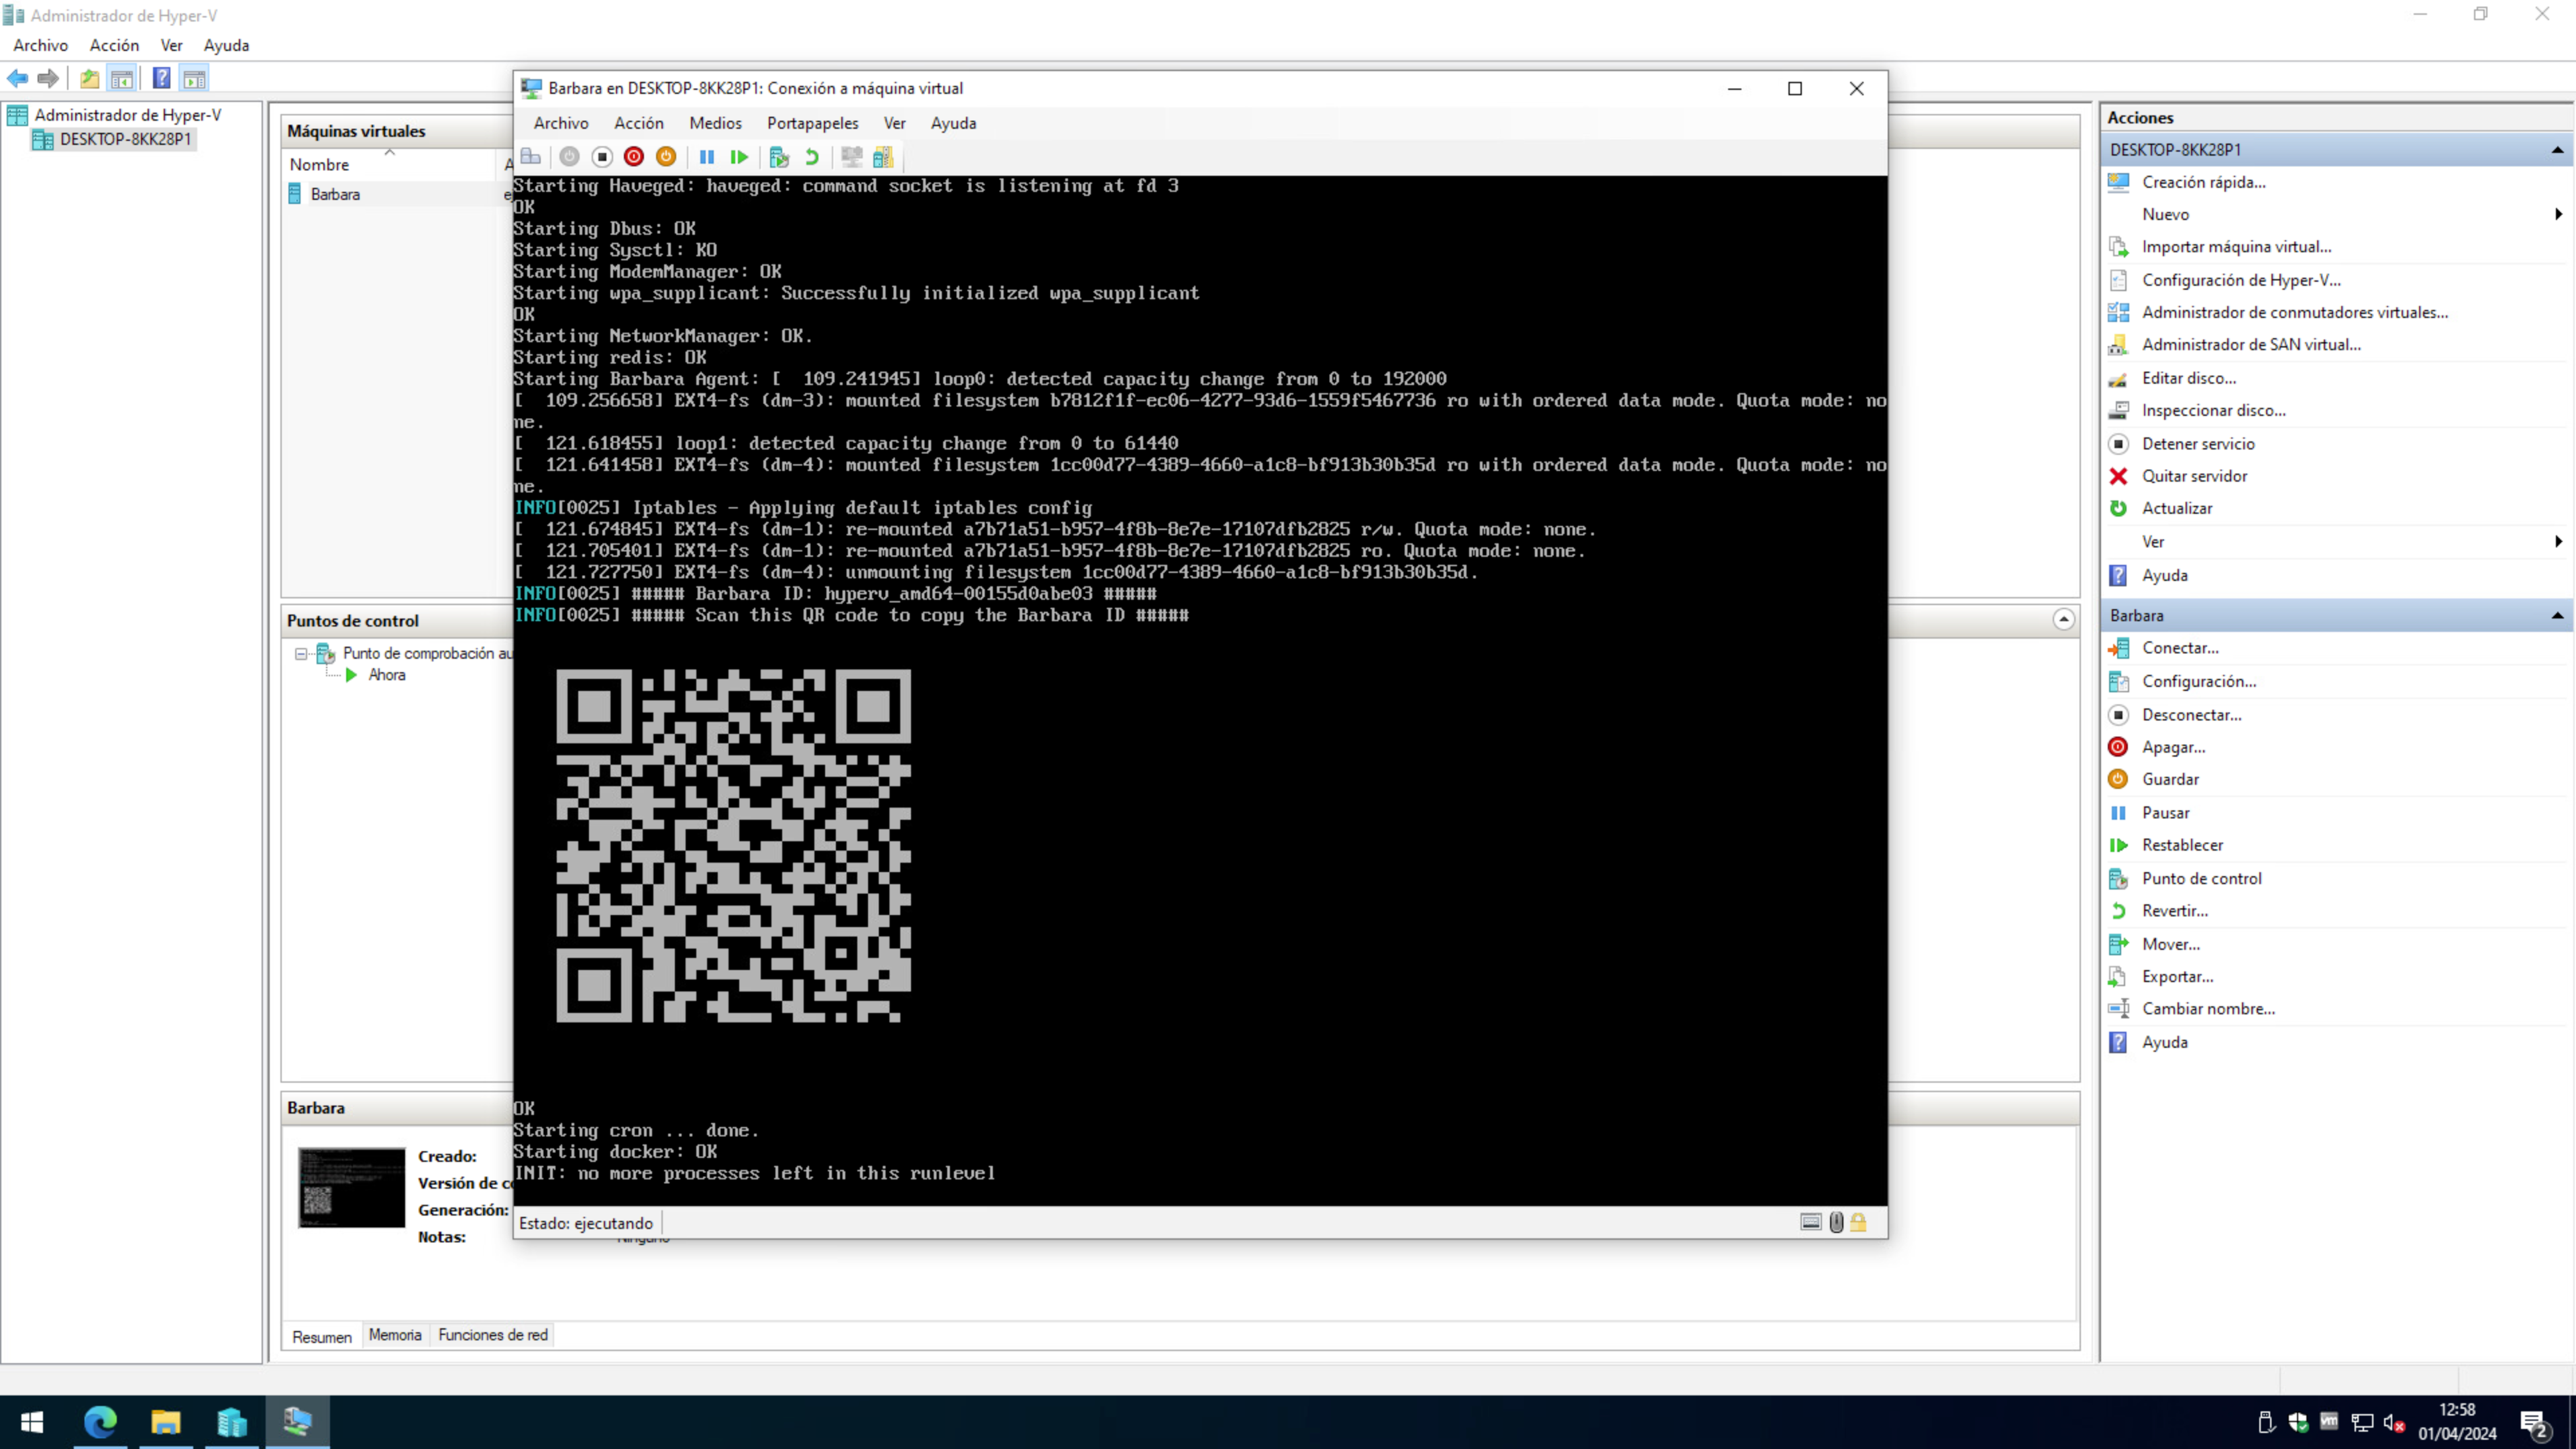
Barbara OS booting in Hyper-V
Summary
You have created a Hyper-V Generation 2 VM, attached the Barbara OS VHDX, disabled Secure Boot, and booted Barbara OS. The next step is to retrieve the Barbara ID of the node — see Get the Barbara ID of the node — and register it in Panel.