Add the node to Panel
This article refers to Platform v2.9.0. The current Platform version is v3.3.0.
Overview
Once Barbara OS is installed on your edge node and the node has finished booting, you can register it against Barbara Panel using its Barbara ID. Registration tells Panel that the node exists and starts the activation flow, which leaves the node ready to receive workloads.
You need two things before you start:
- The Barbara ID of the node — see Get the Barbara ID of the node.
- A network connection from the node to the internet so it can reach Barbara Panel.
Connect the node to the network
For the simplest setup, connect the node to your network with an Ethernet cable. If the network runs DHCP, the node configures itself automatically and is ready to register.
Ethernet + DHCP is the fastest and most reliable way to bring a node online. If you must use WiFi, mobile data, or a static address, configure the network first with one of the methods below.
Ethernet with DHCP
Plug in the cable. If the network has a DHCP server, no further configuration is needed — jump directly to registering the node.
USB Assistant Tool
For nodes without a display, you can pre-configure the network by dropping a configuration file onto a USB drive. See USB Assistant Tool for the full reference.
WiFi Hotspot
Unregistered nodes with a WLAN interface expose a temporary WiFi network you can join to configure the node's network settings from a browser. See WiFi Hotspot for the full reference.
Register and activate your edge node
- In Barbara Panel, open the Nodes List view and click the + Add Node button in the top-right corner.
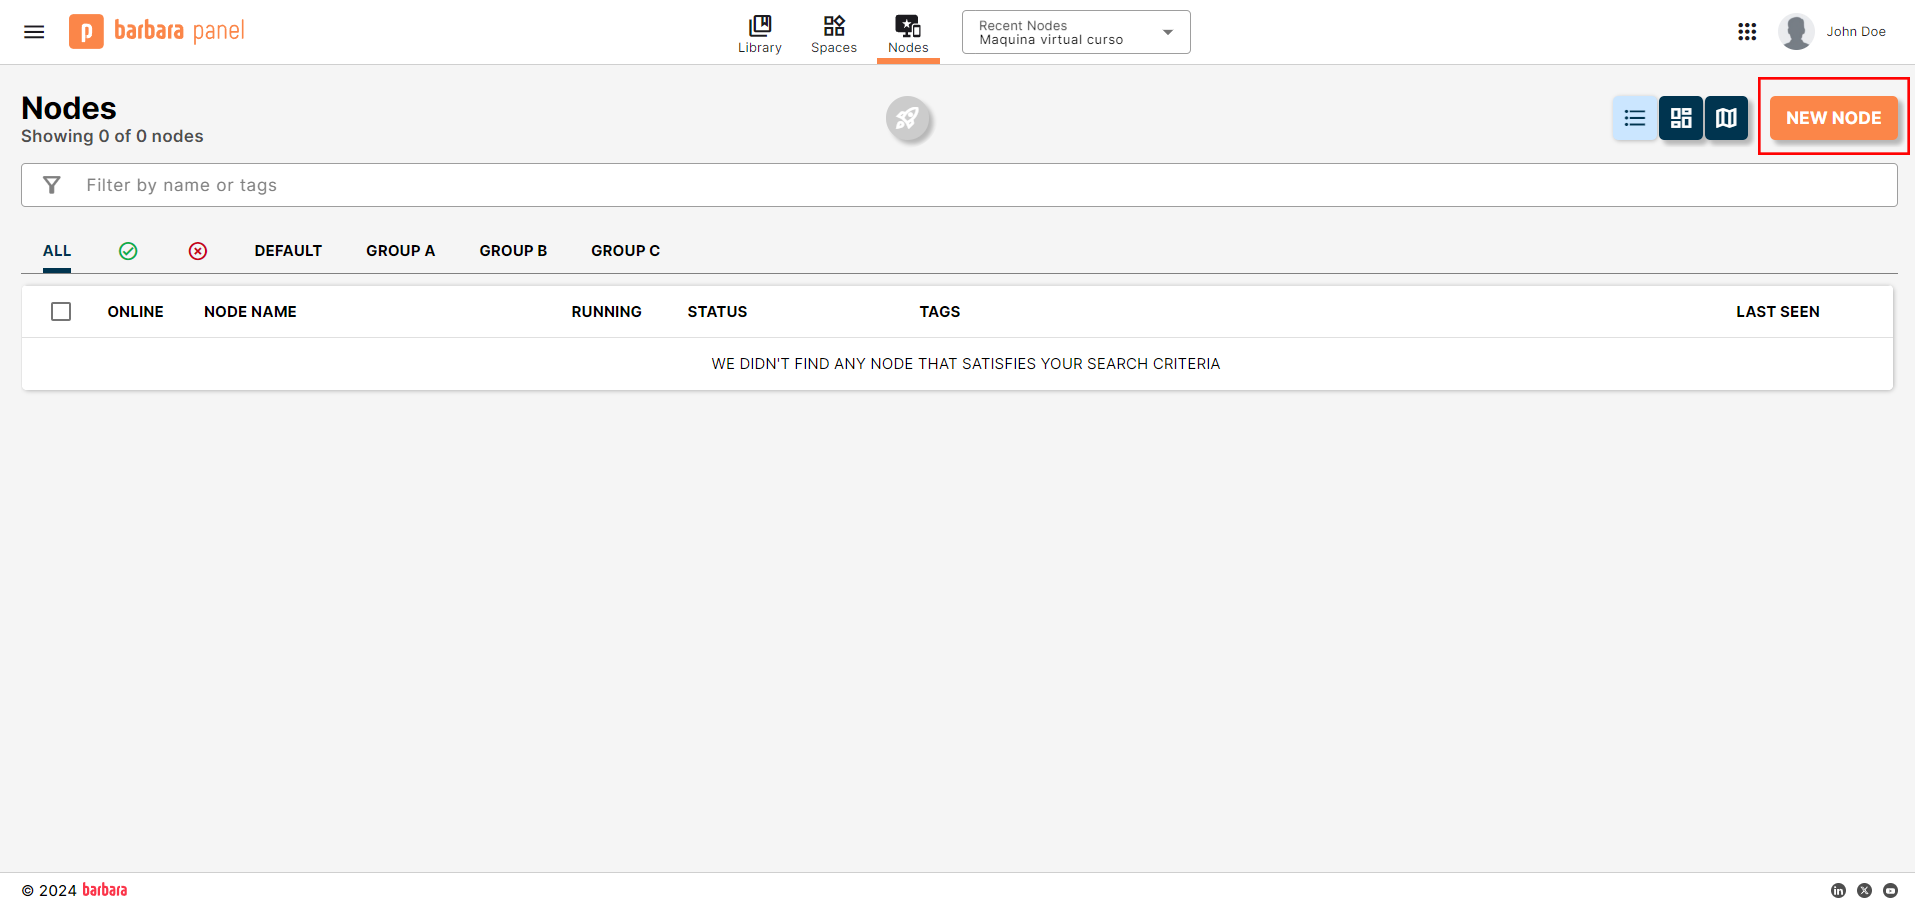
Add Node button on the Nodes List page
- The New Node popup opens. Fill in the fields:
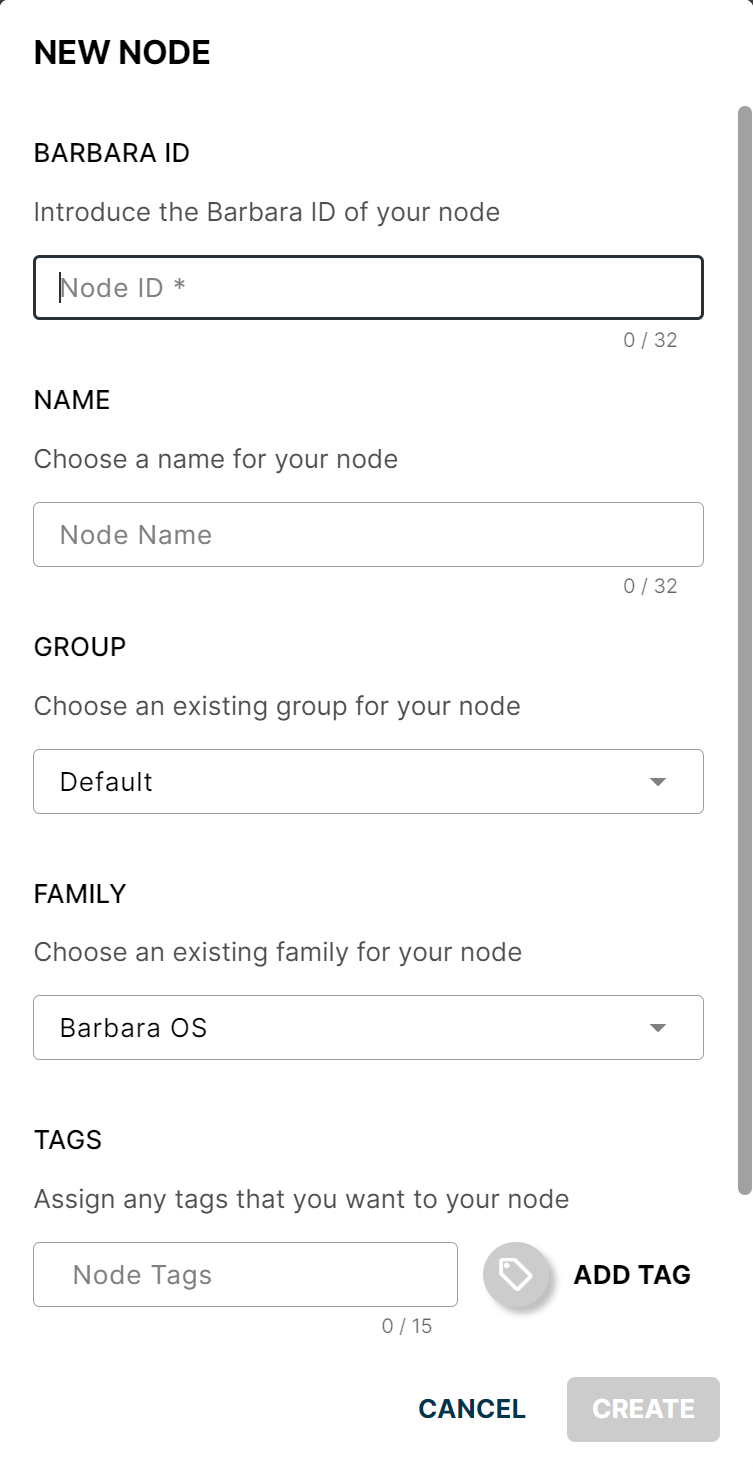
New Node popup
- BARBARA ID — paste the unique identifier of your edge node (see Get the Barbara ID of the node).
- NAME — a descriptive label for the node.
- GROUP — the group to assign the node to. Leave blank to use the default group.
- FAMILY — the operating system family installed on the node (Barbara OS or Yocto).
- TAGS — optional tags to categorize the node for filtering and search.
- Tick Activate this node automatically (recommended) so the activation flow starts as soon as the node is created.
- Click Add node to confirm.
Once registered, the node appears in the Nodes List with its connectivity and status. A freshly registered node shows up as OFFLINE (red x mark) and its status is ACTIVATION SENT until the node reaches out to Panel.
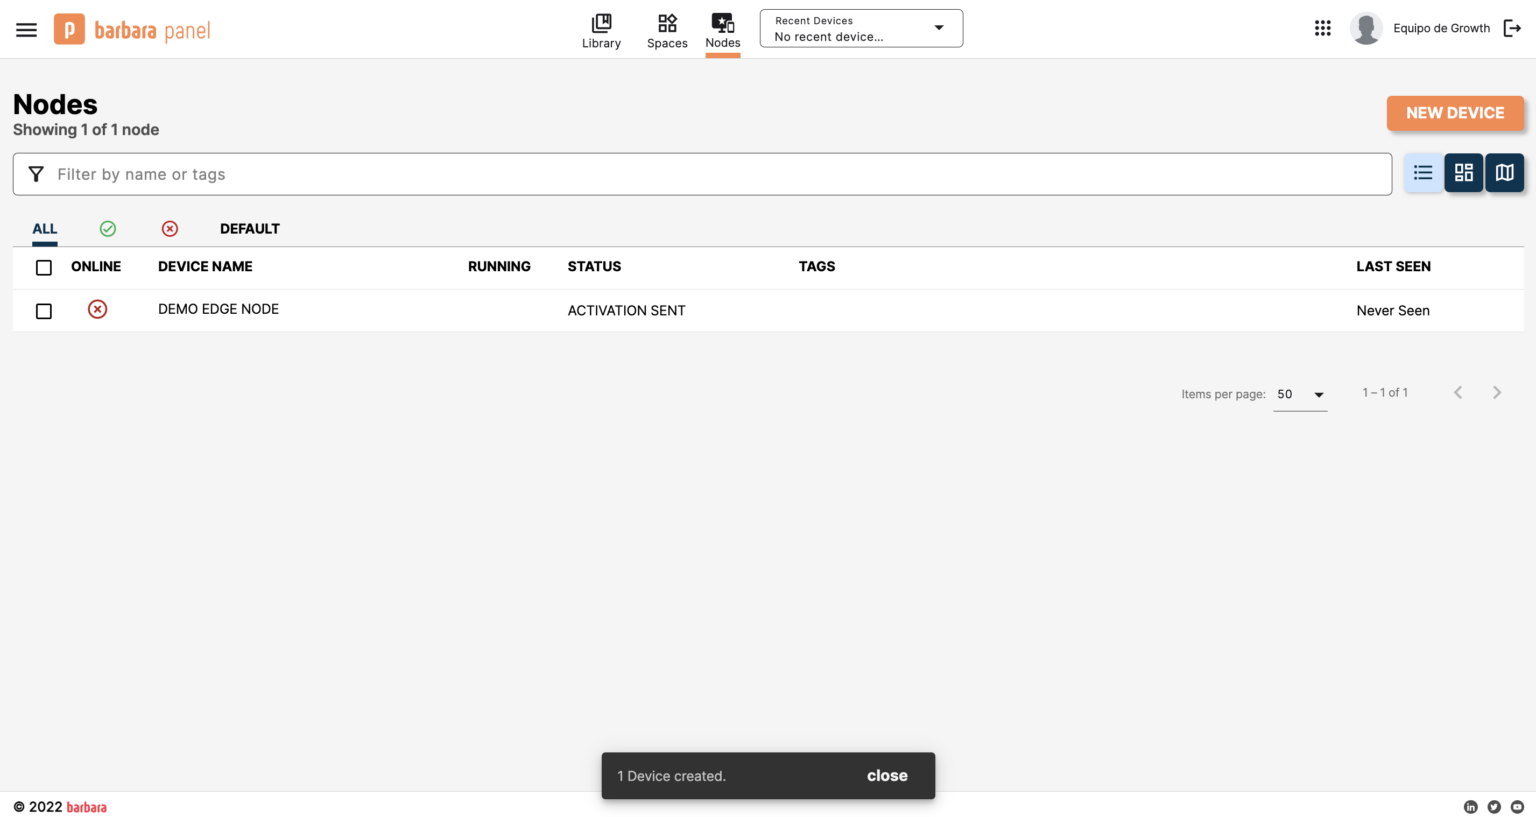
Newly registered node in the Nodes List
The node reboots automatically during activation, so it may take up to 10 minutes before it appears as ONLINE and ACTIVATED in the list. Allow the process to finish before troubleshooting.
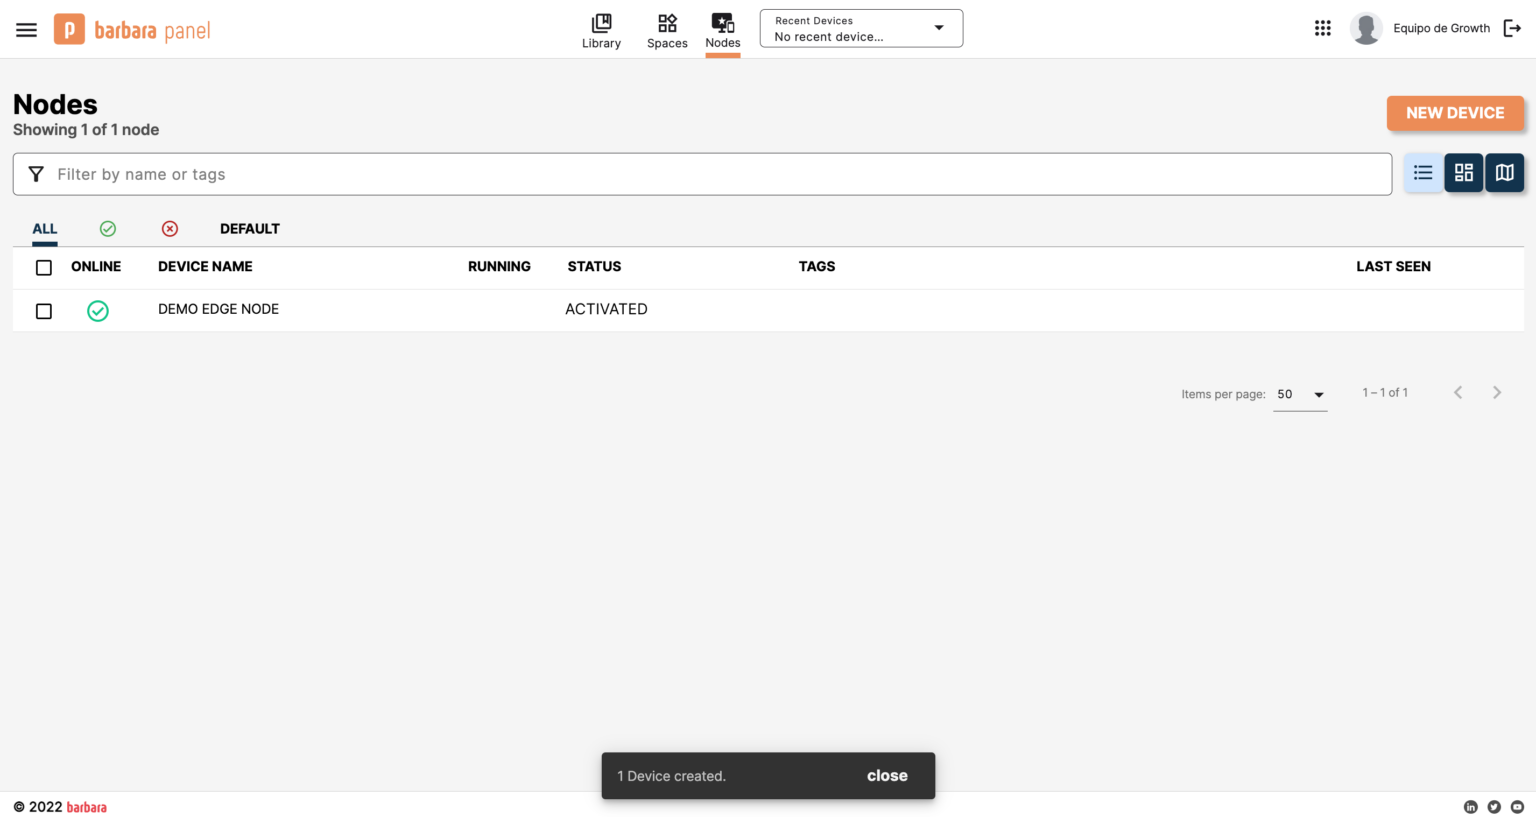
Node fully activated and online
Summary
Your edge node is registered against Barbara Panel and has gone through the activation flow. From here you can manage it from the Node Details page — start by reviewing the Node Details reference or jump straight into deploying your first application.