Physical device
This article refers to Platform v2.9.0. The current Platform version is v3.4.0.
Overview
This guide walks you through installing Barbara OS on a physical edge device. You will download the firmware from Barbara Panel, flash it onto an SD card or USB drive with Etcher, and boot the node from that media. Once the installation finishes, the node is ready to be registered against Barbara Panel.
There are two installation paths, depending on the boot medium your hardware supports:
- SD card — Raspberry Pi family, Advantech UNO-220, and similar SD-bootable devices.
- USB pendrive — devices with embedded storage (Beelink BT4-Pro, Schneider Harmony P6, etc.) that boot from the installer USB and then flash internal storage.
Download the firmware
In Barbara Panel, open the three-line menu in the top-left corner and select OS Images.
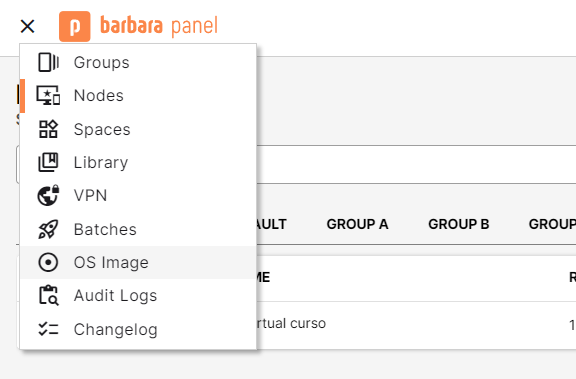
OS Images entry in the main menu
The OS Images view lists the official Barbara OS builds for every supported hardware model. Locate the row for your device, then click the Download button (the arrow icon) in the Actions column. A .zip archive containing the Barbara OS binaries will be saved to your computer.
For the full list of supported devices, check the Supported Hardware overview.
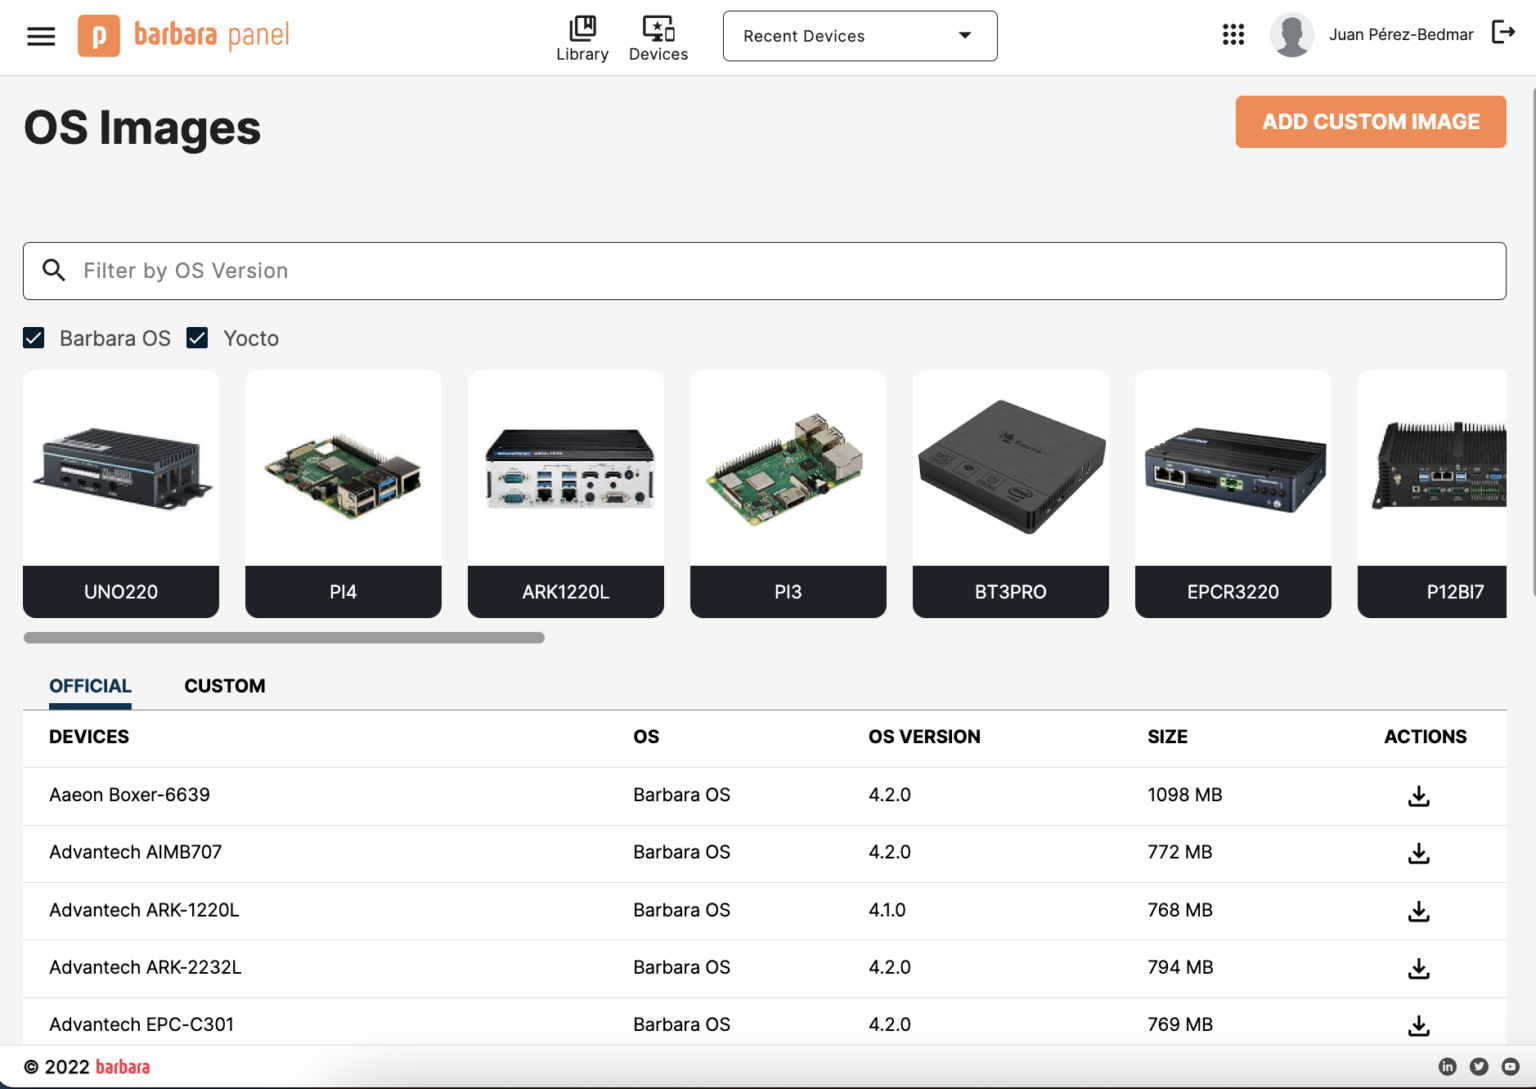
OS Images view
Burn the image
Use Etcher (download here) to flash the downloaded Barbara OS image onto your media. The medium depends on the target node:
- SD card — for nodes that boot from SD storage.
- USB pendrive — for nodes that boot from internal disk and use the USB only as an installer.
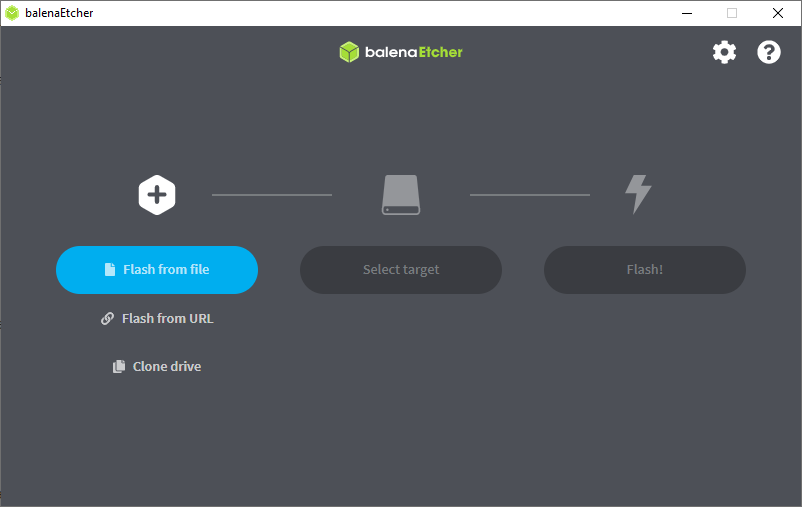
Balena Etcher flashing a Barbara OS image
Depending on the size of the image and the speed of your media, the flash takes a few minutes.
Install Barbara OS
The first boot can take up to 10 minutes, depending on the hardware. Allow it to finish before assuming something is wrong.
Pick the section that matches your boot medium:
Using an SD card
- Insert the SD card. With the node powered off, insert the flashed SD card into the device's SD slot.
- Power on the node. The system detects the Barbara OS image on the SD card and starts the installation automatically.
- Wait for completion. Installation time depends on the hardware (up to 10 minutes is normal). The system may reboot automatically when it is done.
This method only works on nodes that support booting from an SD card. Check your device manual to confirm before proceeding.
Using a USB pendrive
You will need a keyboard, a display, and the flashed USB drive.
- Boot into the BIOS/UEFI setup. Connect the keyboard and display, power the node on, and press the key combination required by your hardware to enter the firmware setup (consult your device manual).
- Set the USB drive as the first boot device. Save the change and exit.
- Boot from the USB. On restart, the node detects the Barbara OS installer on the USB and runs it. Follow any on-screen prompts.
- Restore the boot order. Once the installation finishes, re-enter the BIOS/UEFI setup and set the internal storage as the first boot device. While you are there, enable automatic restart after power loss so the node recovers from outages without manual intervention.
BIOS/UEFI interfaces vary across manufacturers. The steps above are common to most, but the exact menu names and keys depend on your hardware.
Summary
You have downloaded the Barbara OS image for your hardware, flashed it onto SD card or USB drive with Etcher, and booted the node from that medium. The next step is to retrieve your Barbara ID — see Get the Barbara ID of the node — and register the node in Panel.