i.MX8M (Harmony BX1 & MXA-200)
This guide details the installation process for devices based on the i.MX8M platform. This procedure applies to both the Schneider Harmony BX1 and the ADLINK MXA-200 models.
Using this method, you will flash Barbara OS onto the device's internal storage (eMMC) using an SD card as the installation medium.
Download firmware
In Barbara PANEL, select "OS Images" from the three-line menu on the top left.
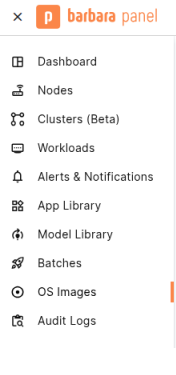
Barbara OS in Main Menu
This will take you to the OS Images View. Here, you'll find a list of official Barbara OS firmware versions compatible with various hardware models.
Visit this section for a comprehensive list of compatible devices.
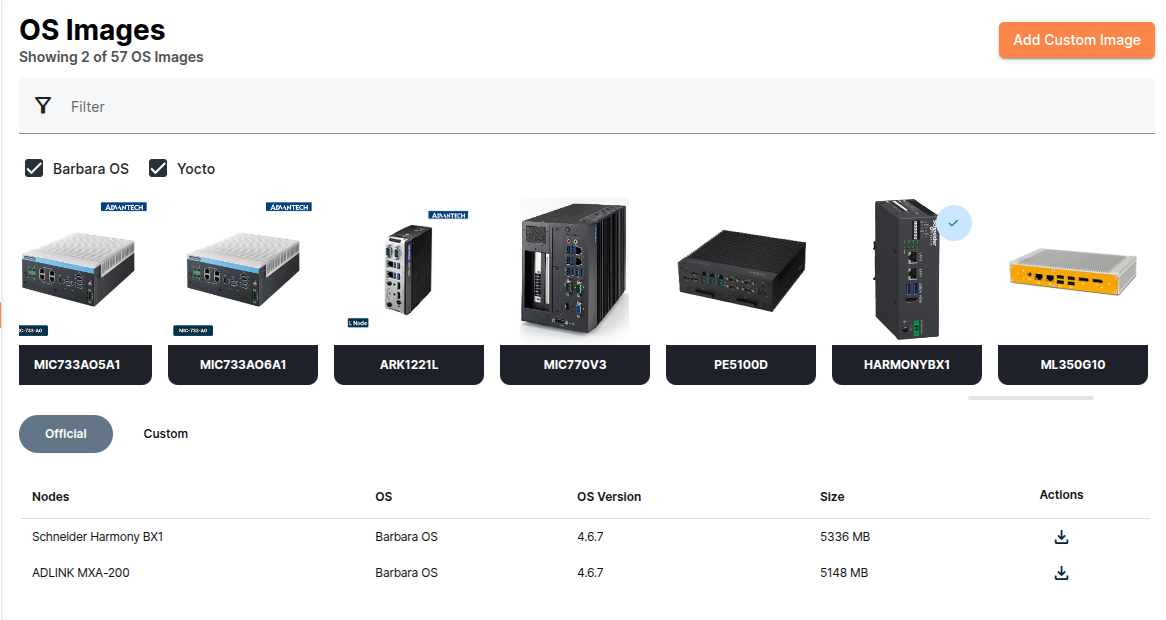
OS Images View
- Locate the specific image for your model (Harmony BX1 or ADLINK MXA-200).
- Click the Download button (indicated by an arrow icon) under the Actions column.
- You will receive a compressed file (.zip) containing the Barbara OS binary files.
Flash the SD Card
To flash the downloaded Barbara OS image, we'll be using a user-friendly application called Etcher. You can download Etcher from the official website.
Unlike other platforms that may use USB drives, the i.MX8M platform requires an SD Card to initiate the installation process.
- Unzip the firmware image on your computer.
- Use BalenaEtcher to flash the image onto the SD Card.
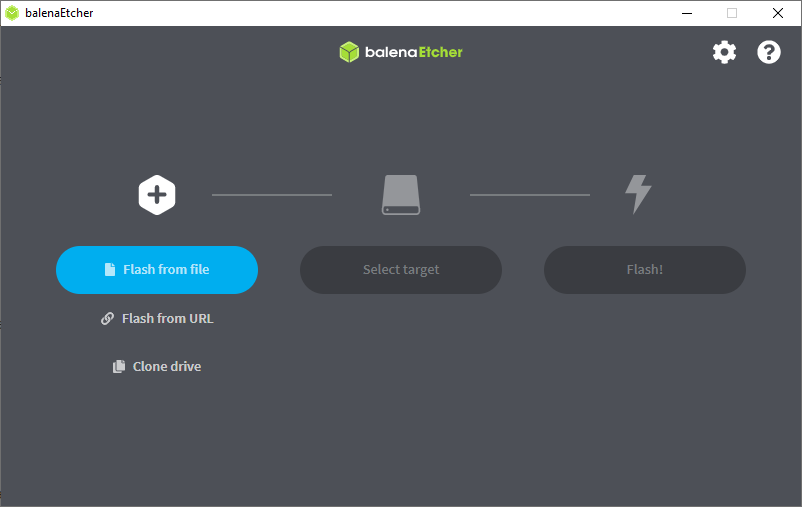
Balena Etcher
- Once finished, safely eject the card.
Hardware Configuration (DIP switch)
Before powering on the unit, the physical DIP switch must be set to the correct position to enable booting from the SD card slot. This requires accessing the interior of the device by unscrewing the casing; although it is a simple operation, it is a necessary step for the initial setup.
If the device has been previously flashed with Barbara OS version 4.6.7 or higher, or if the internal eMMC is empty, it is not necessary to open the device to access the DIP switch, as it does not need to be modified. In these cases, the SD card will be automatically recognized as the boot priority.
| Device Model | Switch Action | Installation State |
|---|---|---|
| Schneider Harmony BX1 | Move Switch 4 | ON position |
| ADLINK MXA-200 | Move Switch 3 | ON position |
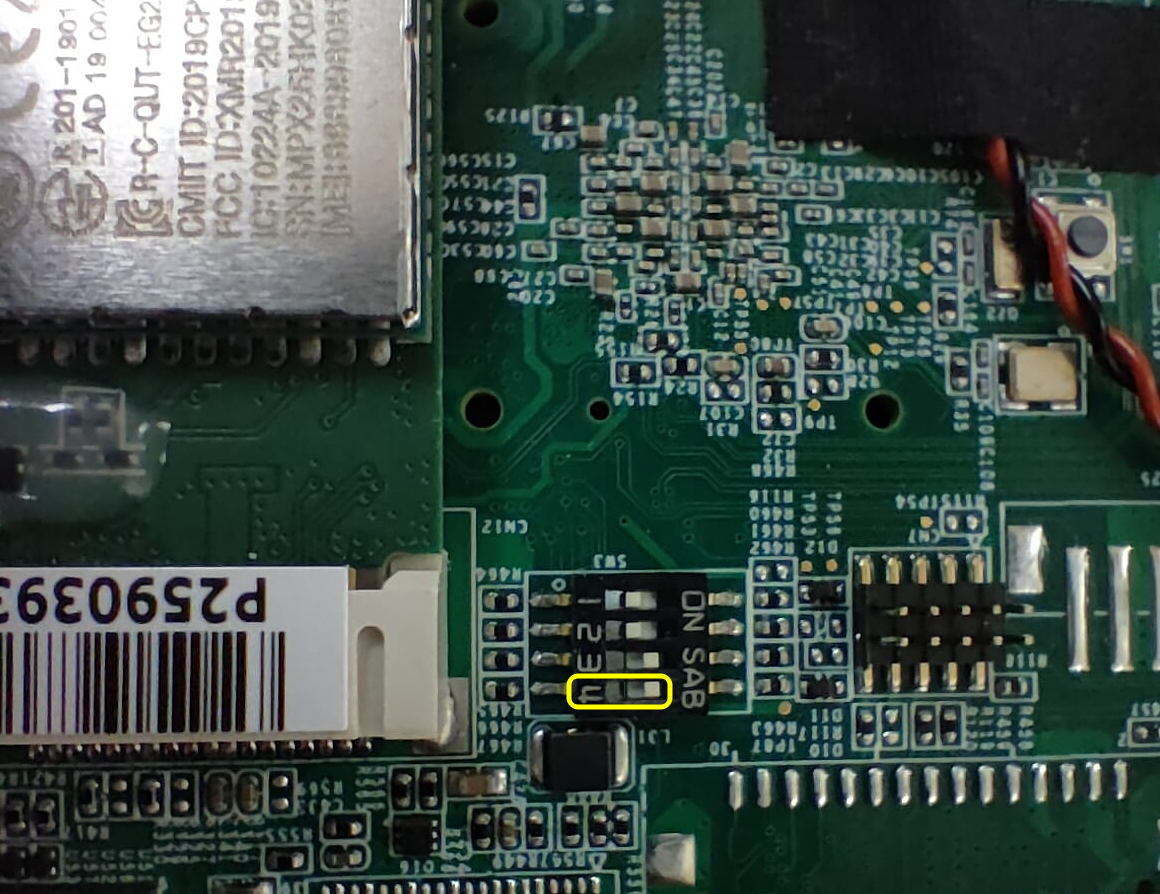
Schneider BX1: Switch 4 in ON (right in the image)
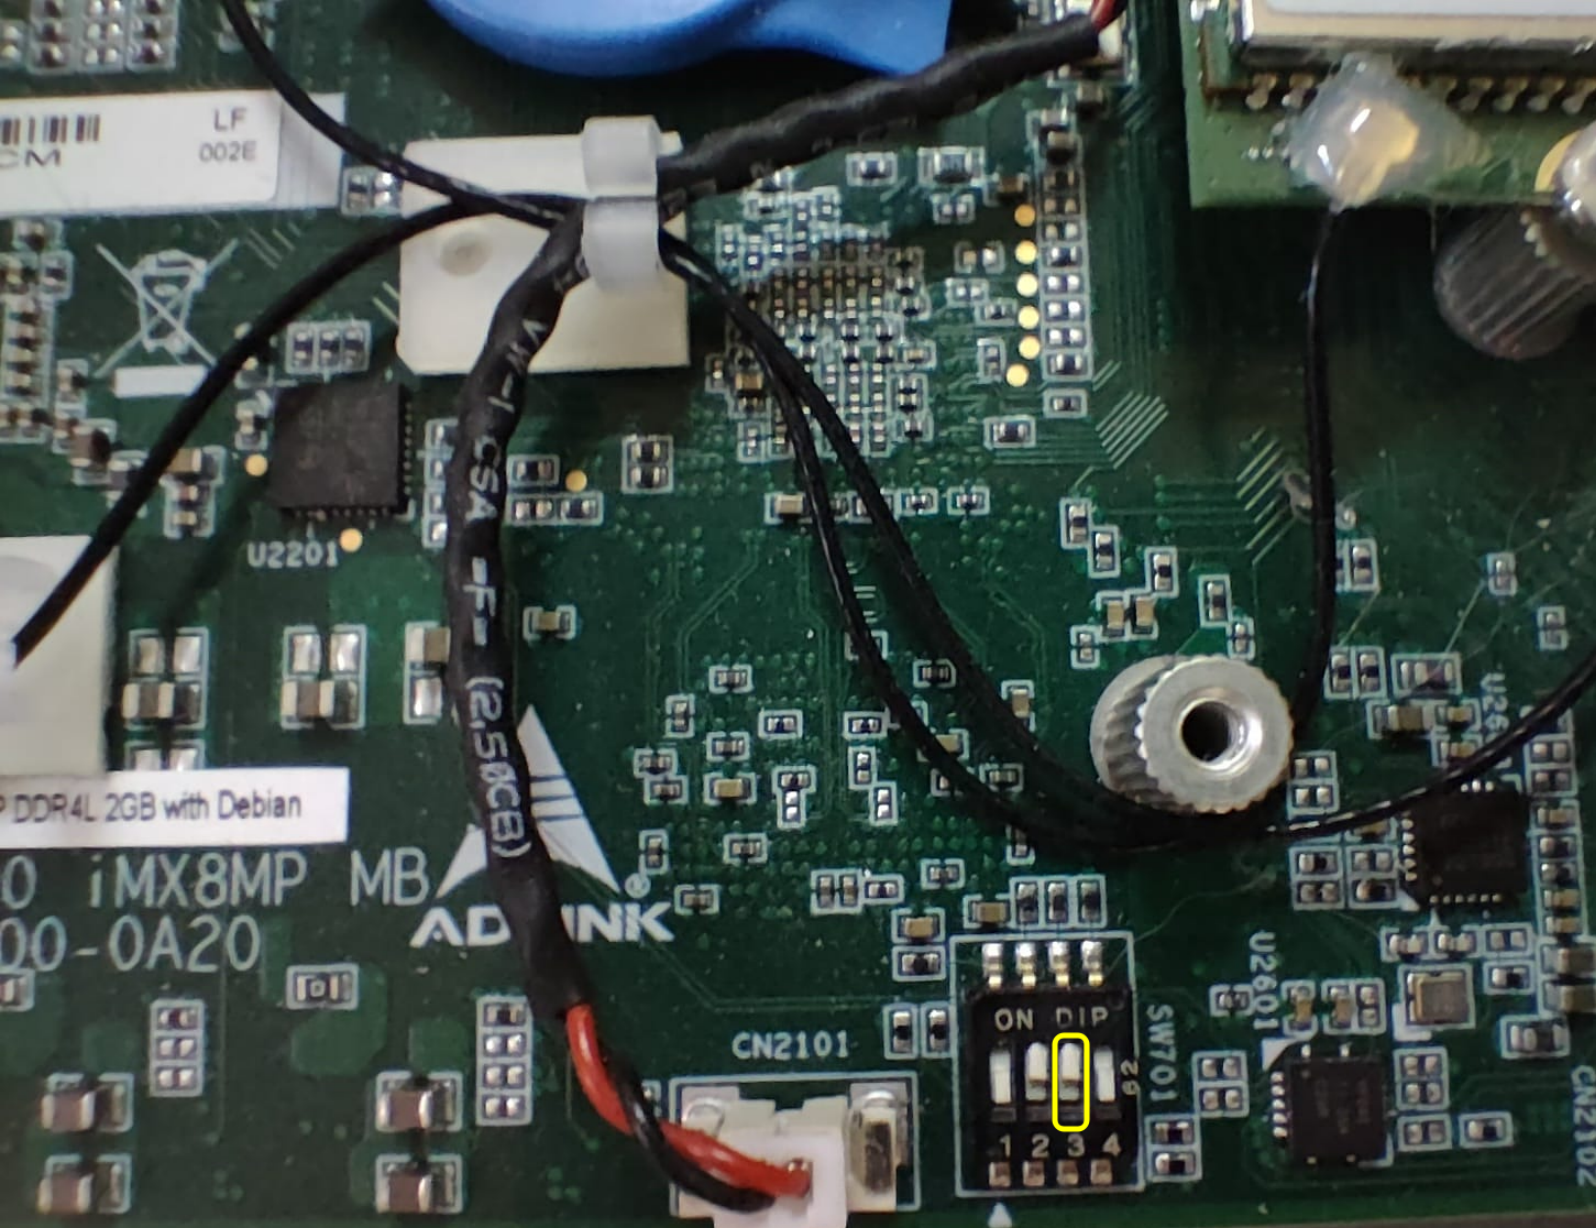
ADLINK MXA-200: Switch 3 in ON (up in the image)
Installation Process
- Insert the SD Card and connect the power supply.
- The installation will begin automatically, flashing the internal eMMC.
- Wait for Completion: The installation process typically takes between 10 and 20 minutes.
Use the following table to monitor the progress via the device LEDs:
| Stage | Schneider Harmony BX1 | ADLINK MXA-200 |
|---|---|---|
| 1. Flashing eMMC |  LED 4 active in cycles. | 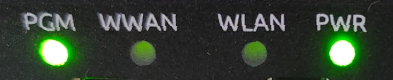 PGM LED stays ON. |
| 2. Booting | 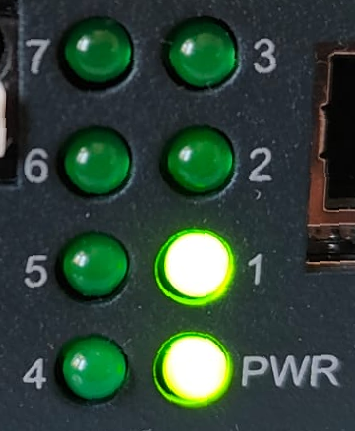 LED 1 stays ON. |  WLAN LED stays ON. |
| 3. System Started (Safe to Power-off) | 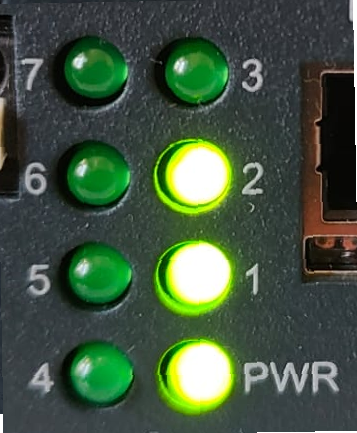 LED 2 starts blinking. |  WWAN LED starts blinking. |
Post-Installation Steps
Once the internal eMMC flashing is complete, you must wait for the corresponding LED to start blinking (Stage 3). This indicates the system has successfully initialized. If the device is powered off before this stage, the installation will be incomplete and the process must be restarted.
- Wait for the blinking LED: Confirm that the "System Started" LED (LED 2 or WWAN) is blinking.
- Power off the device.
- Remove the SD Card.
- Revert the DIP switch to its default operational position (OFF) to prevent installation loops:
- BX1: Move Switch 4 to OFF position (left in the image).
- MXA-200: Move Switch 3 to OFF position (down in the image).
- Power the device back on. Your Edge Node is now ready.
You can also verify the correct system startup by connecting a monitor. Once the initialization is complete, the Barbara logo will be displayed on the screen.

Operational LED States
Once the device is running normally and the SD card has been removed, the LEDs indicate the provisioning status:
| Status | Schneider Harmony BX1 | ADLINK MXA-200 |
|---|---|---|
| 4. Not Provisioned | 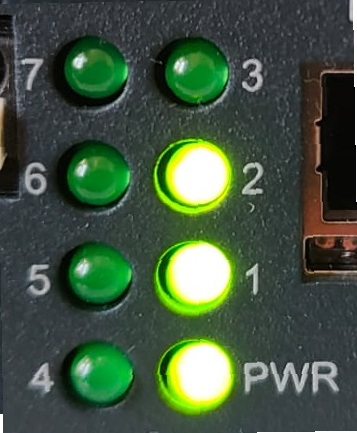 Waiting for registration. |  Waiting for registration. |
| 5. Provisioned | 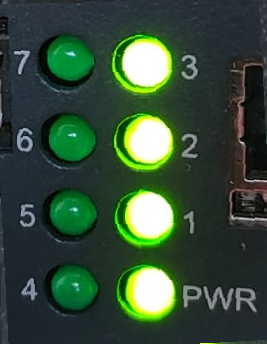 Operational state. | 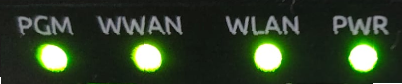 Operational state. |