NVIDIA Jetson device
This article refers to Platform v2.9.0. The current Platform version is v3.3.0.
Overview
Installing Barbara OS on NVIDIA Jetson devices is different from the procedure used for other supported hardware: Jetson boards run a Yocto-based image and must be placed in recovery mode before they accept a new firmware. This guide walks you through downloading the image, putting the board in recovery mode, and running the doflash.sh script.
The procedure has been validated on:
- NVIDIA Jetson Orin Nano Developer Kit
- Advantech MIC-711-ON 2A1
Prerequisites
You need a Linux host machine to drive the flashing process. On that host:
-
Install the Device Tree Compiler (
dtc). On Debian/Ubuntu:sudo apt update
sudo apt install device-tree-compiler -
Make sure you have a micro-USB cable to connect the Jetson to the host.
Download and extract the firmware
In Barbara Panel, open the three-line menu in the top-left corner and select OS Images.
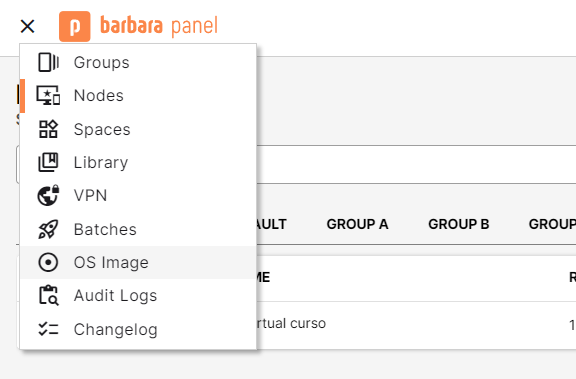
OS Images entry in the main menu
Locate your Jetson device in the OS Images list and click the Download button (the arrow icon) in the Actions column. You will get a .tar.gz archive containing the Yocto firmware for your board.
For the full list of supported devices, check the Supported Hardware overview.
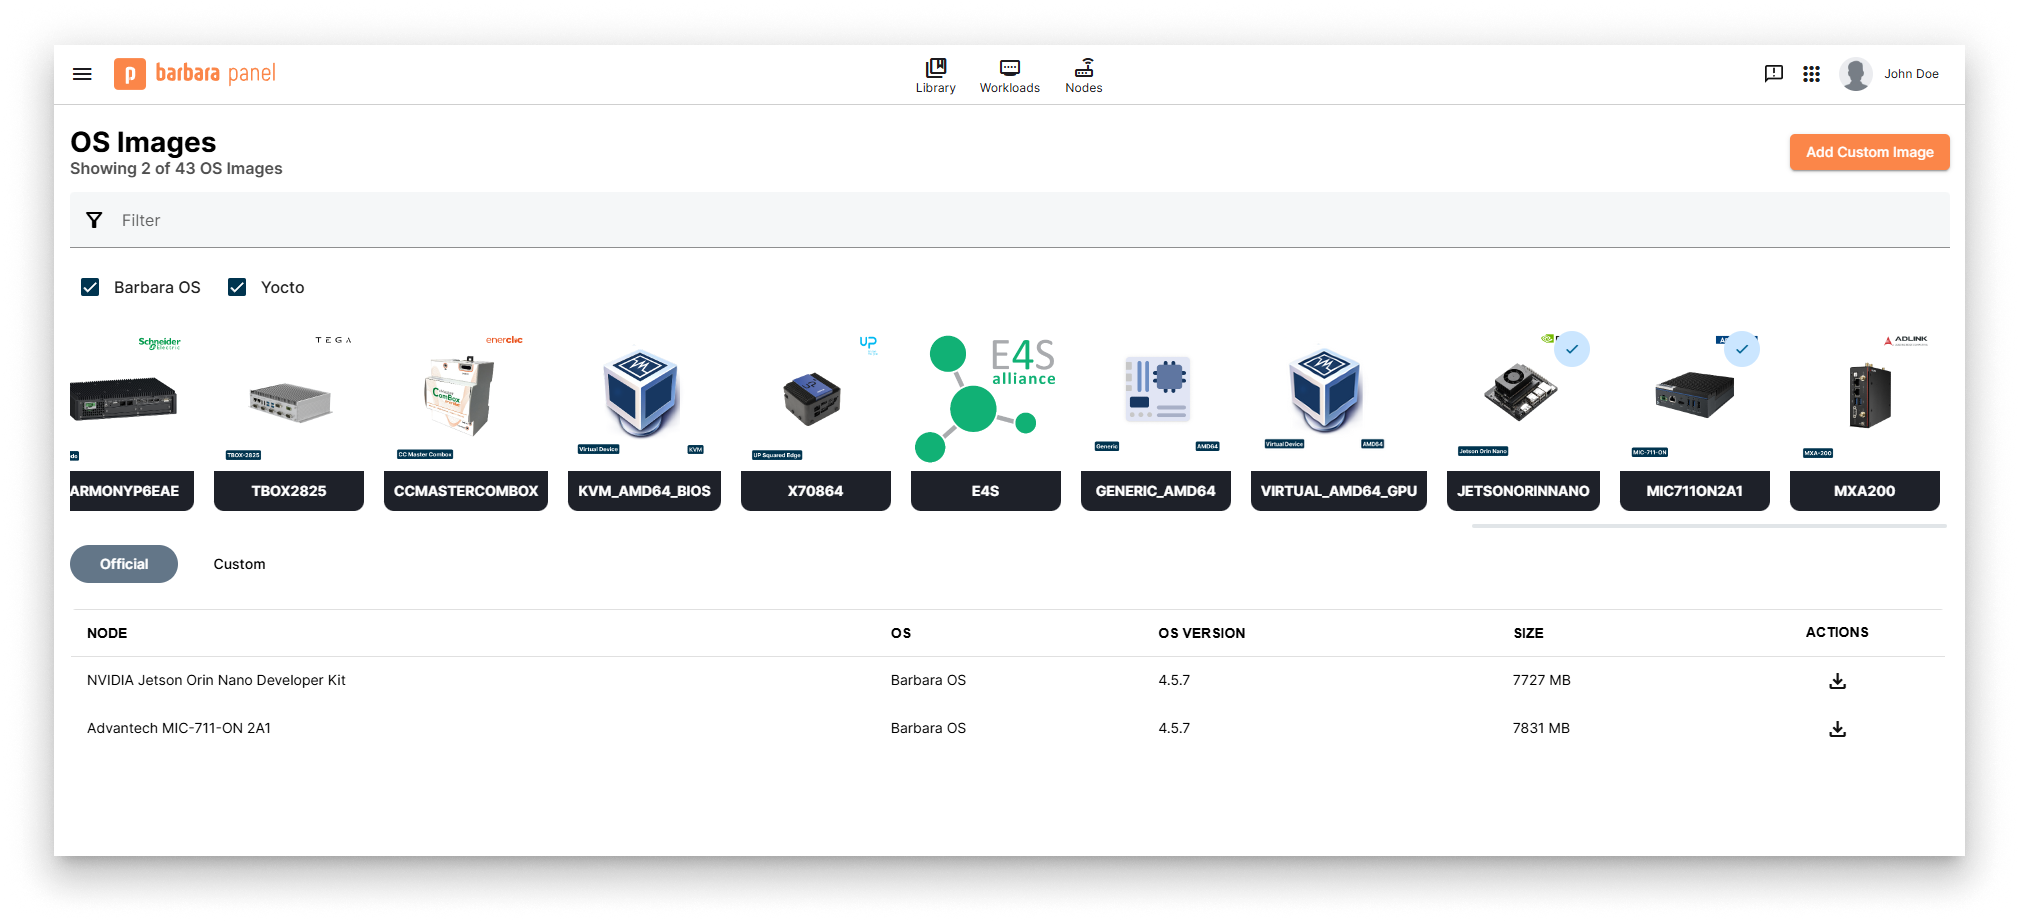
OS Images view filtered for Jetson devices
Extract the archive on your Linux host. Replace <archive> with the actual file name returned by Panel (the name encodes the device model and the firmware version):
cd ~/Downloads
mkdir expand
tar -xzvf <archive>.tegraflash.tar.gz -C expand
You now have a folder with the firmware files and the doflash.sh flashing script.
Enter recovery mode
The Jetson must be in recovery mode before the host can flash it. Two procedures are documented below; pick the one that matches your hardware.
Method 1 — J14 button header (Jetson Orin Nano Developer Kit)
The Jetson Orin Nano dev kit exposes the recovery, reset, and power signals on the J14 button header. The two pins you need are:
| Function | Pin on J14 |
|---|---|
| GND | Pin 9 |
| FORCE RECOVERY | Pin 10 |
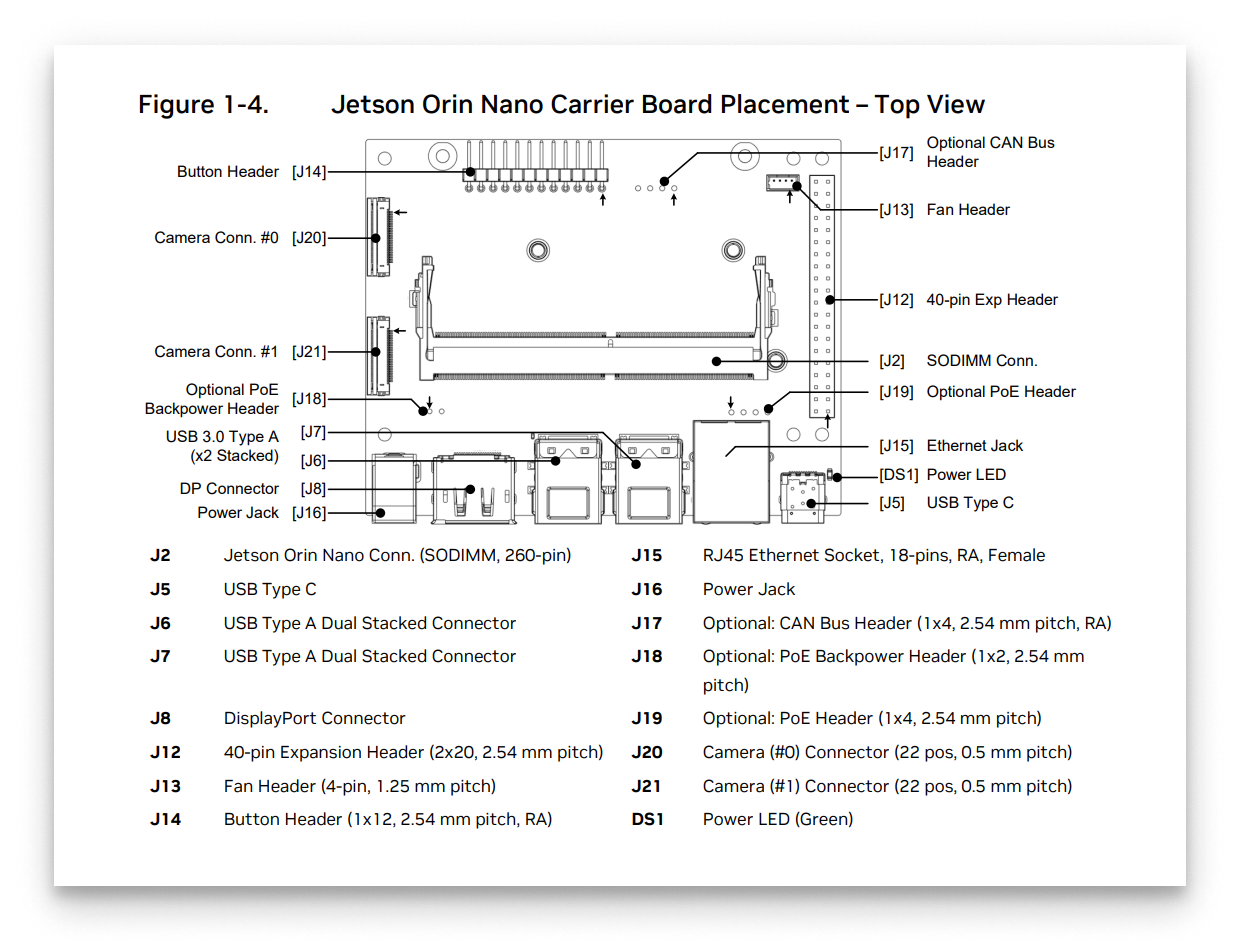
J14 button header location on the Jetson Orin Nano
To activate recovery mode:
- Power off the Jetson Orin Nano and disconnect it from power.
- Connect a jumper between Pin 10 (FORCE RECOVERY) and Pin 9 (GND).
- Reconnect power (or press the power button).
- Wait a few seconds, then remove the jumper.
The board is now in recovery mode.
Method 2 — REC + Reset buttons (Advantech MIC-711-ON 2A1)
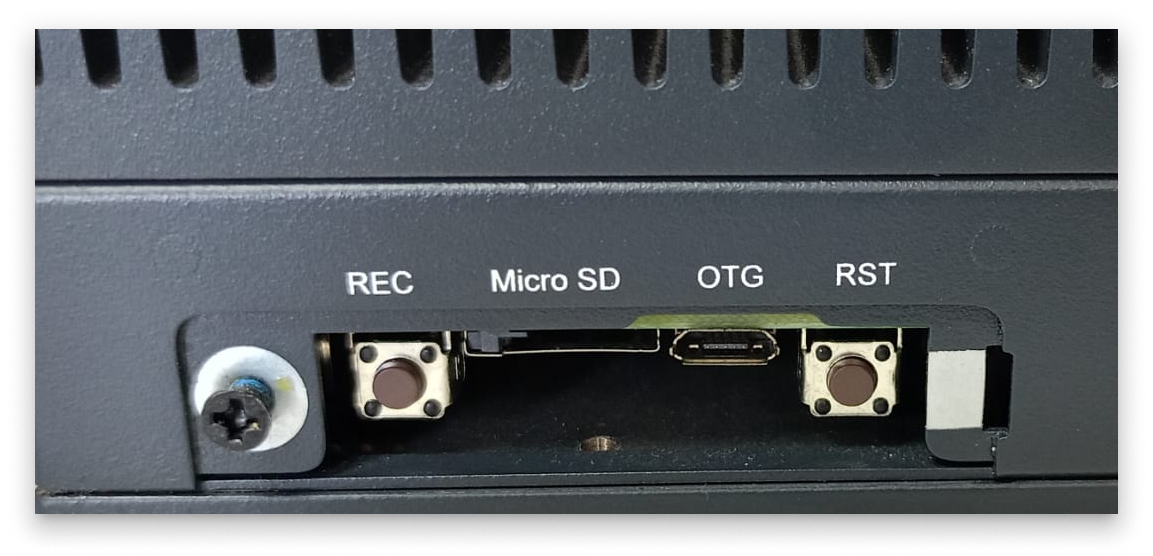
Recovery and Reset buttons on the Advantech MIC-711
- Press and hold the REC (Recovery) button.
- While holding REC, press and release the Reset button.
- Release REC after a few seconds.
The board is now in recovery mode.
Verify recovery mode
-
Connect the Jetson to your Linux host with a micro-USB cable.
-
On the host, list connected USB devices:
lsusb -
Look for an entry with one of the following NVIDIA product IDs:
7623— Jetson Orin Nano P3767-0004 (4 GB RAM).7523— Jetson Orin Nano Developer Kit P3767-0003 or P3767-0005 (8 GB RAM).
If you see the matching ID, the device is in recovery mode and ready to flash.
For other Jetson models, check the NVIDIA Developer Guide on Force Recovery Mode.
Flash the firmware
From the folder where you extracted the archive, run the doflash.sh script with sudo:
sudo sh doflash.sh
The script flashes the device and reboots it when it finishes. The Jetson will come up with Barbara OS installed.
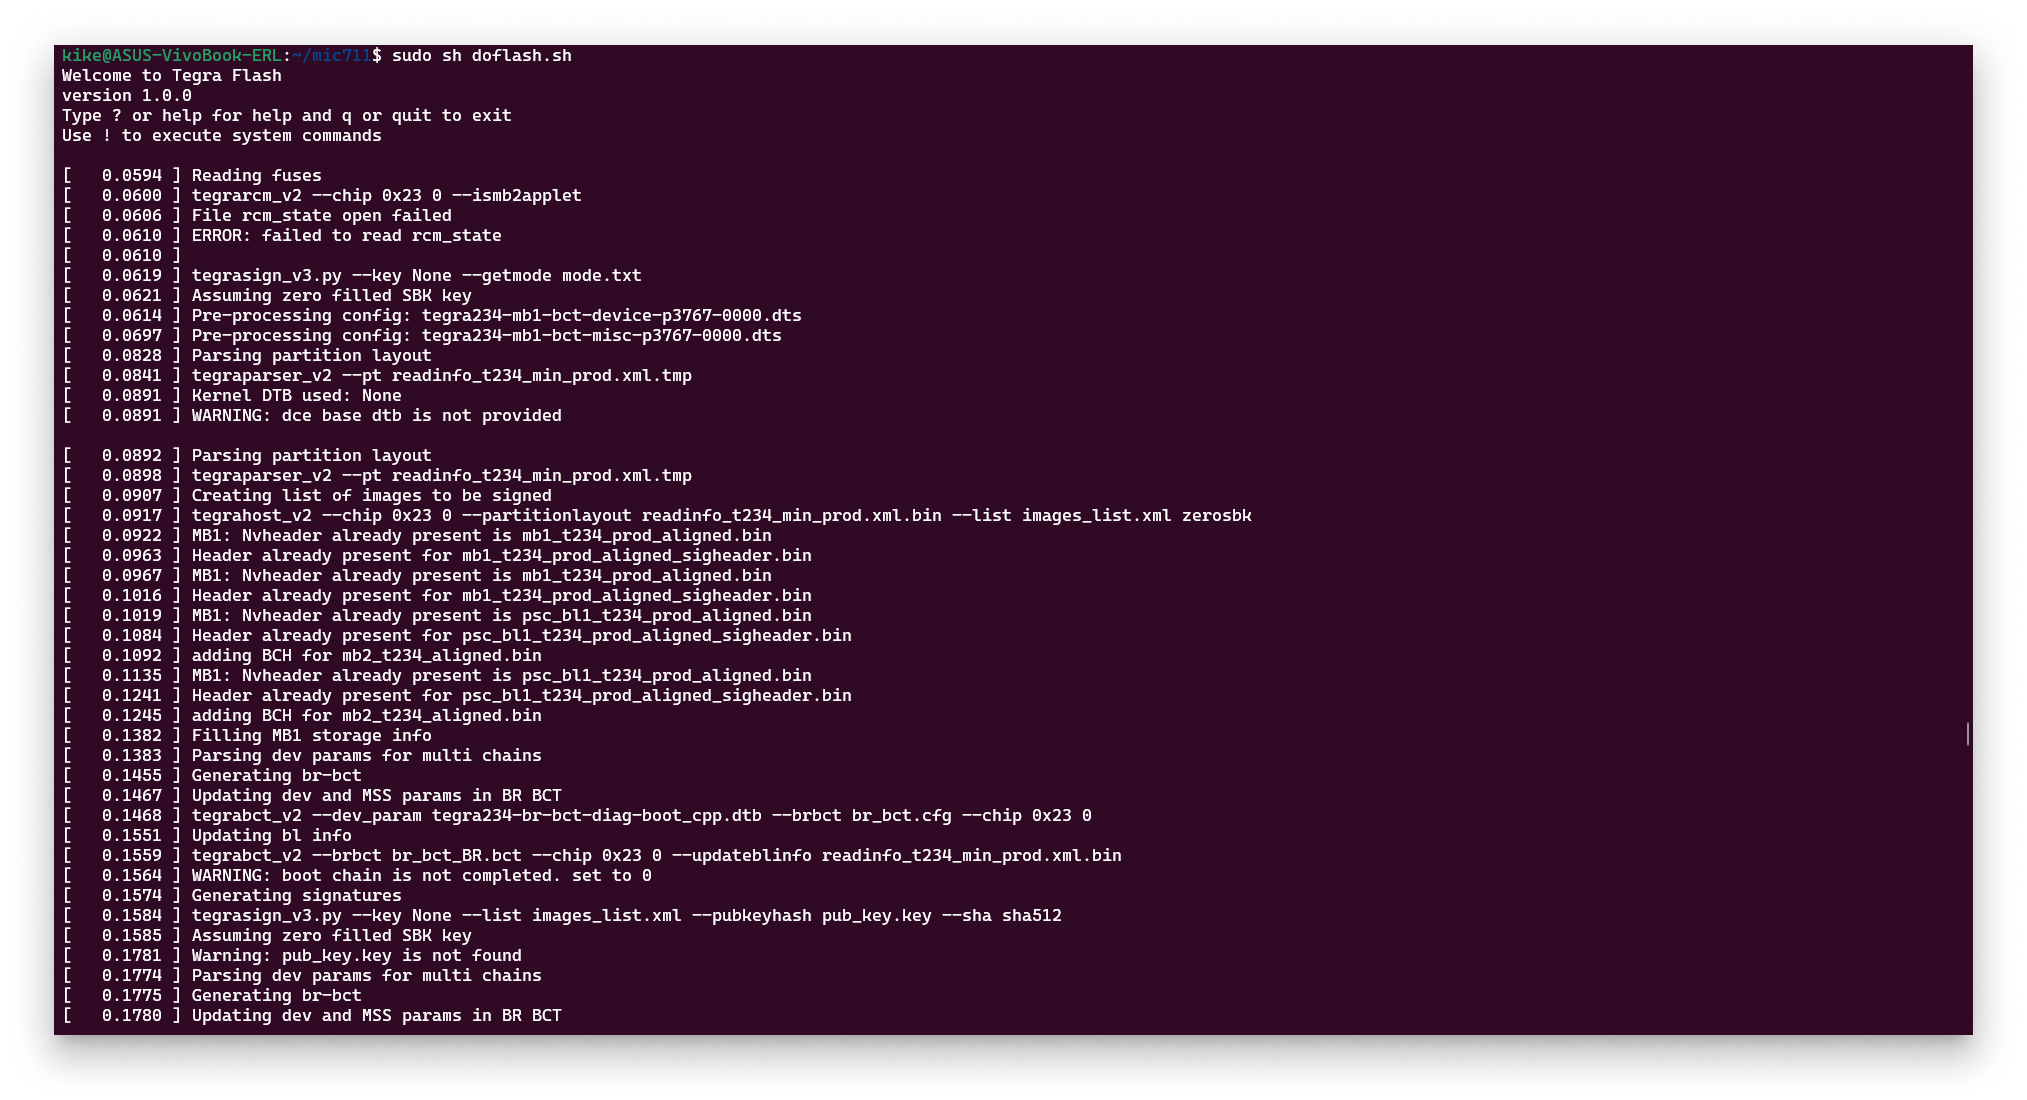
doflash.sh installing the firmware
Summary
You downloaded the Yocto firmware for your Jetson, placed the device in recovery mode, and flashed it with doflash.sh. The next step is to retrieve the Barbara ID of the node — see Get the Barbara ID of the node — and register it in Panel.