Deploy a TensorFlow model
This article refers to Platform v3.2.0. The current Platform version is v3.3.0.
Overview
This guide walks you through deploying a trained TensorFlow / Keras model on a Barbara edge node and running inference against it from any machine on the same network. By moving inference to the edge you reduce latency, keep data local, and unlock applications that cannot tolerate a round-trip to the cloud.
You will:
- Save your model in the TensorFlow SavedModel format.
- Upload it to the Barbara Panel's App Library.
- Deploy it to a compatible edge node through the model wizard.
- Query the served model over REST.
Prerequisites
- The model must be saved in the TensorFlow SavedModel format. See the upstream TensorFlow SavedModel guide.
- The target node must be x86 with an AVX-enabled kernel — check the device's data sheet in the Supported Hardware overview.
To follow the walkthrough end-to-end, download the demo model below and keep it handy:
Download the demo model: halfplustwo_1.0.0.zip.
Upload the model to the Library
Create the model entry
- Open the Library view in Barbara Panel.
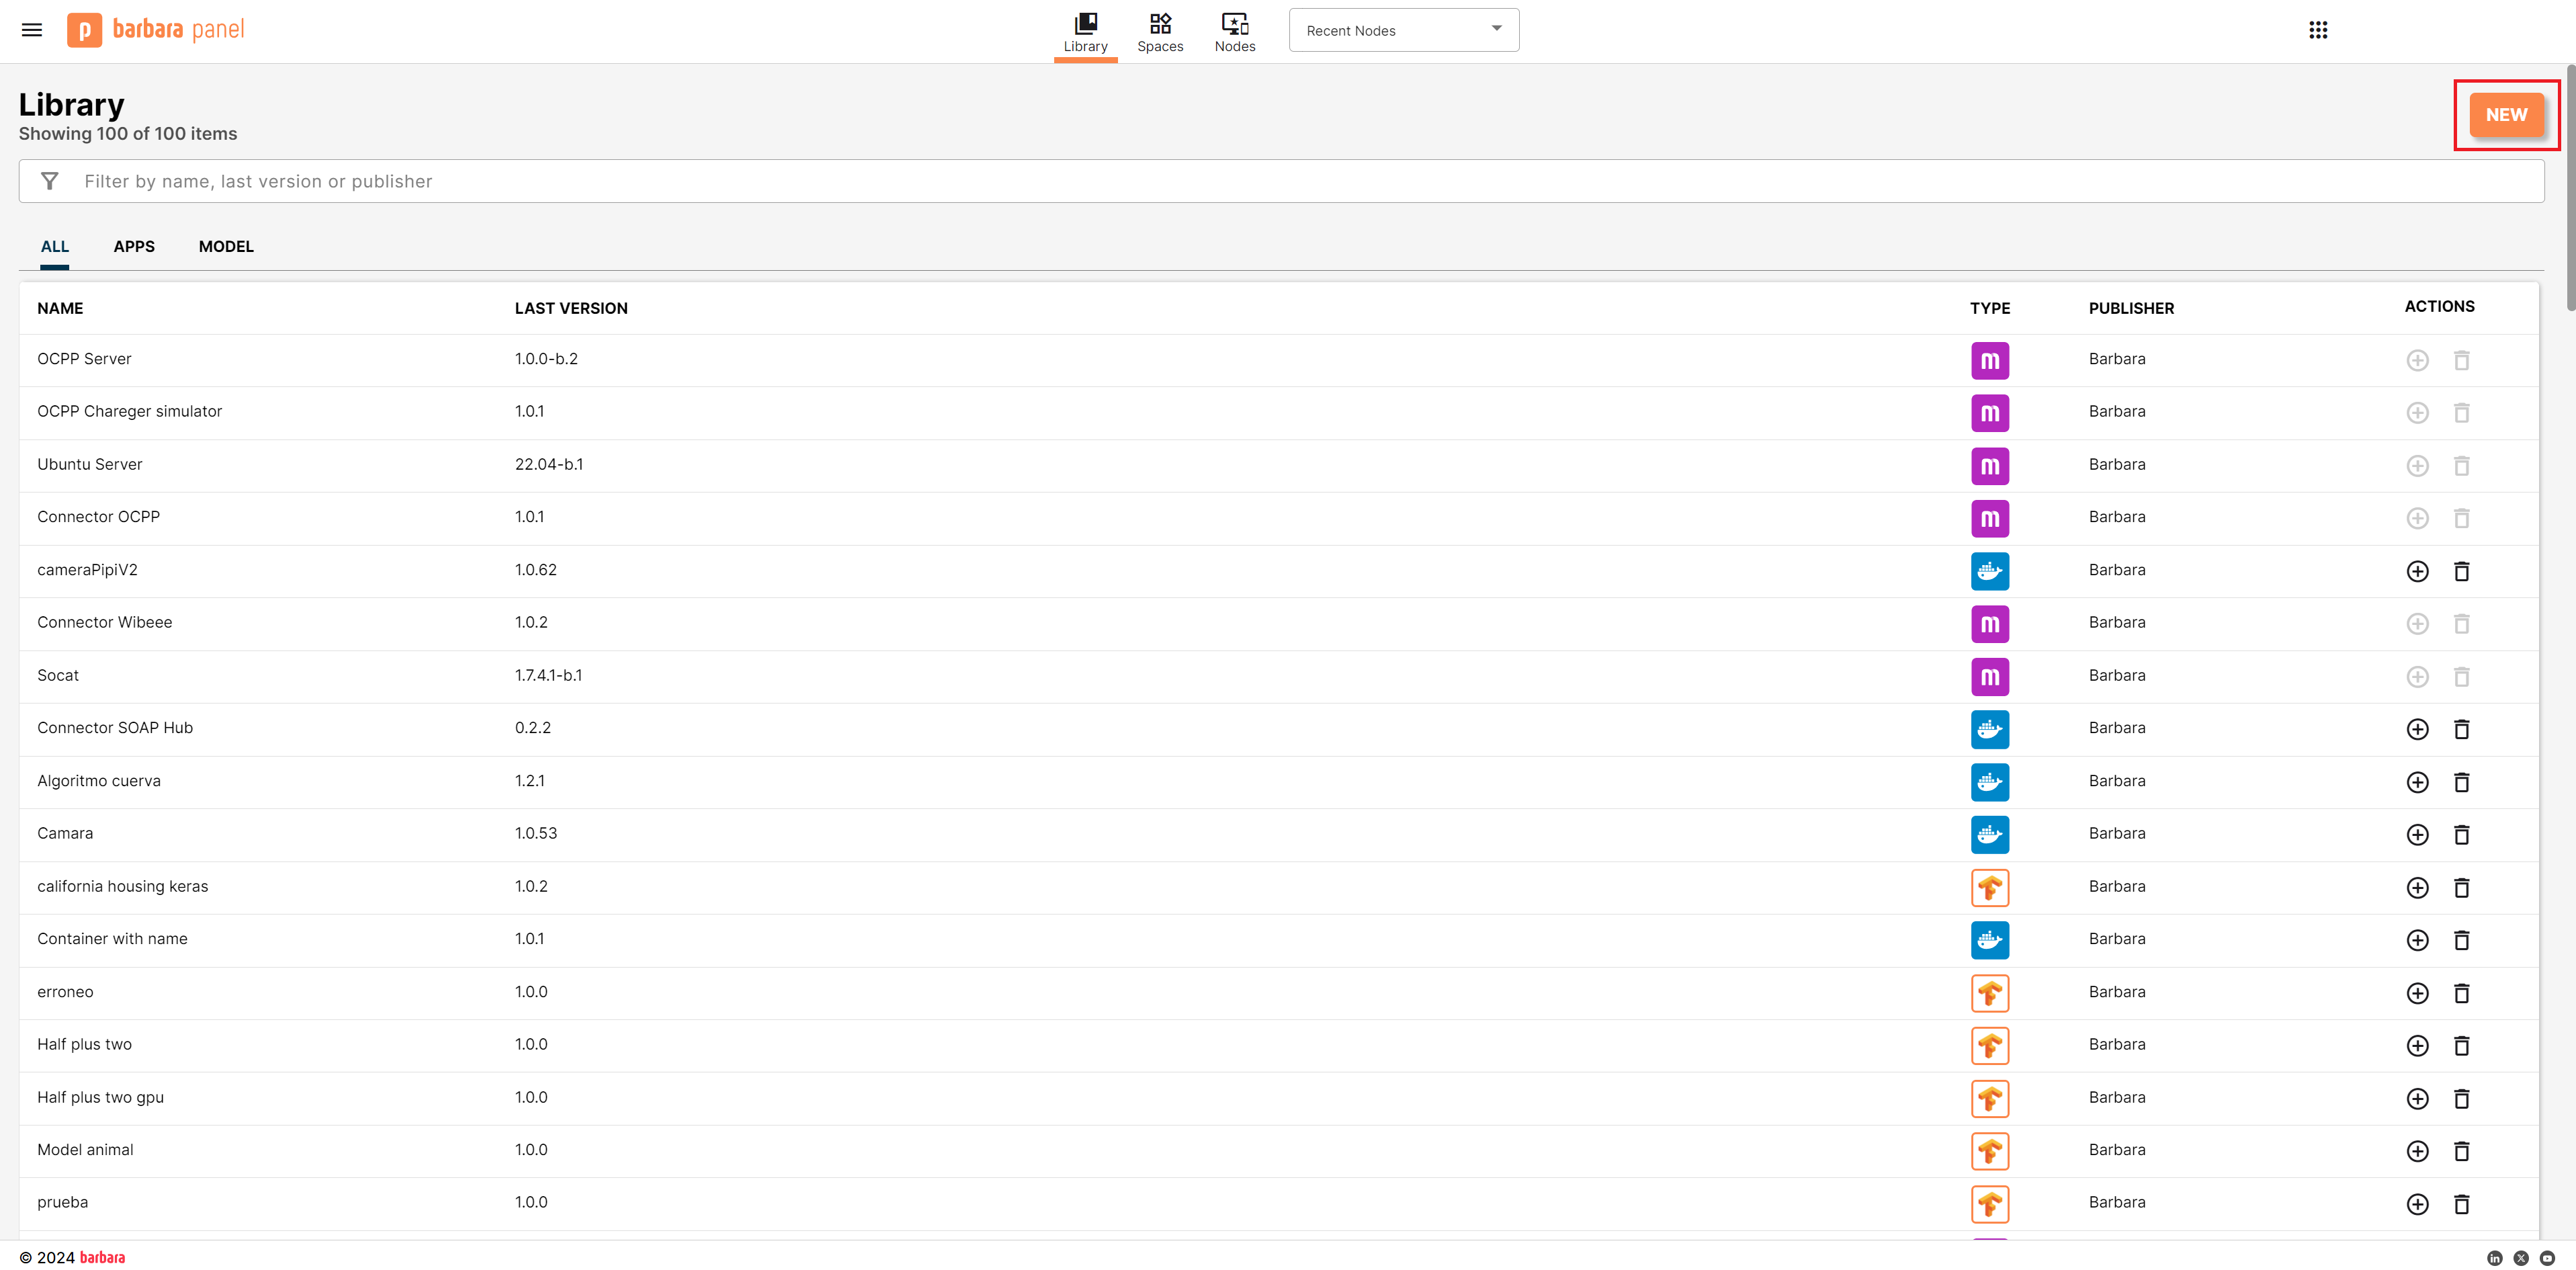
Library view
- Click New app to open the Select Library Item popup.
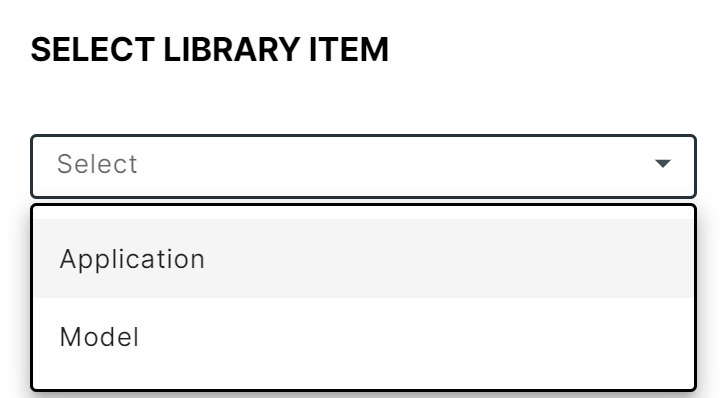
Select Library Item popup
- Choose Model and click New again. Fill in the New Model form:
- Name — for example,
half_plus_two. - Logo, pictures, and description — all optional.
- Name — for example,
- Click CREATE.
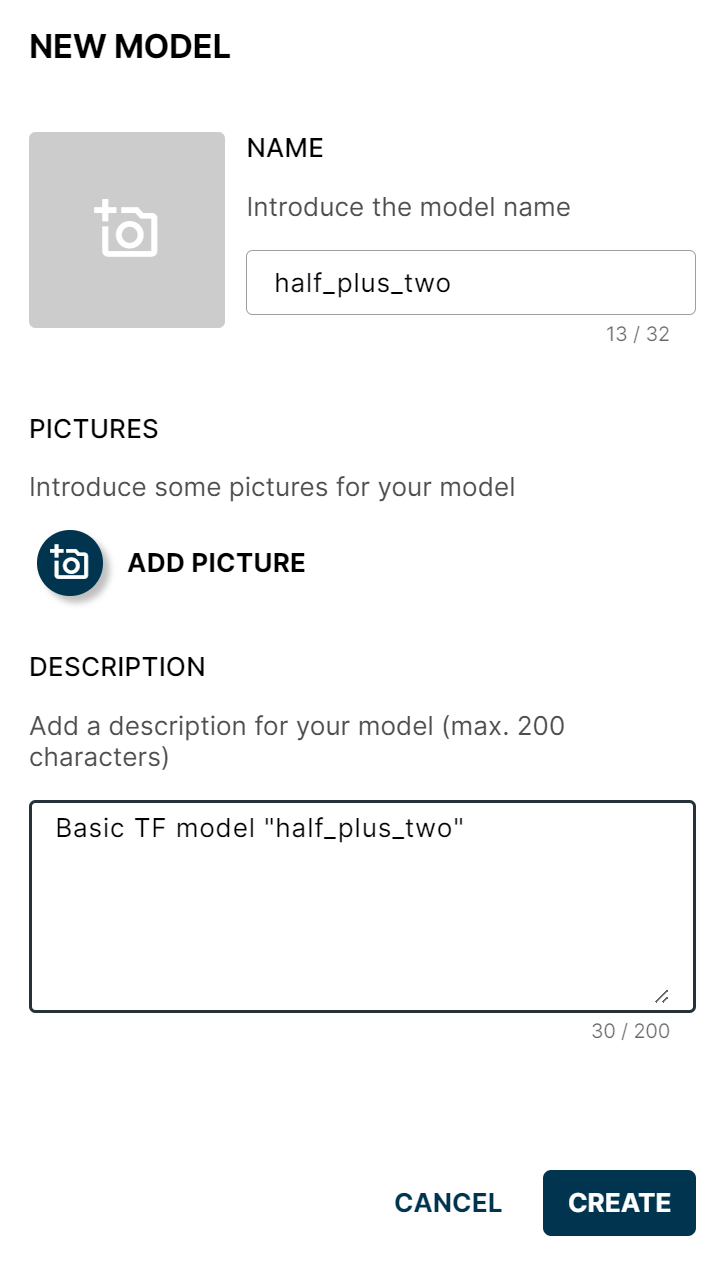
New Model form
The new model appears in the Library, but with no versions yet.
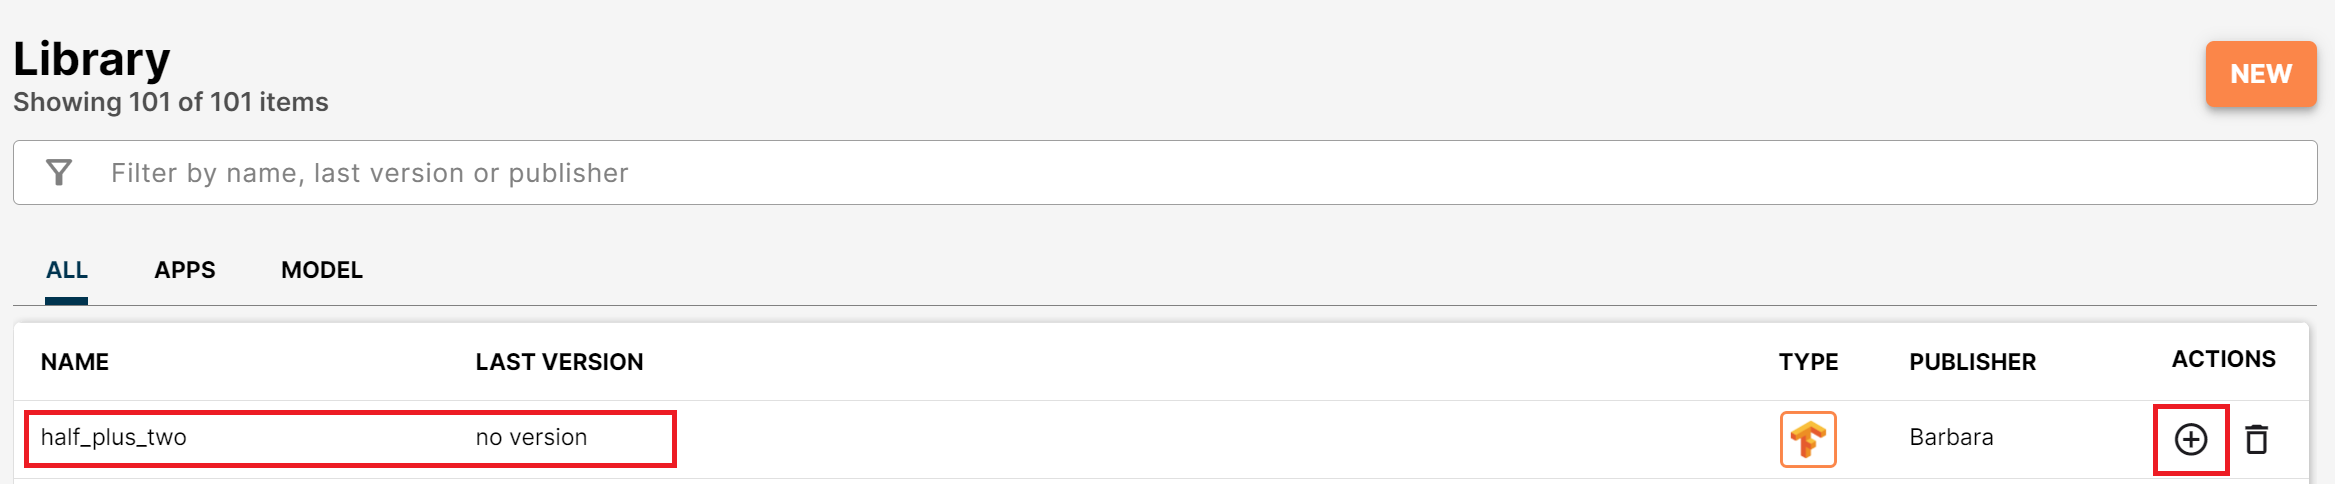
Model created without versions
Add the first version
- Click the + button on the model's row to open the New Version dialog.
- Pick the demo zip (or any other SavedModel zip), set a version number, and add release notes (optional).
- Click CREATE.
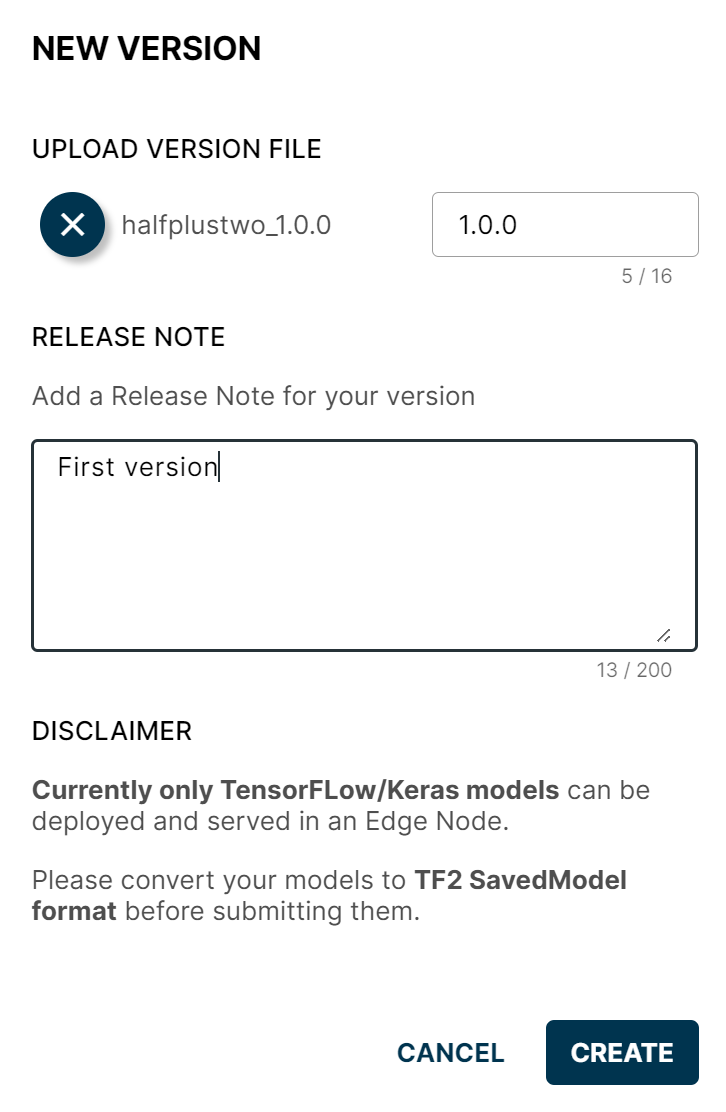
New Version popup
The model is now in the Library, ready to deploy on compatible nodes.
Deploy the model to a node
Open the Node Details page of a compatible node.
Add a Model card
Click Add card and choose Model to launch the model wizard.
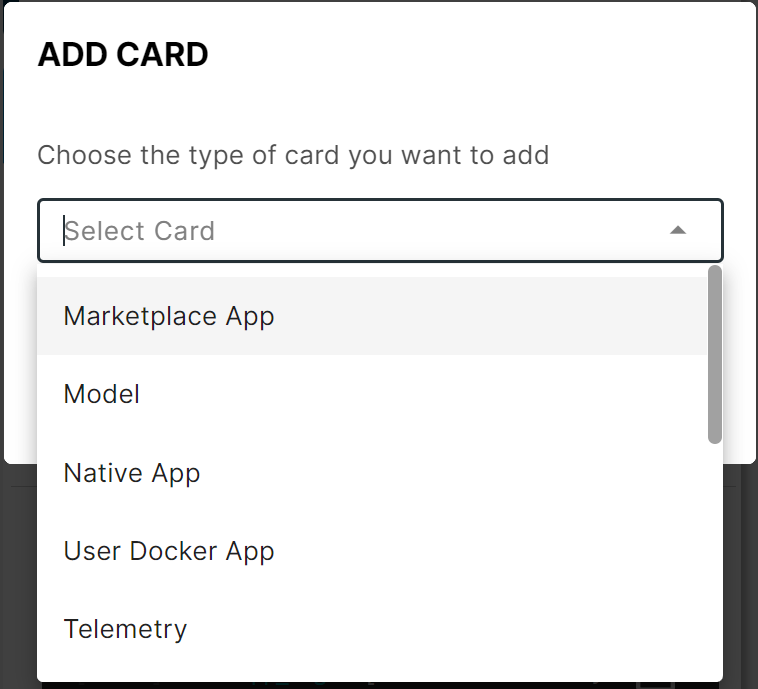
Add Model card
Select the model
In the wizard, pick the model you uploaded (half_plus_two) and its version.
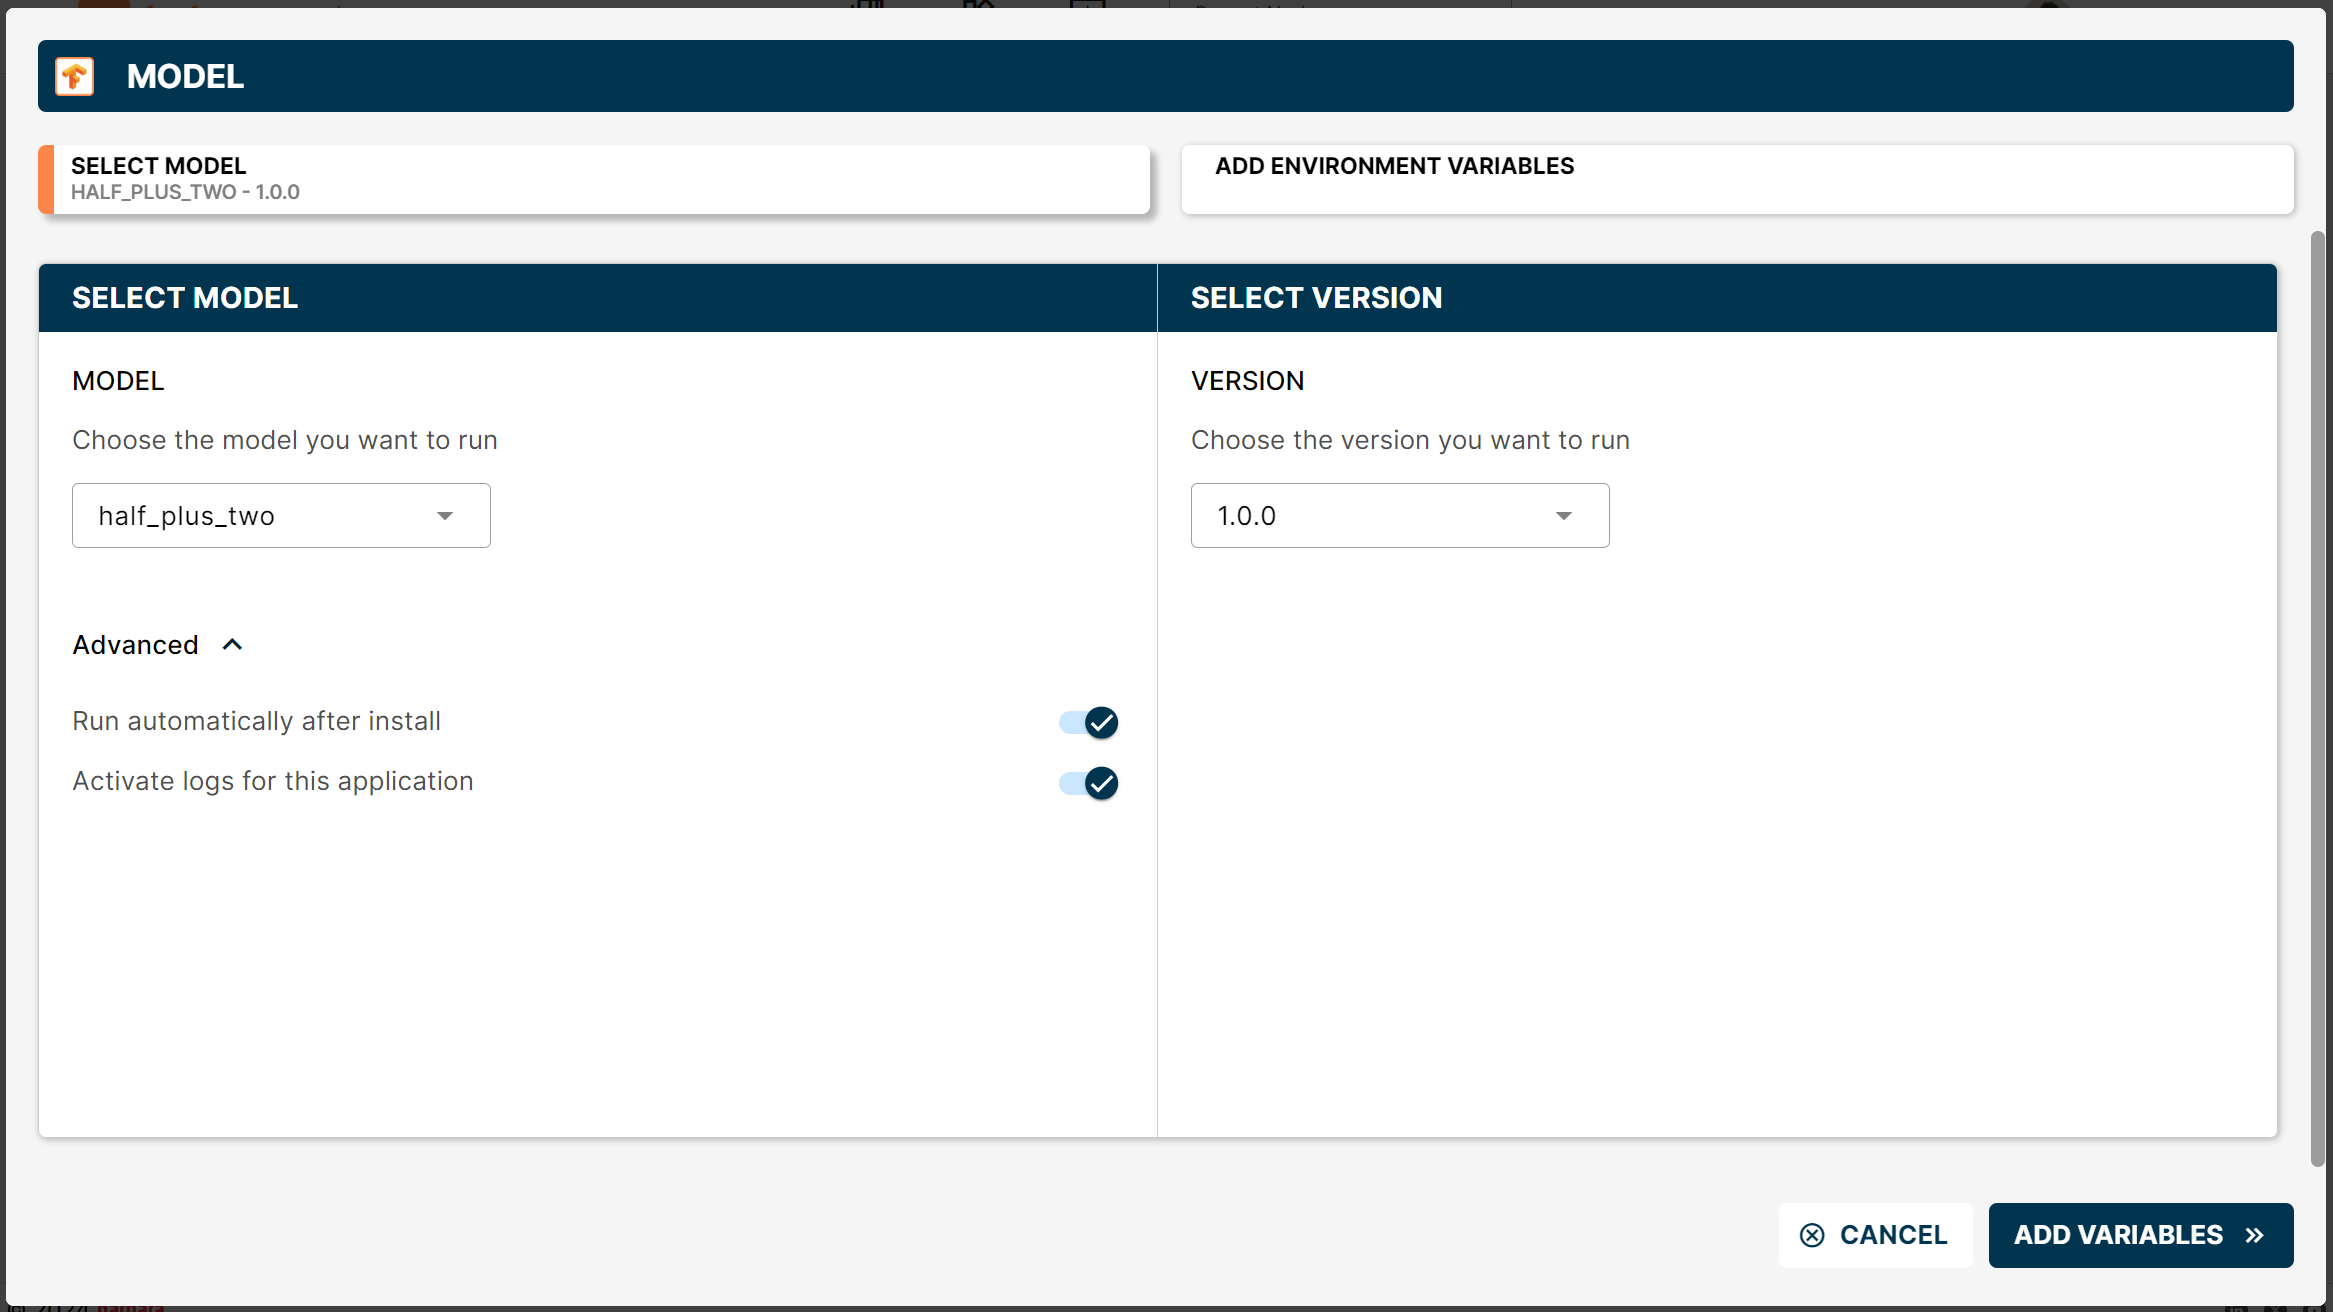
Select model in the wizard
Tick Run automatically after install and Activate logs for this application under Advanced to save a click after deployment.
Click ADD VARIABLES to continue.
Configure variables
The model is served by TensorFlow Serving on two ports — gRPC and REST. Set:
- gRPC Port Number — default
9083. - REST API Port Number — default
9084. - Model Name — for example
half_plus_two. The name becomes part of the inference URL.
If the node will serve more than one model, the gRPC and REST port pairs must be different for each model.
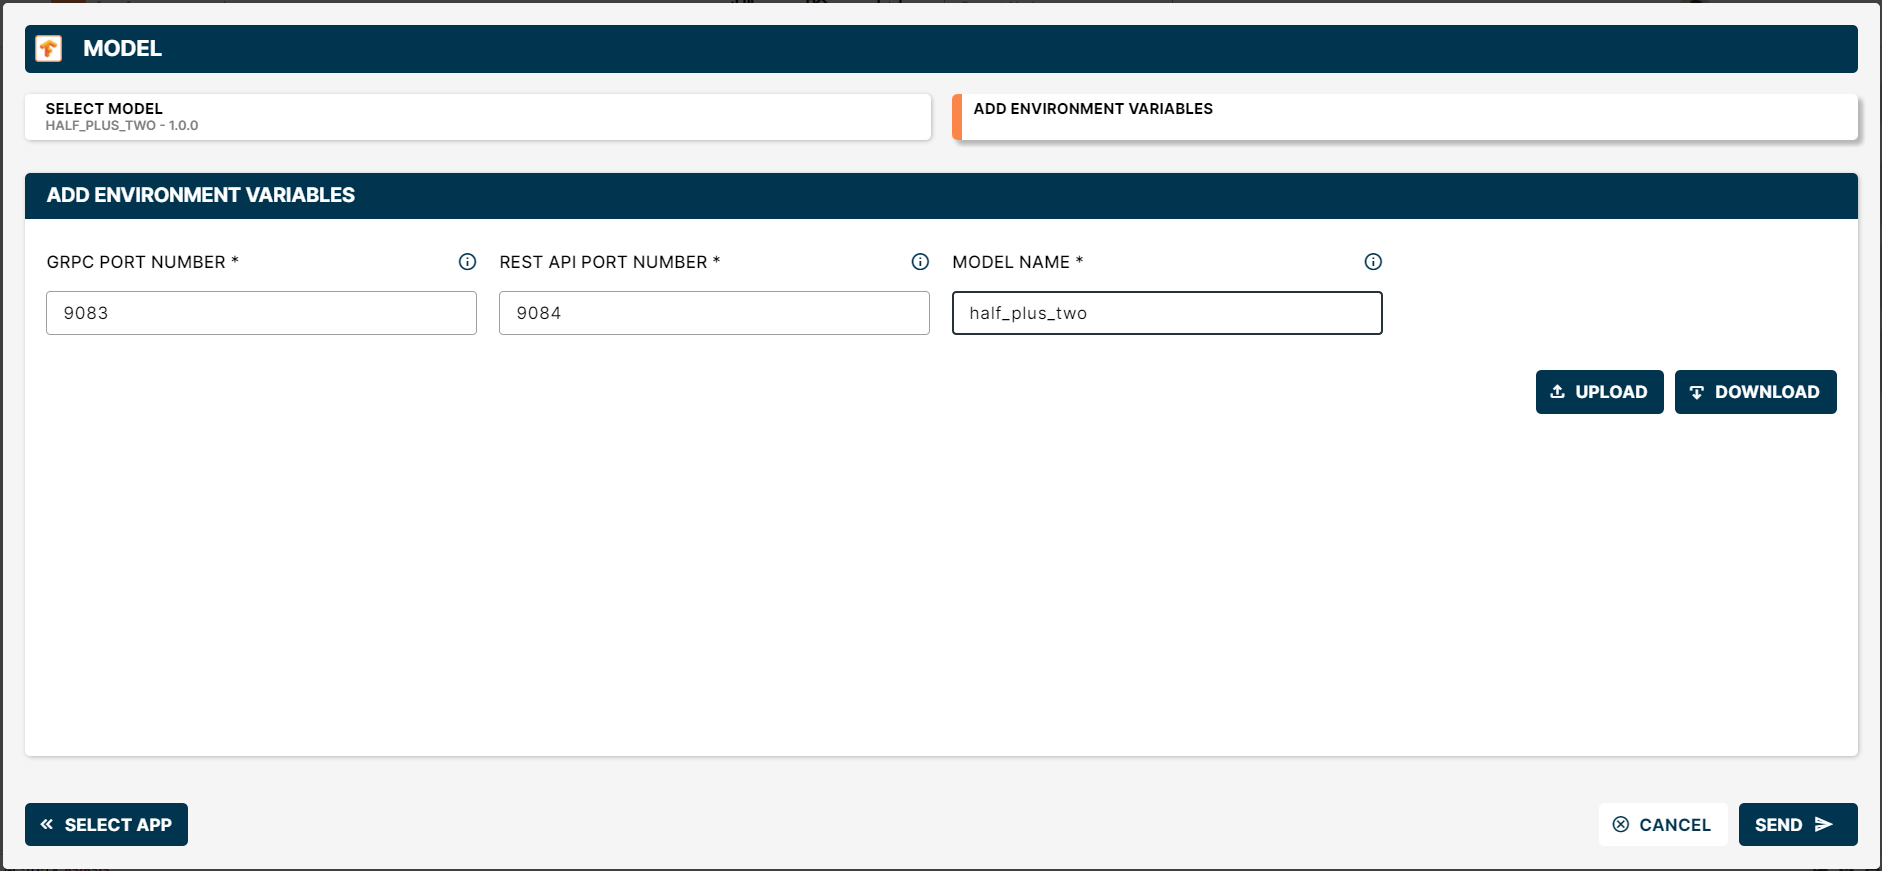
Wizard with the variables set
Deploy
Click SEND to deploy. A new Model card appears on the Node Details page.

Deployed Model card
Once the build finishes, the model is live and ready to receive prediction requests.
Run predictions
TensorFlow Serving exposes a standard REST endpoint at:
http://<IP_NODE>:<API_REST_PORT>/v1/models/<MODEL_NAME>:predict
Send a POST request with your input data:
curl -d '{"instances": [1.0, 2.0, 5.0]}' \
     -X POST http://10.30.0.181:9084/v1/models/half_plus_two:predict
Substitute:
<IP_NODE>— the node's IP. Use the LAN address when you are on the same network, or the VPN address from the VPN when you are not.<API_REST_PORT>— the REST port you set in the wizard (9084in this walkthrough).<MODEL_NAME>— the model name you set in the wizard (half_plus_two).<YOUR_INPUT_DATA>— the input expected by your model.
The model processes the input and returns the prediction.
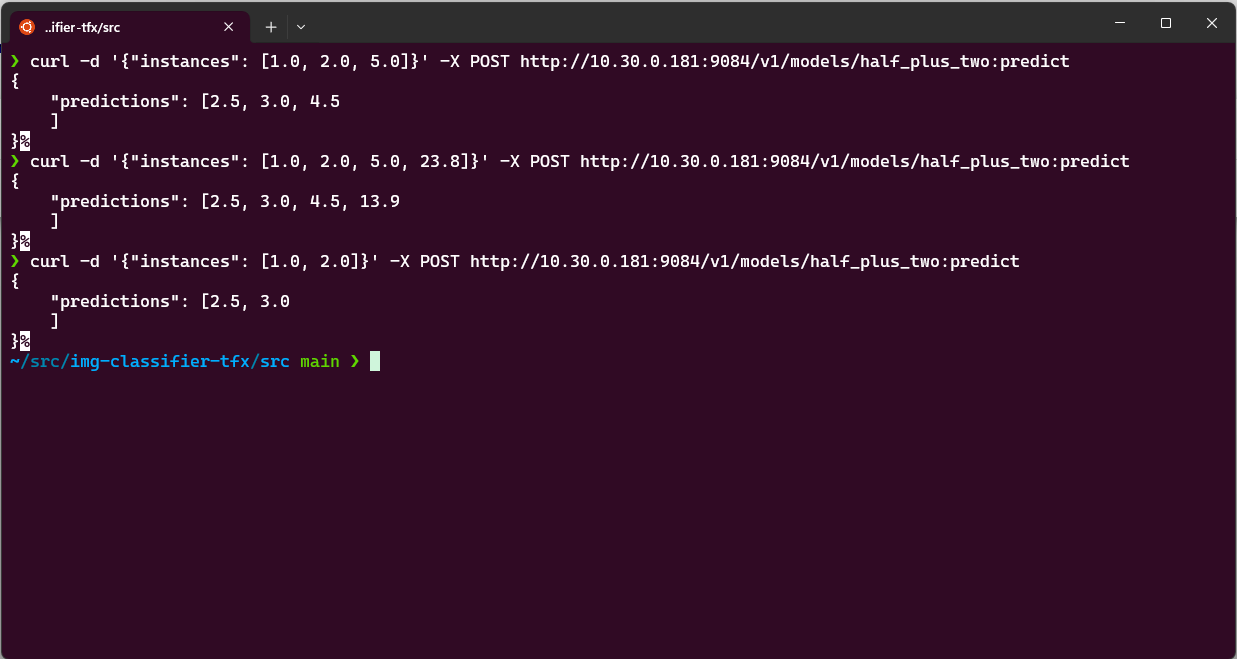
Prediction response in the terminal
gRPC is a high-performance RPC framework over HTTP/2 with Protocol Buffers — ideal for low-latency, structured inference traffic. Learn more at grpc.io.
Summary
You packaged a TensorFlow SavedModel, uploaded it to the App Library, deployed it to an edge node through the model wizard with a gRPC/REST port pair, and queried the served model over REST. The same flow applies to any TensorFlow model — just point the wizard to your own SavedModel zip and pick unique ports per model on the same node.