Step 1 — Deploy the MQTT Broker
This article refers to Platform v3.0.0. The current Platform version is v3.2.0.
Overview
The MQTT Broker is the messaging hub every other app in the data monitoring stack talks to. Devices and apps publish messages to topics; subscribers receive every message on the topics they care about. This step adds the Marketplace MQTT Broker app to your Library and deploys it to your edge node with default settings.
Read the official MQTT specification at mqtt.org.
Add the MQTT Broker to your Library
If the MQTT Broker is not yet in your Library, add it from Barbara Marketplace:


MQTT Broker
MQTT is a messaging protocol that defines how IoT devices publish and subscribe to data over communication networks.
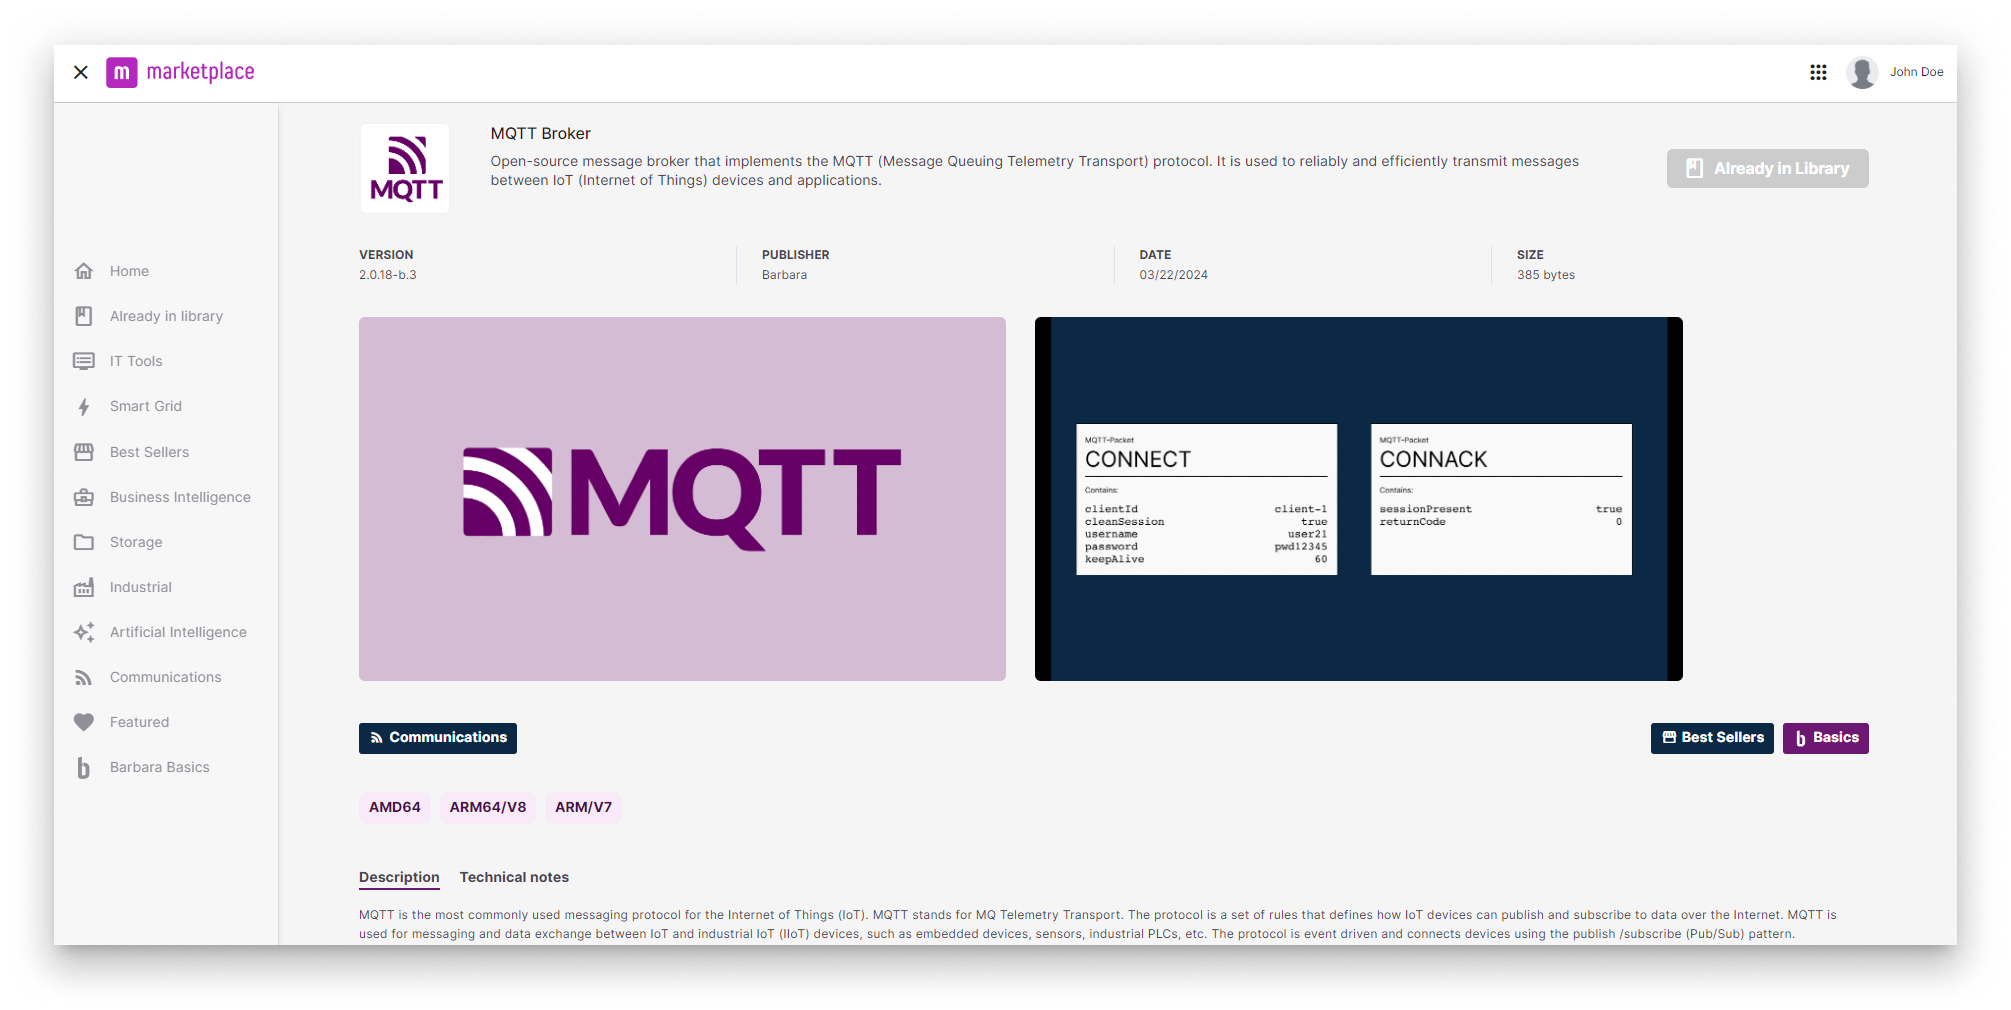
MQTT Broker in the Marketplace
For the full Marketplace flow, see Add a Marketplace app to your Library.
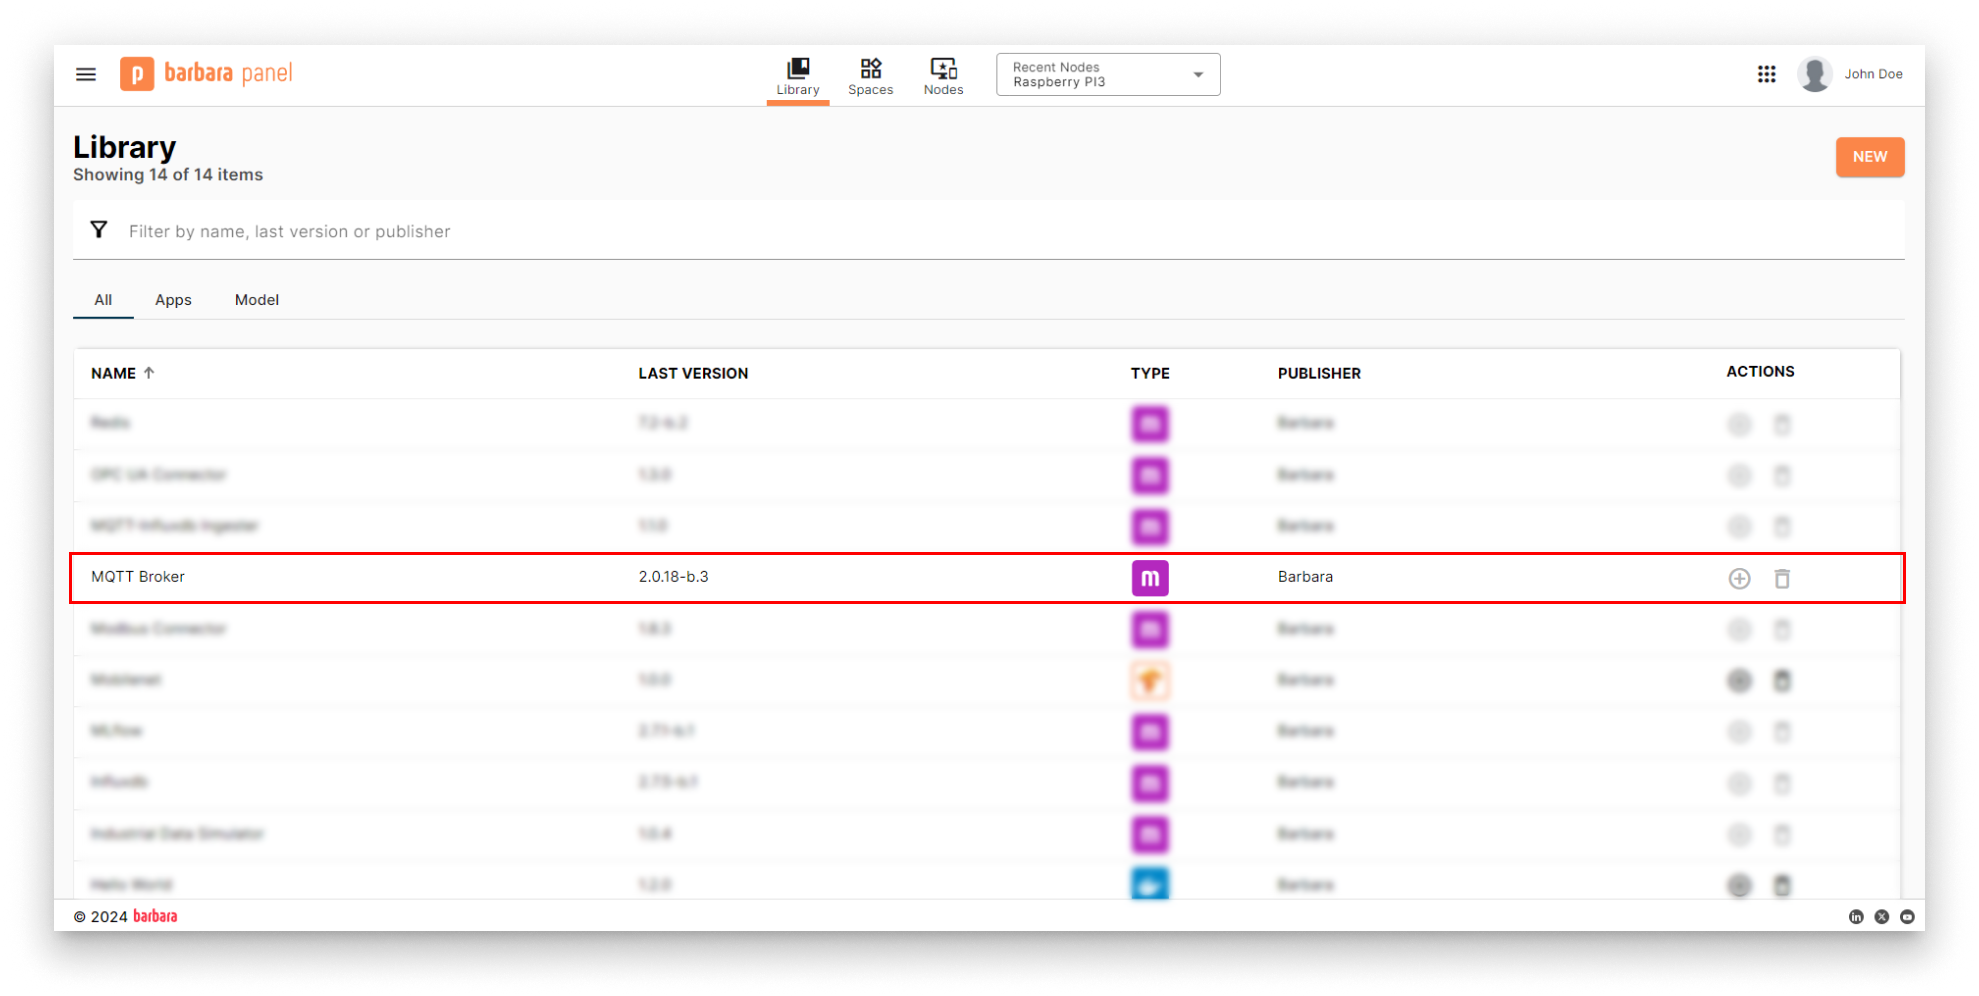
MQTT Broker in the App Library
Deploy the MQTT Broker
- Open the Node Details page of the target node and click Add card.
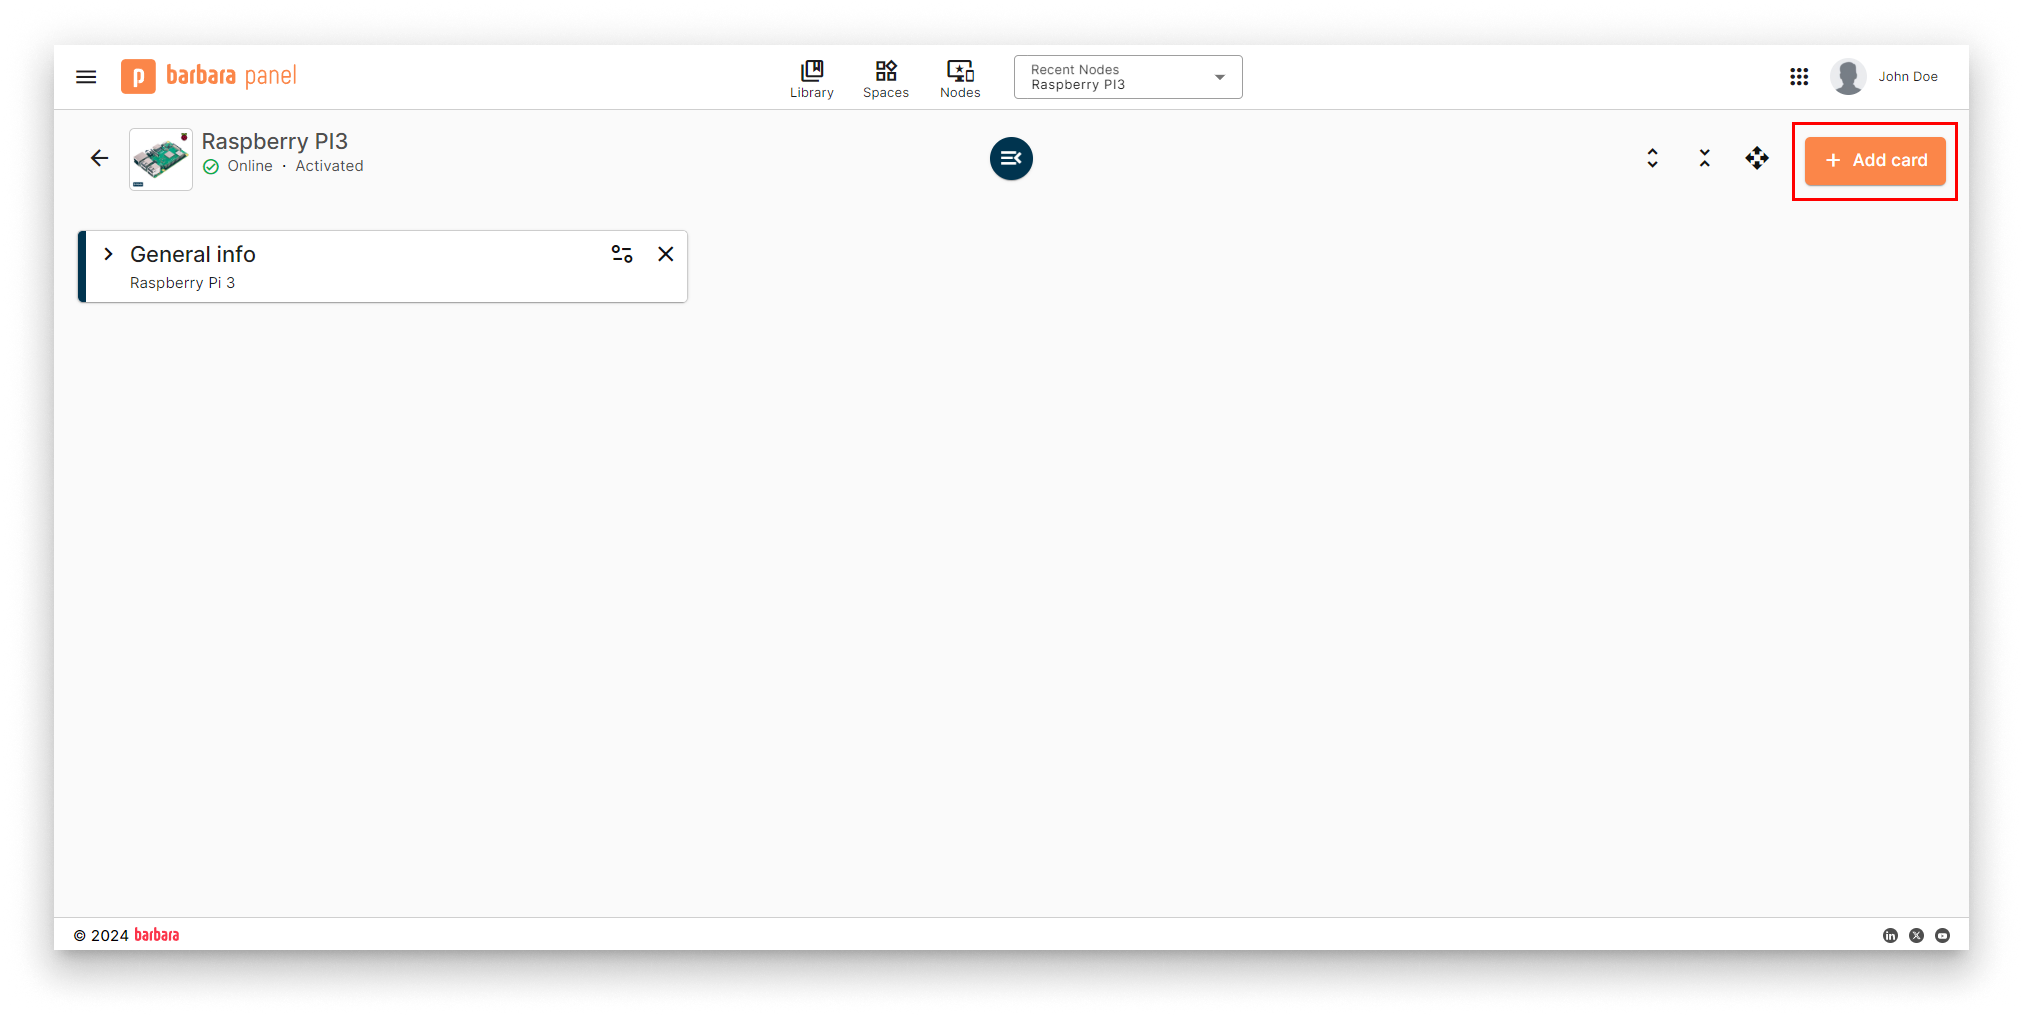
Add card menu
- Pick Marketplace App from the menu.
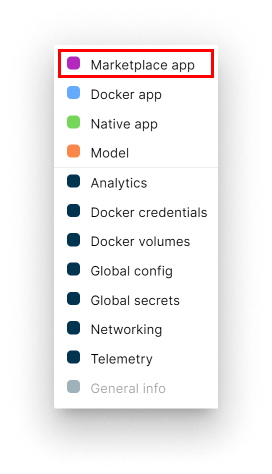
Select Marketplace App
- Select app and version. Pick MQTT Broker and its latest version. Click Next.
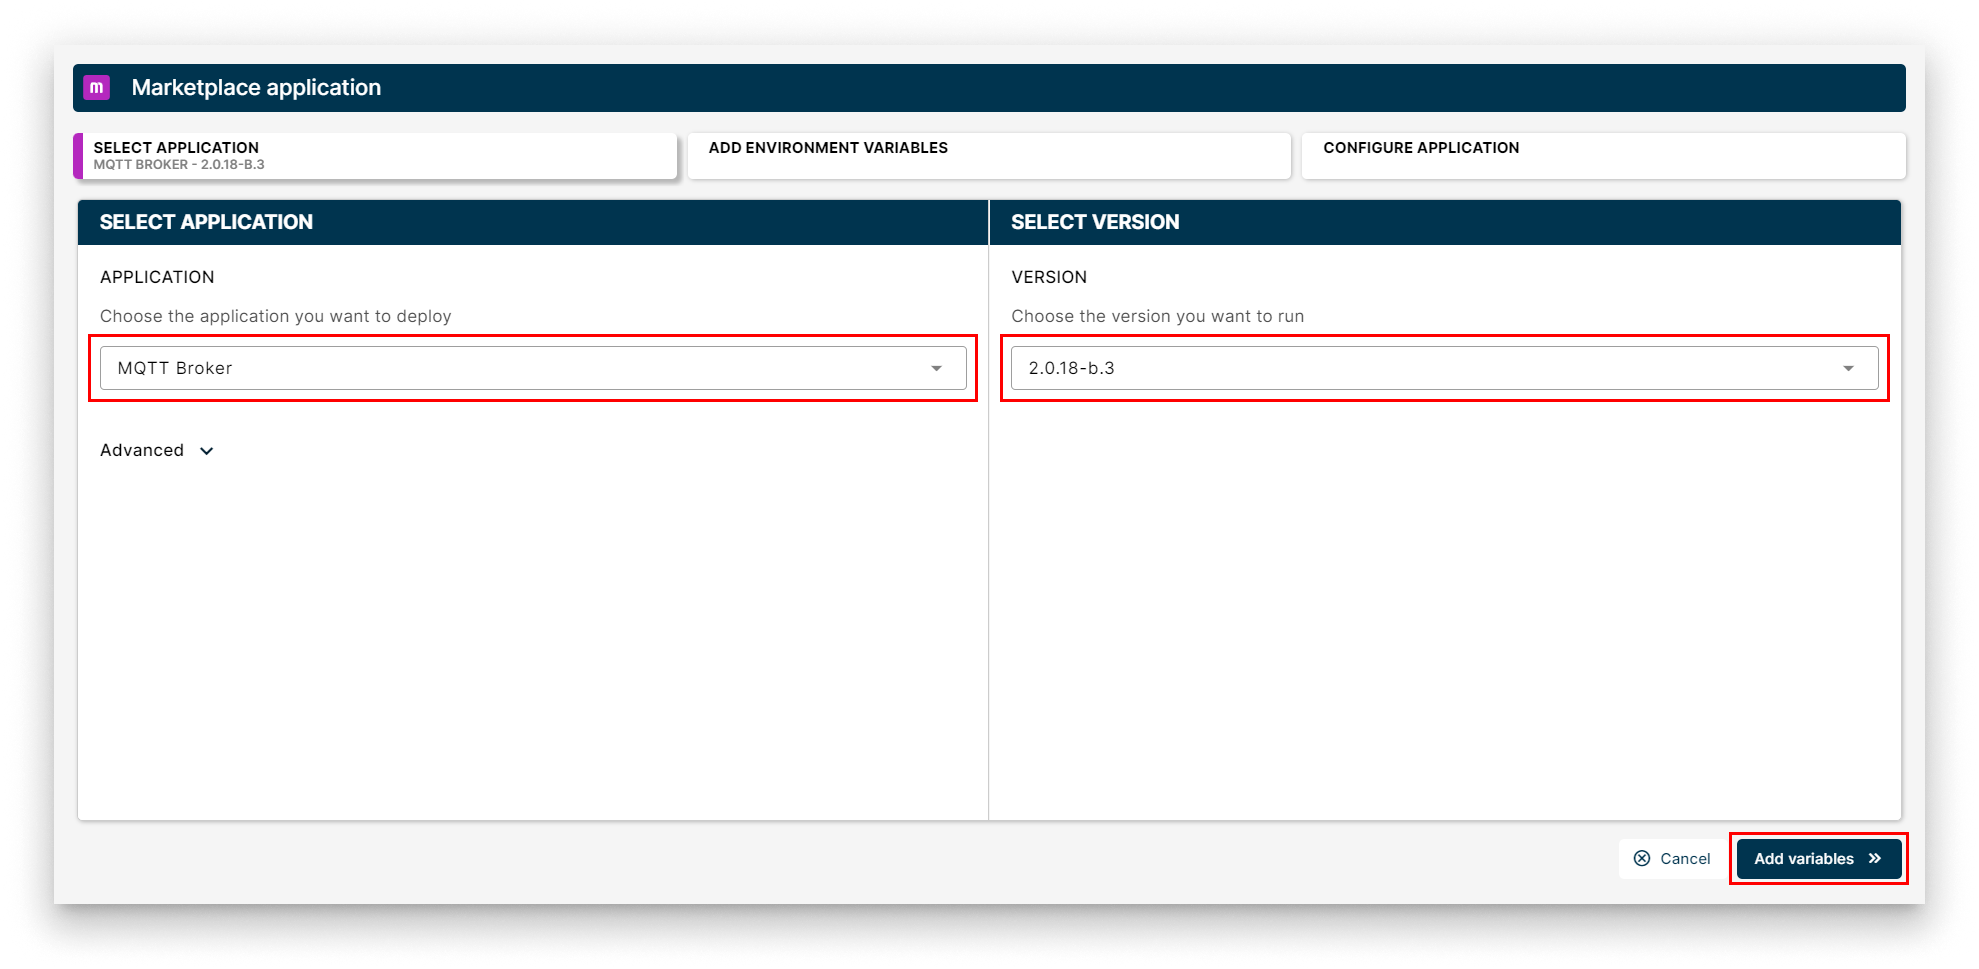
Select MQTT Broker
- App Secrets. Review the default values; the right-hand panel shows the README of the app explaining each one. Click Next to keep the defaults.
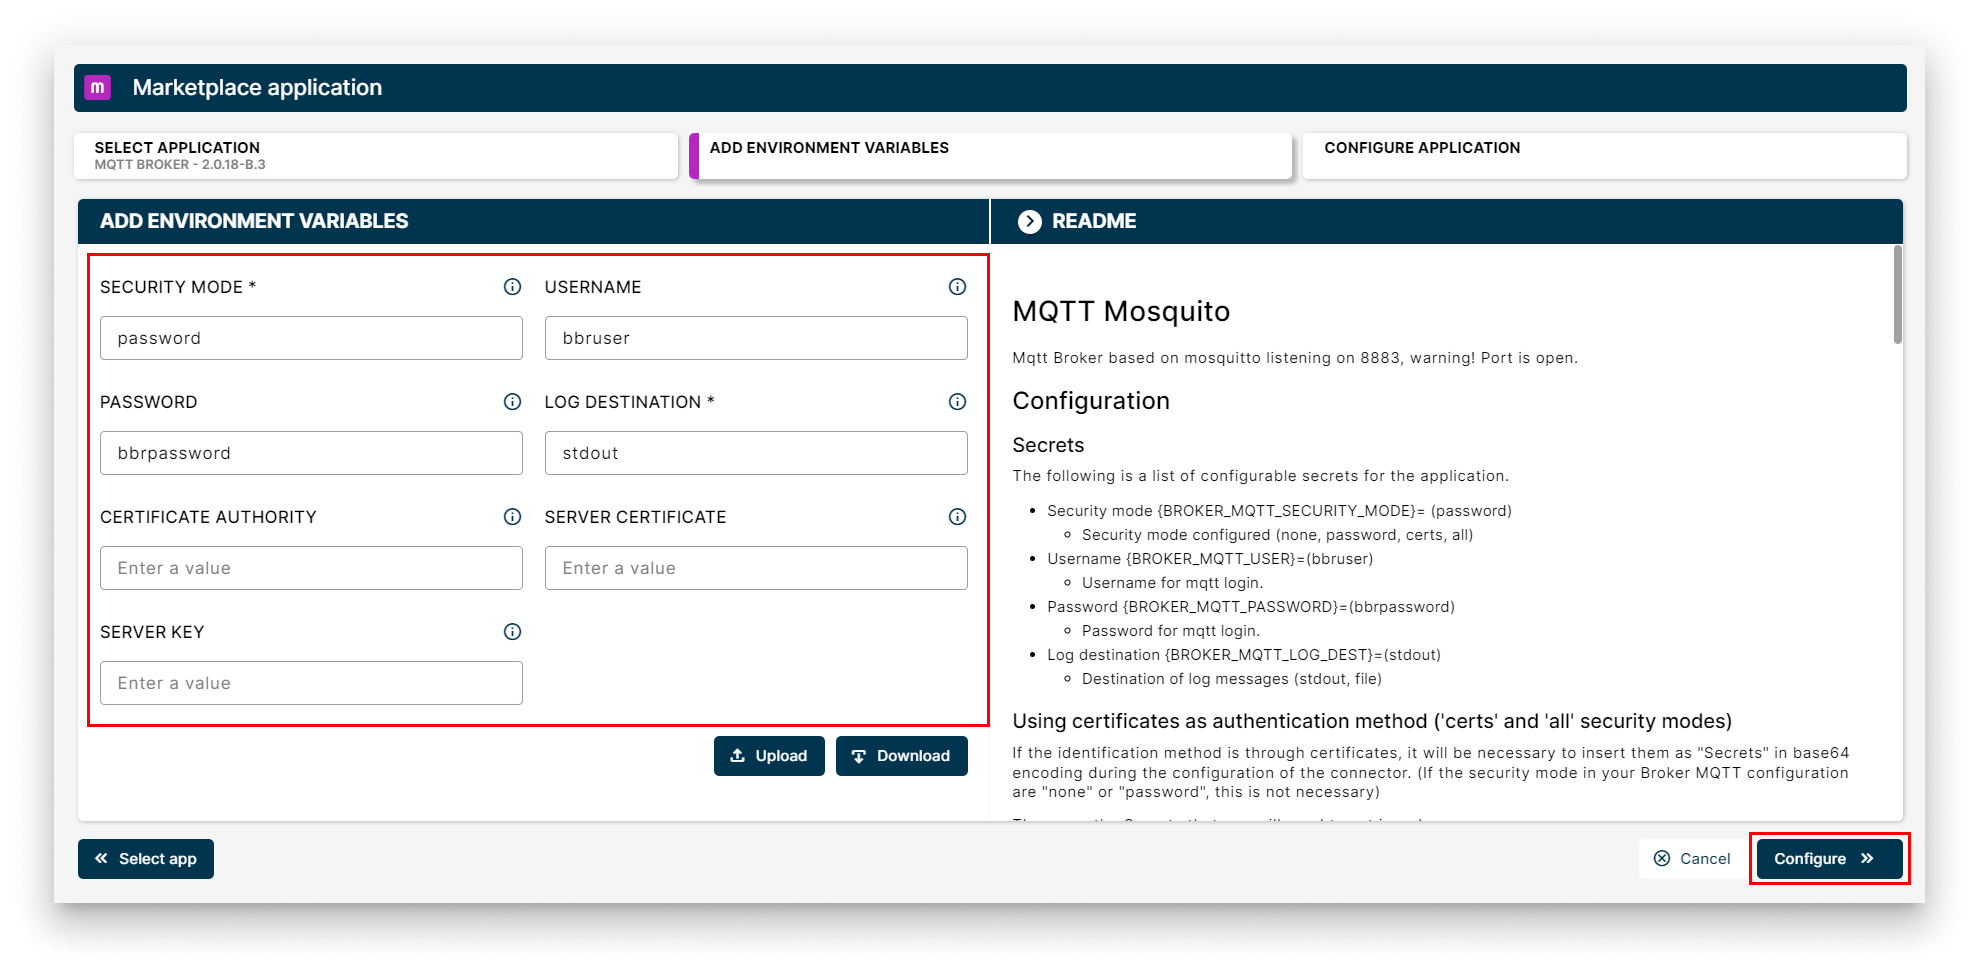
App Secrets for MQTT Broker
- App Config. The MQTT Broker does not need any additional configuration. Click Send App to deploy.
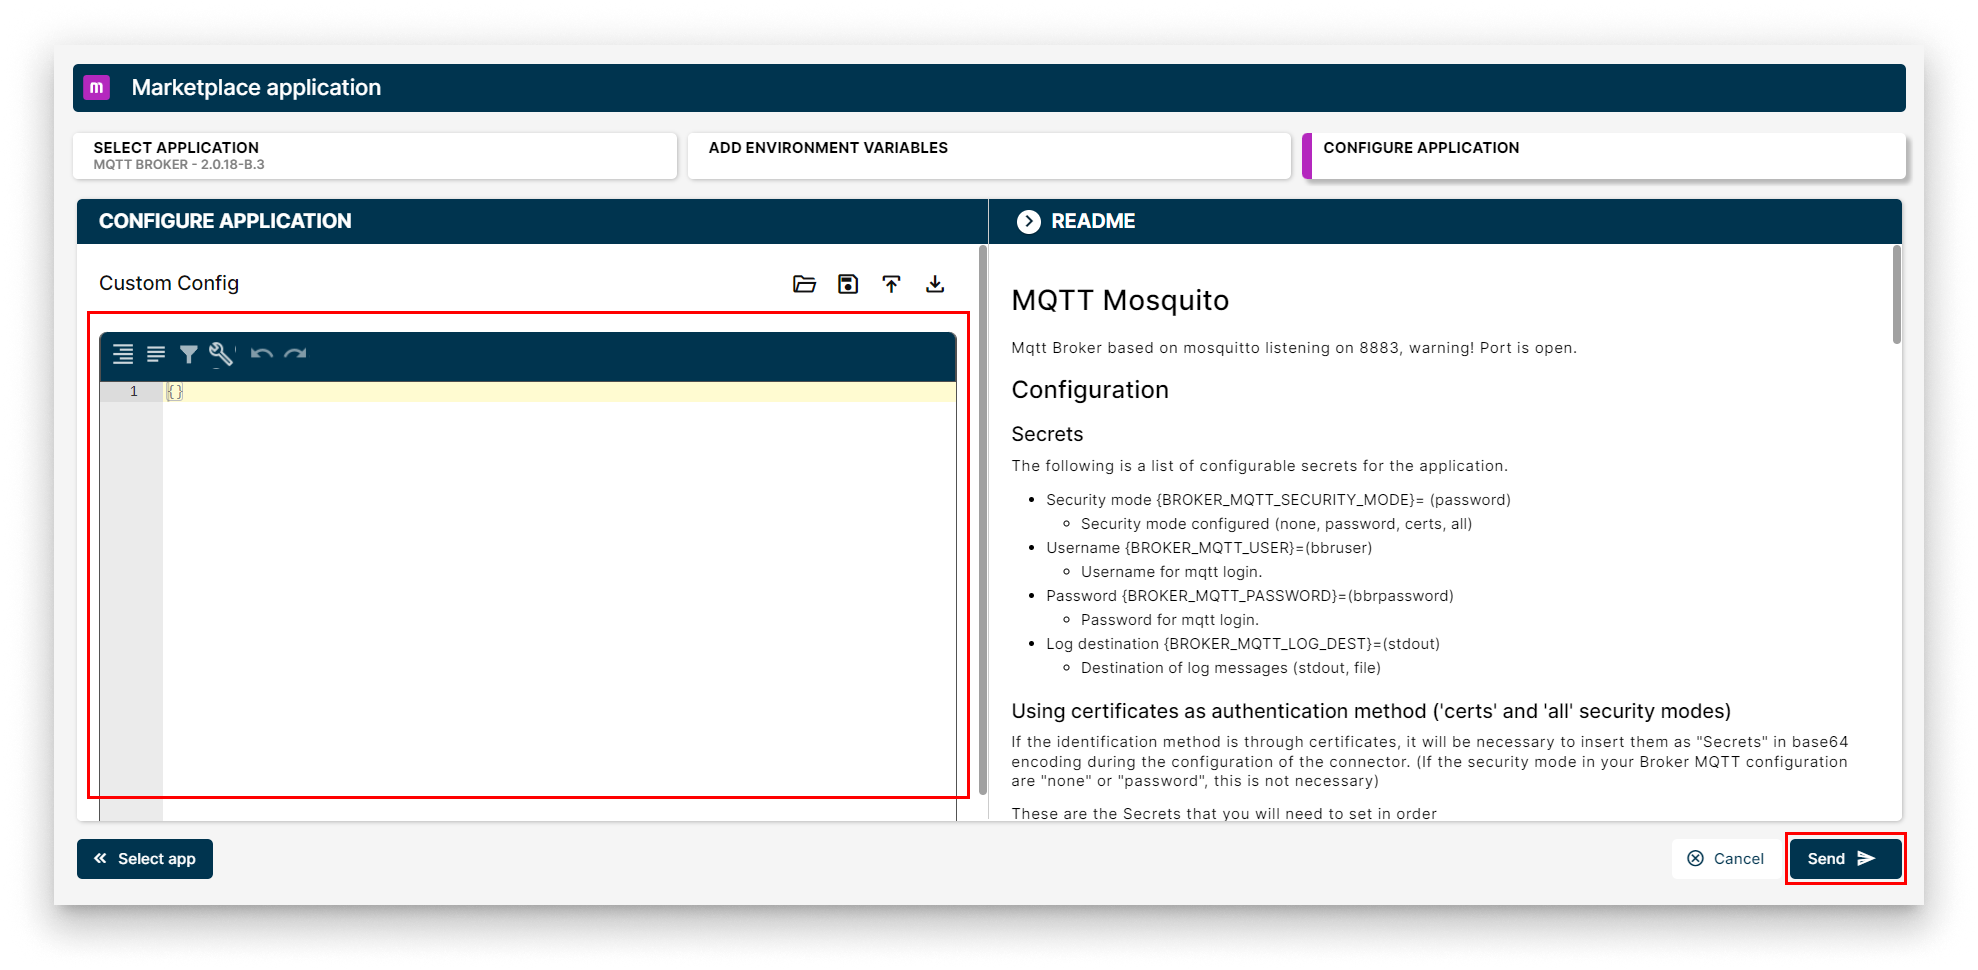
Send the MQTT Broker deployment
Verify the deployment
Within a few seconds the MQTT Broker workload card appears on the Node Details page. When the status indicator turns green (Started), the broker is up.
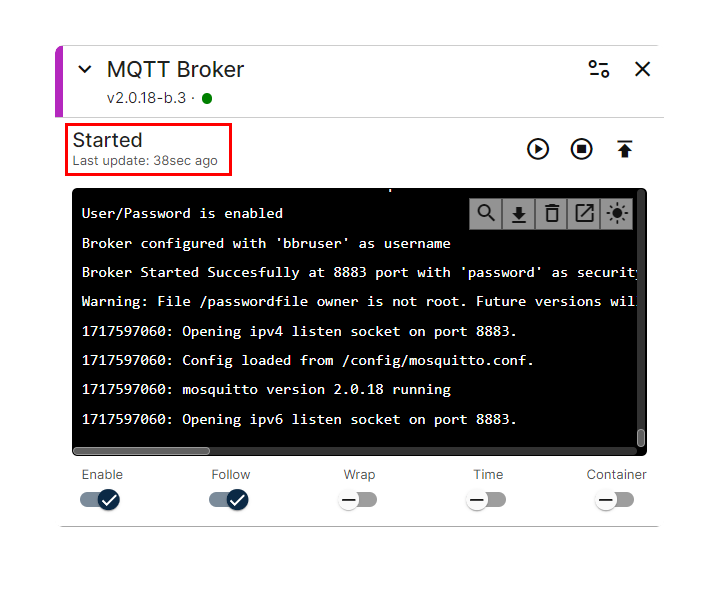
MQTT Broker workload card
The broker now listens on:
- TLS:
8883— the recommended port, used by every Barbara Marketplace app on the node. - Default credentials:
bbruser/bbrpassword(if you left the App Secrets unchanged).
Summary
The MQTT Broker is the first piece of the stack. Every other app in this tutorial — Industrial Data Simulator, InfluxDB, Ingester, Grafana — publishes to or subscribes from this broker, so make sure the workload card shows Started before moving on to Step 2.