Standalone Mode
This article refers to Platform v3.0.0. The current Platform version is v3.3.0.
Overview
Standalone Mode lets you configure an edge node's network interfaces directly on the device, even when the node cannot reach Barbara Panel. It is the right tool for:
- Offline deployments — nodes brought up at customer sites with limited or no upstream connectivity.
- Independent reconfiguration — adjusting network settings locally without round-tripping through Panel.
While Standalone Mode is enabled, the local configuration takes precedence; the changes you make from the local UI are still pushed back to Panel whenever the node is online. When Standalone Mode is disabled, Panel is the source of truth as usual.
Standalone Mode UI
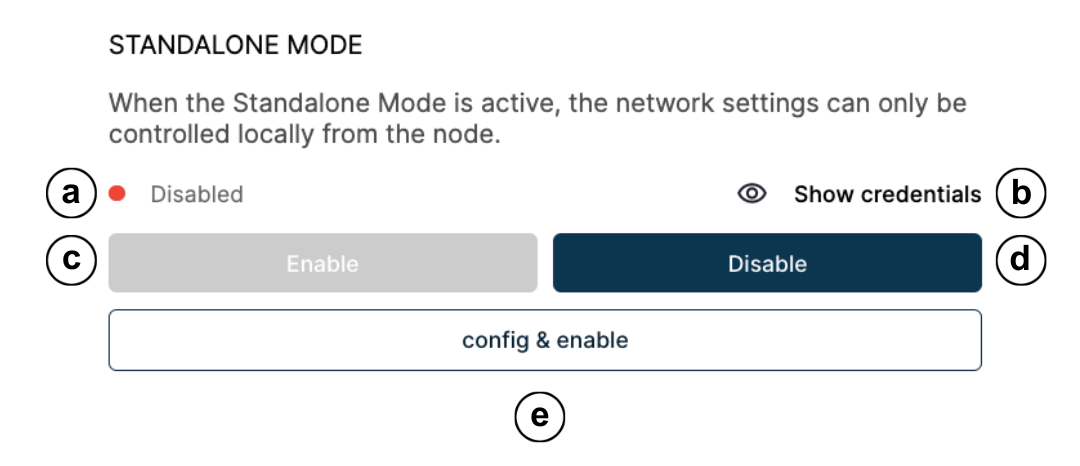
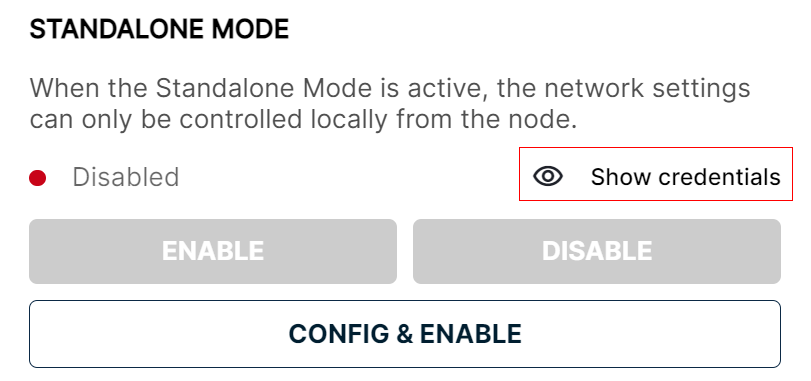
Standalone Mode controls
- (a) Status indicator — red when disabled, green when activated.
- (b) Show Credentials — reveals the username and password of the local UI.
- (c) Enable — disabled until you have entered a configuration.
- (d) Disable — turns Standalone Mode off.
- (e) Config & Enable — opens the configuration wizard and enables Standalone Mode in one step.
Open Standalone Mode
Standalone Mode lives in the Advanced Actions popup of the Node Details page.
- Open the Node Details page of the target node.
- Click the Advanced Actions wheel icon in the header.
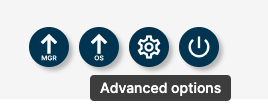
Advanced Actions button
- Scroll down the popup until you reach the Standalone Mode section.
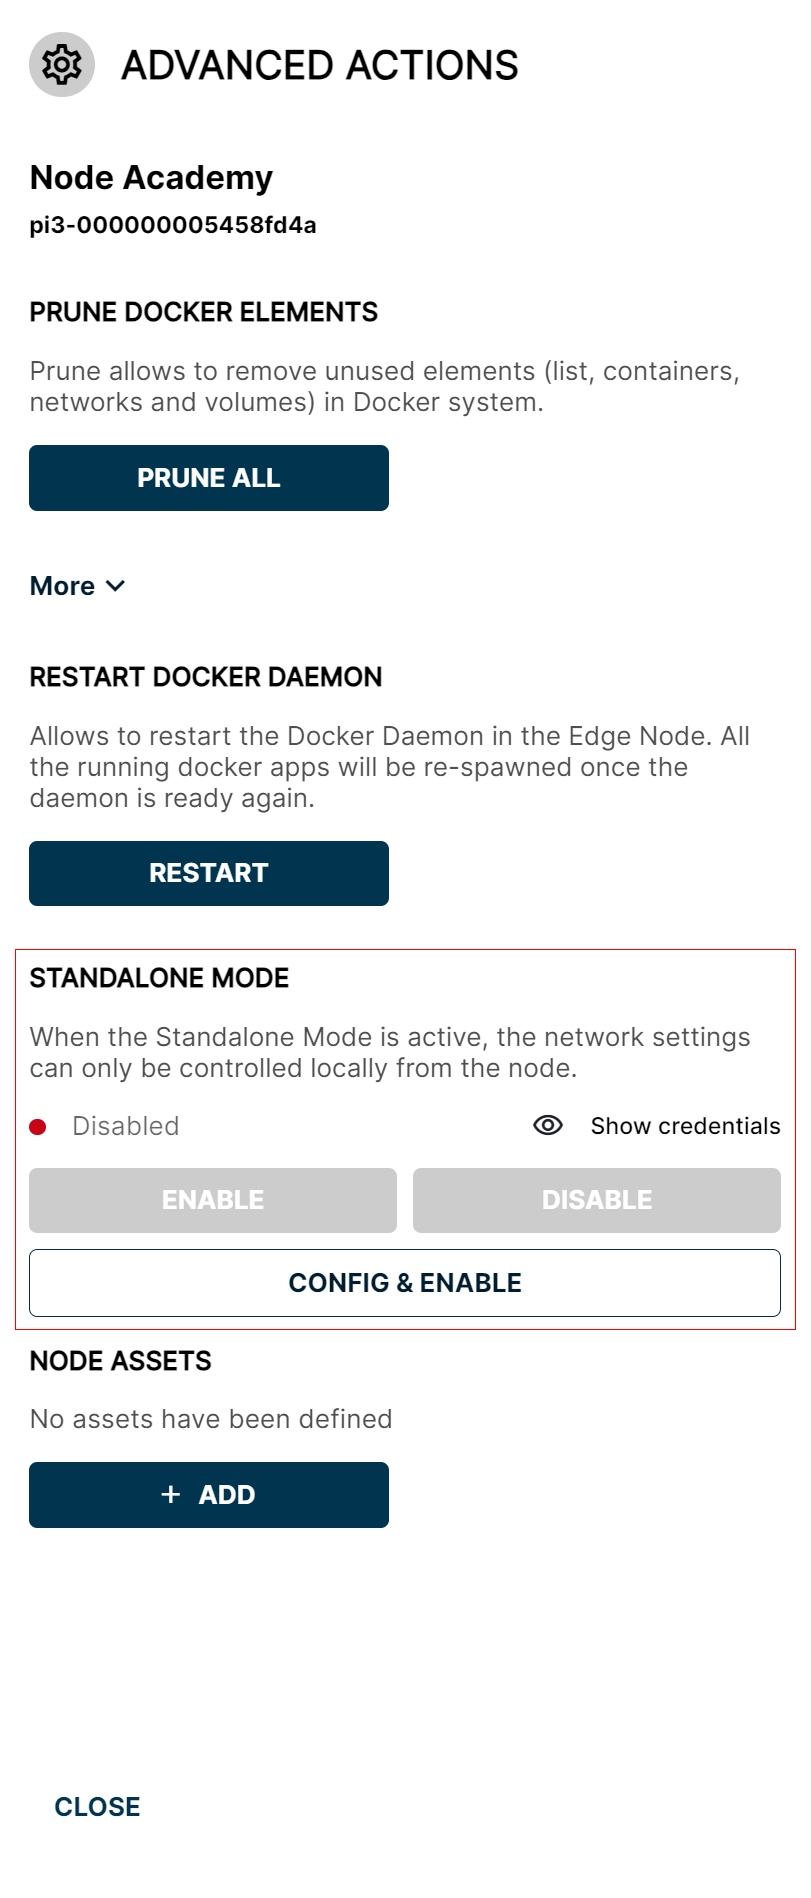
Standalone Mode section
Configure and enable Standalone Mode
Click Config & Enable and choose the interface Standalone Mode will be served on:
- Any Interface — the most flexible option. Works on any available Ethernet or WiFi interface using the DHCP-assigned IP.
- EthX — a specific Ethernet interface (the actual name depends on the hardware —
eth0,ens33, …). - WlanX — a specific WiFi interface (
wlan0,wlan1, …).
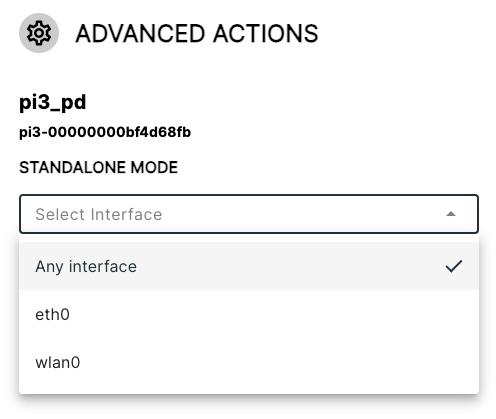
Interface picker
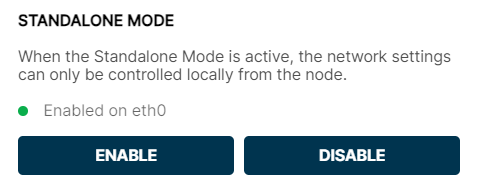
Once Standalone Mode is enabled, remote configuration of network settings from Barbara Panel is disabled until Standalone Mode is turned off again.
Any Interface
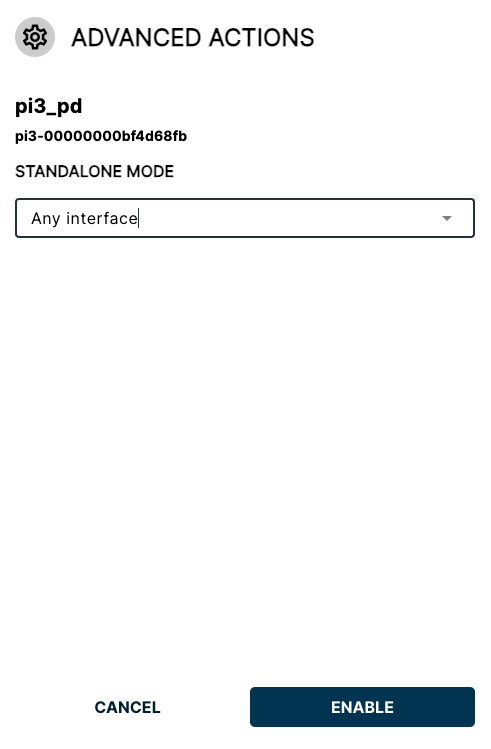
Any Interface selected
The recommended option. Connects on any available Ethernet or WiFi interface using the IP assigned by DHCP — no further configuration needed.
Pick this option when you are already on the same local network as the node and you don't need to change the network parameters of the interface.
Ethernet interface
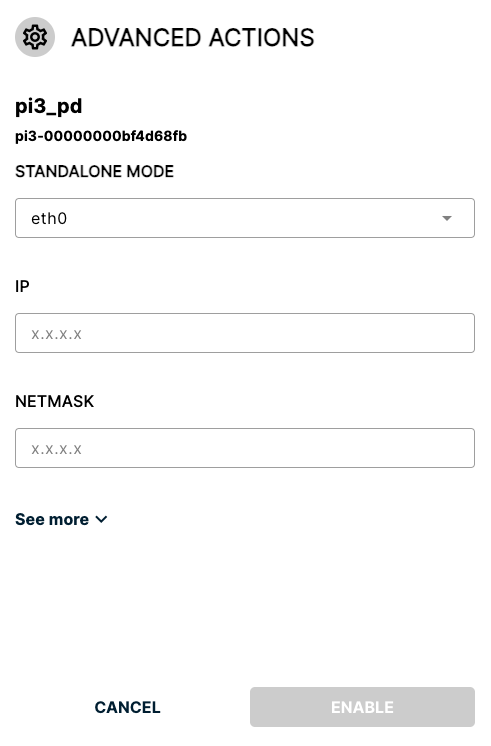
Ethernet interface configuration
The number and names of Ethernet interfaces shown here depend on the hardware of the node.
Picking a specific Ethernet interface lets you reach the node through either a shared LAN or a direct cable.
Through a LAN
Use this approach when your laptop is connected to the same local network as the node.
- Configure the static parameters of the interface:
- IP
- NETMASK
- Gateway (optional)
- DNS (optional)
- Metric (optional)
- Click Enable.
- Make sure your laptop is on the same LAN as the selected Ethernet interface.
- From the Networking card, copy the IP address (
IP_ADDRESS) of the interface. - Open
IP_ADDRESS:4010in your browser. The local network configuration UI loads.
Direct cable connection
Use this approach when you connect the node to your laptop with an Ethernet cable directly.
- Configure the static parameters of the interface (same fields as above).
- Click Enable.
- Connect your laptop to the node with an Ethernet cable.
- On your laptop, configure the Ethernet adapter manually:
- Disable DHCP.
- Set an IP in the same range as the node's.
- Set the same Netmask as the node's.

Static Ethernet configuration on the laptop
- From the Networking card, copy the IP address (
IP_ADDRESS) of the interface. - Open
IP_ADDRESS:4010in your browser. The local network configuration UI loads.
WiFi (WLAN) interface
Pick this option when your laptop shares the same WiFi as the node and you want to change WiFi settings from the local UI.
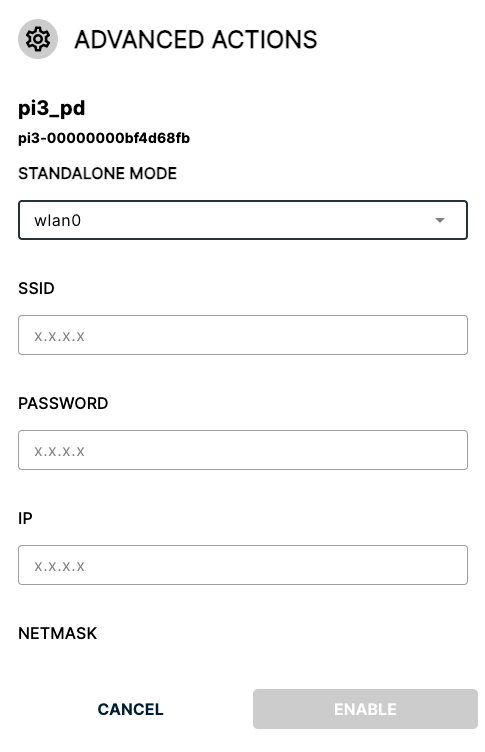
WLAN interface configuration
The number and names of WLAN interfaces shown here depend on the hardware of the node.
- Configure:
- SSID
- Password
- IP
- NETMASK
- Gateway (optional)
- DNS (optional)
- Metric (optional)
- Click Enable.
- Make sure your laptop is connected to the same WiFi as the selected WLAN interface.
- From the Networking card, copy the IP address (
IP_ADDRESS) of the interface. - Open
IP_ADDRESS:4010in your browser. The local network configuration UI loads.
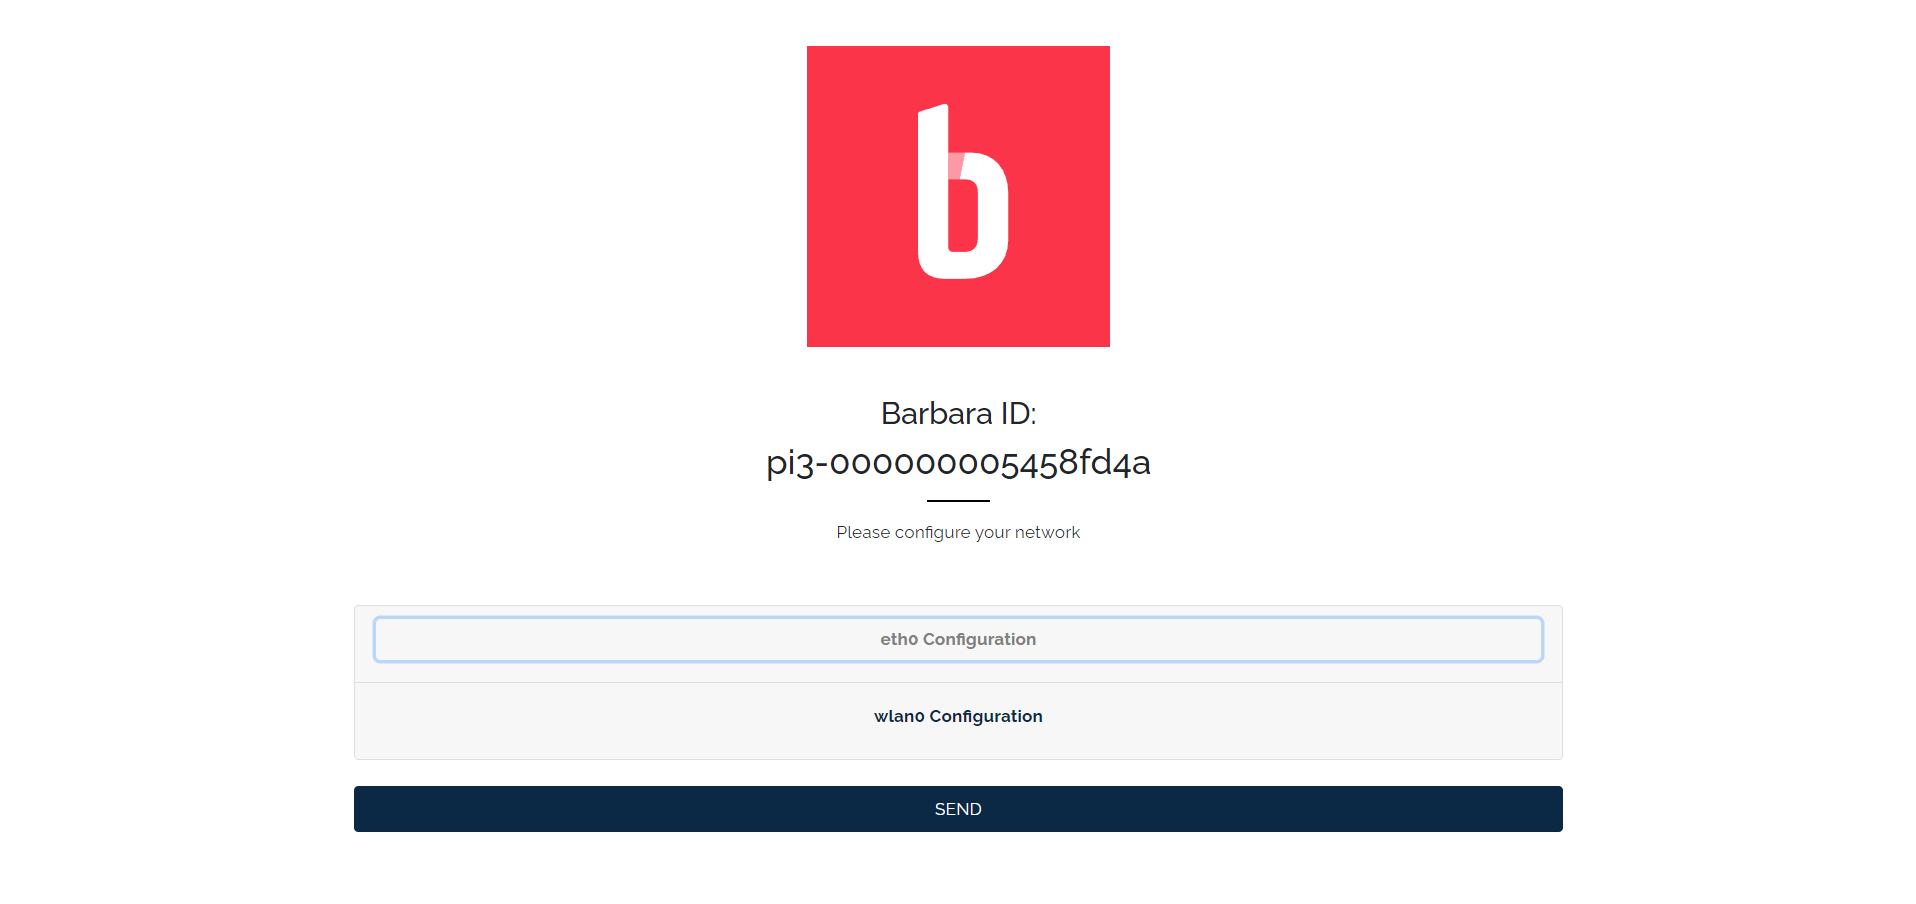
Use the local UI
Open IP_ADDRESS:4010 and log in with the credentials Barbara Panel generated for this node.
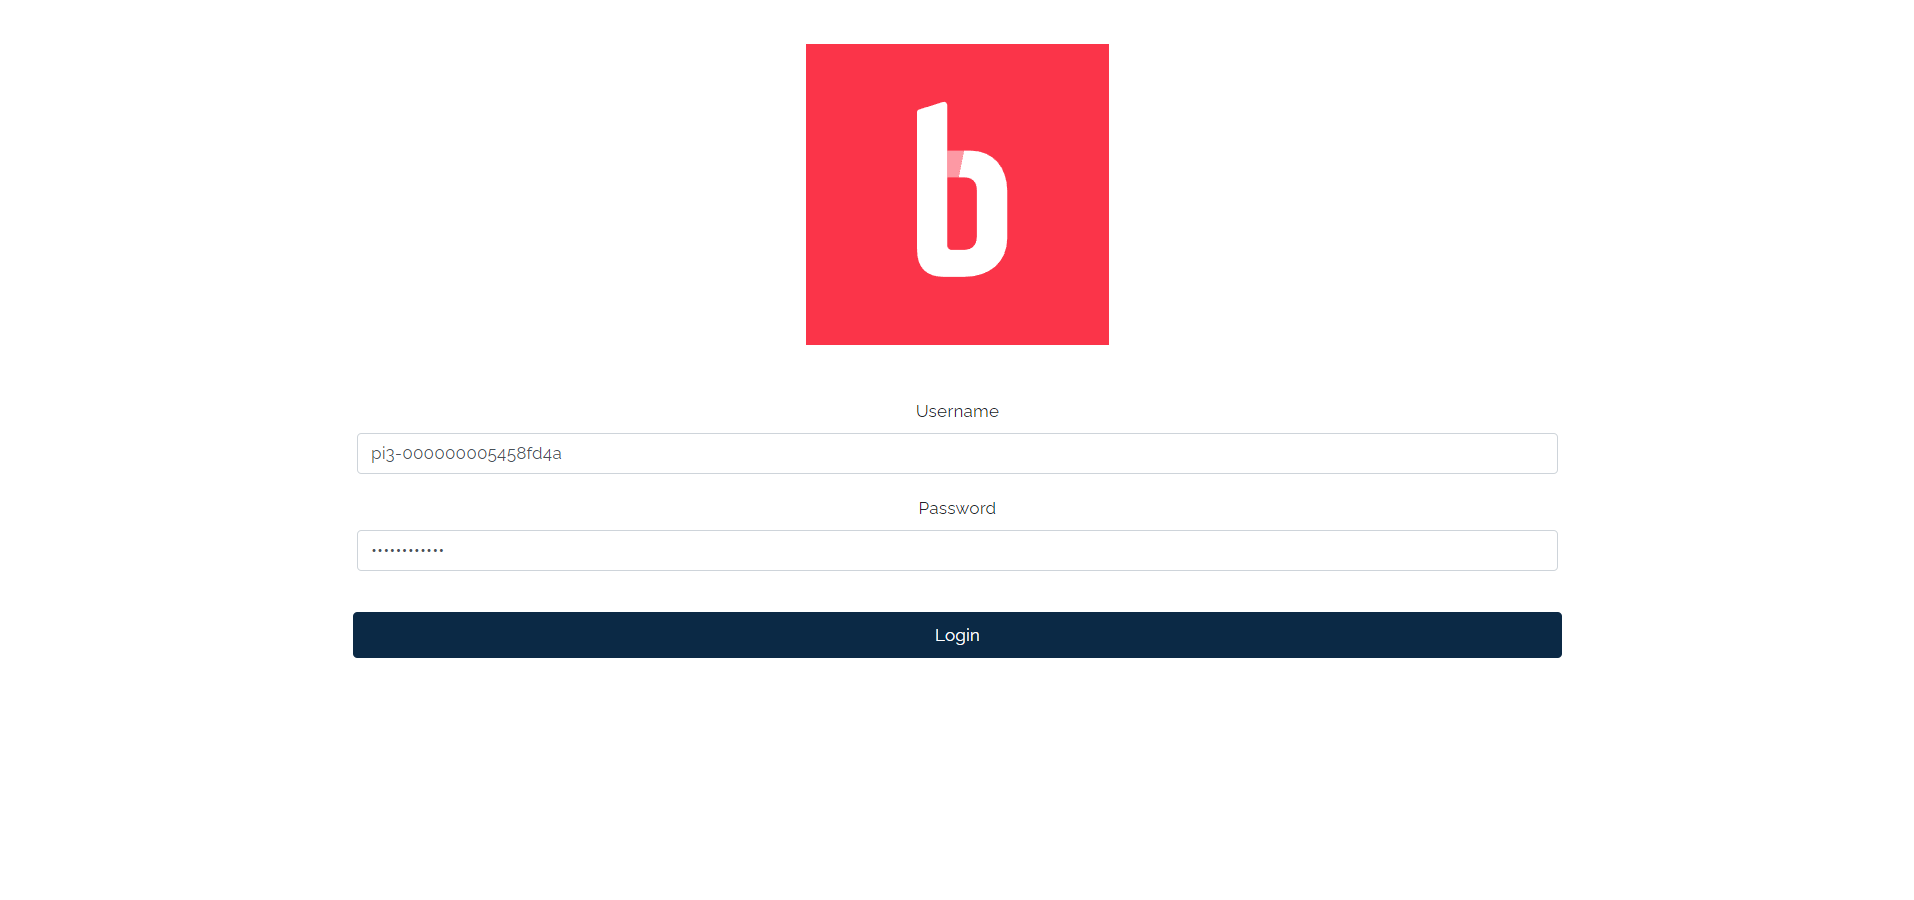
Local UI login page
If you don't remember the credentials, go back to the Standalone Mode section in Panel and click Show Credentials.
Show Credentials button
The Standalone password is auto-generated by Panel. Click Regenerate (highlighted in red) to issue a new one.

Regenerate password
Once logged in, you can configure every interface available on the node — including the one Standalone Mode is currently using.
Local UI
Changes made in the local UI propagate back to Barbara Panel only when the node is online.
Disable Standalone Mode
Click Disable to turn Standalone Mode off.
Disable button
The status indicator turns red and reads Disabled.
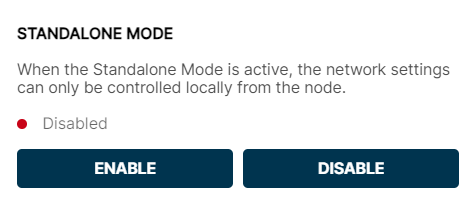
Standalone Mode disabled
Remote configuration through Barbara Panel is re-enabled.
Summary
Use Standalone Mode when an edge node needs to be reconfigured locally — at a customer site, on a closed network, or when the link to Panel is down. Pick the interface that fits your access pattern (Any Interface for shared LAN, a specific Ethernet for direct cabling, a WLAN for WiFi), point your browser to IP_ADDRESS:4010, and remember to disable Standalone Mode once you are done so Barbara Panel resumes control.