Persistent folders with bind mounts
This article refers to Platform v3.1.0. The current Platform version is v3.3.0.
Overview
A bind mount is a directory on the host machine that is mounted inside a container at a known path. Anything the container writes to that path lands on the host and survives container restarts. On a Barbara edge node, bind mounts are the most direct way to persist data, but they are constrained to a small whitelist of safe paths.
Watch this step on YouTube: Persistent Folders — Bind Mounts.
What bind mounts give you
- Persistent storage — data outlives the container.
- Easy host-to-container file sharing — drop a file on the host, see it instantly inside the container.
- Painless local development — edit code on the host, the running container picks it up.
Compose syntax
A bind mount lives under the volumes: key of a service. The form is <host path>:<container path>:
services:
  app:
    image: filebrowser/filebrowser:latest
    volumes:
      - /path/on/host:/path/in/container
Barbara constraints on bind mounts
Barbara restricts bind mounts to keep nodes safe:
- Root paths are not allowed, with the single exception of
/sys. - Paths cannot contain
..(no escape to the parent). - The allowed prefixes are:
./persist— for persistent data that should survive container restarts../appconfig— used by the platform to surface App Config and Global Config inside the container./sys— kernel and hardware information.
Example compose with a bind mount
version: '3.8'
services:
  filebrowser:
    image: filebrowser/filebrowser:latest
    ports:
      - "8080:80"
    volumes:
      - ./persist/data:/srv
Anything written to /srv inside the container lands in ./persist/data on the host and stays there across restarts.
On a Barbara edge node, every workload card surfaces a Persistent Folder segment that shows the size of the bind-mounted folder and lets you wipe it remotely.
Practice 1 — bind mount locally with Filebrowser
1. Create the host directory
mkdir -p persist/data
echo "Sample file" > persist/data/sample.txt
2. Write the compose file
version: '3.8'
services:
  filebrowser:
    image: filebrowser/filebrowser:latest
    ports:
      - "8080:80"
    volumes:
      - ./persist/data:/srv
3. Start the stack
docker-compose up -d
4. Verify
Open http://localhost:8080. The Filebrowser UI shows sample.txt.
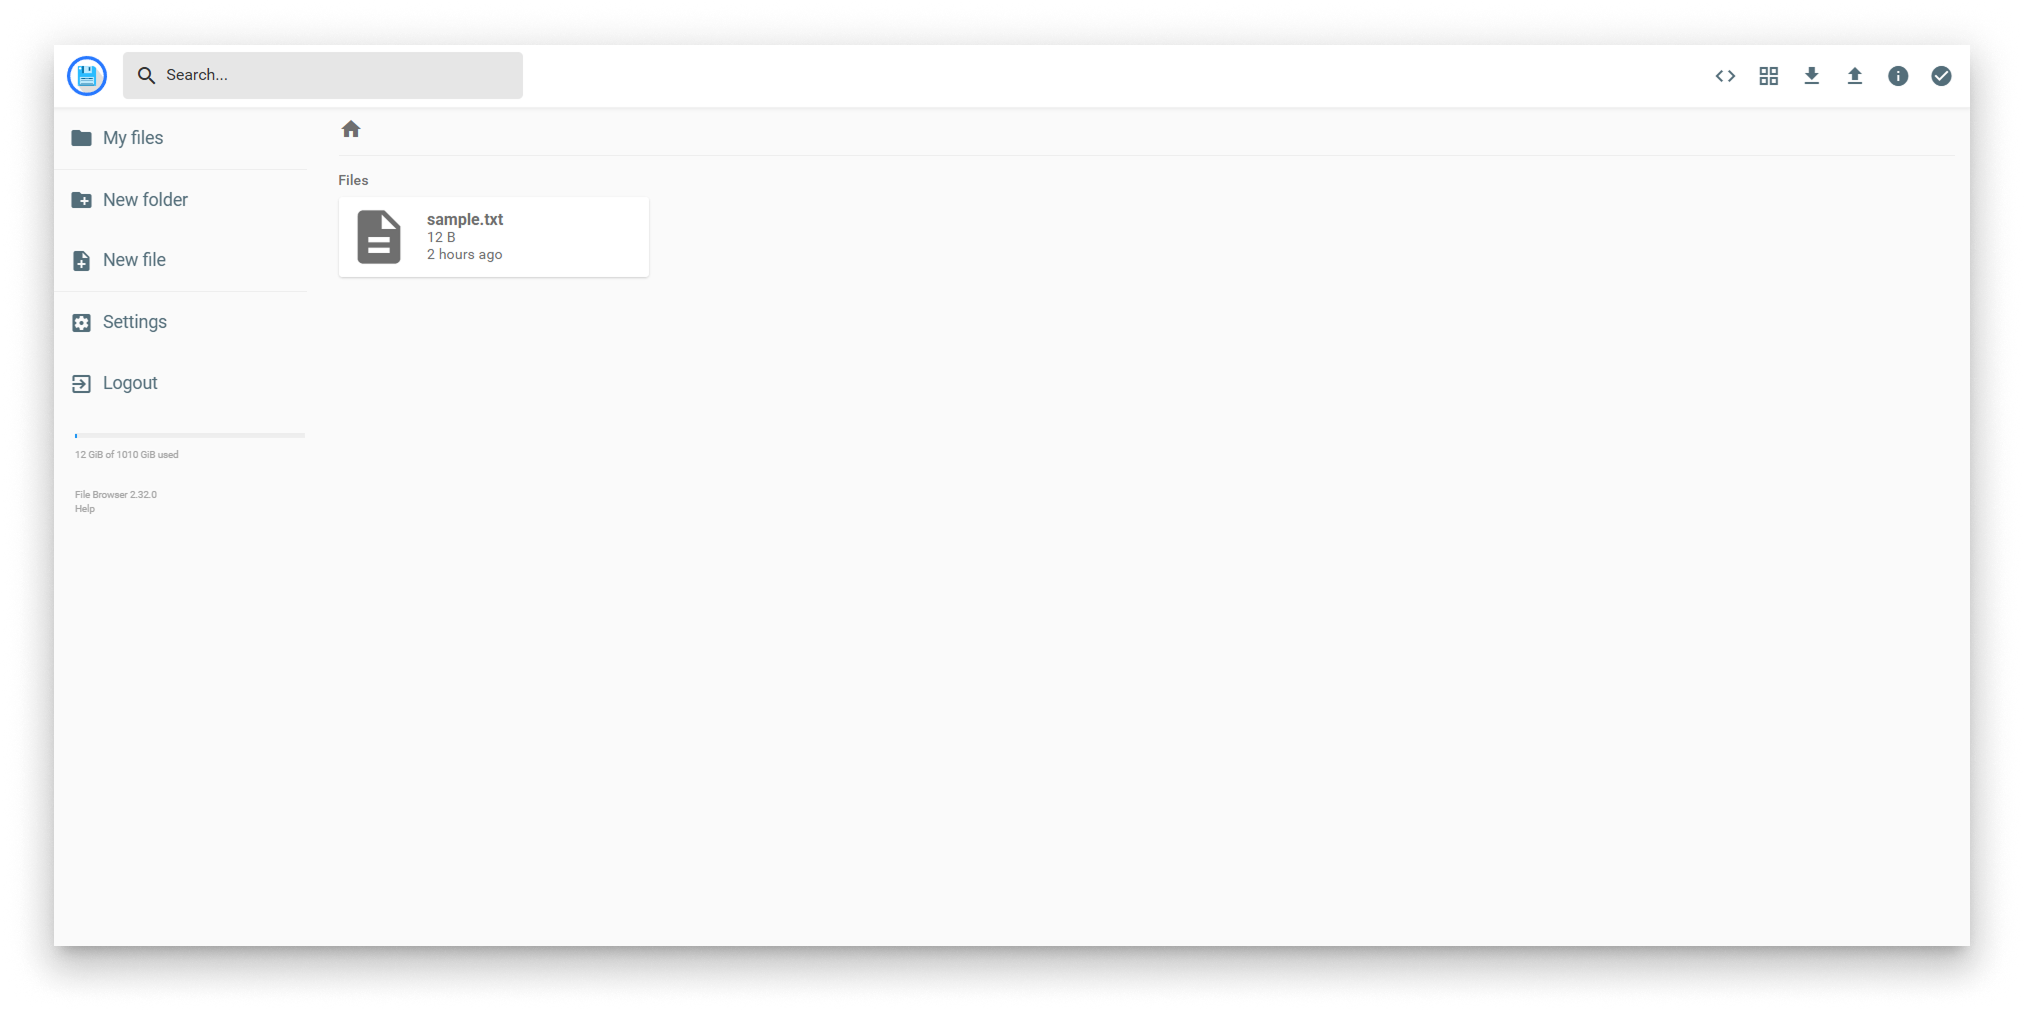
Bind-mounted folder contents in Filebrowser
5. Add a file on the host
echo "New file in bind mount" > persist/data/newfile.txt
Refresh the Filebrowser page — the new file is there immediately, no container restart needed.
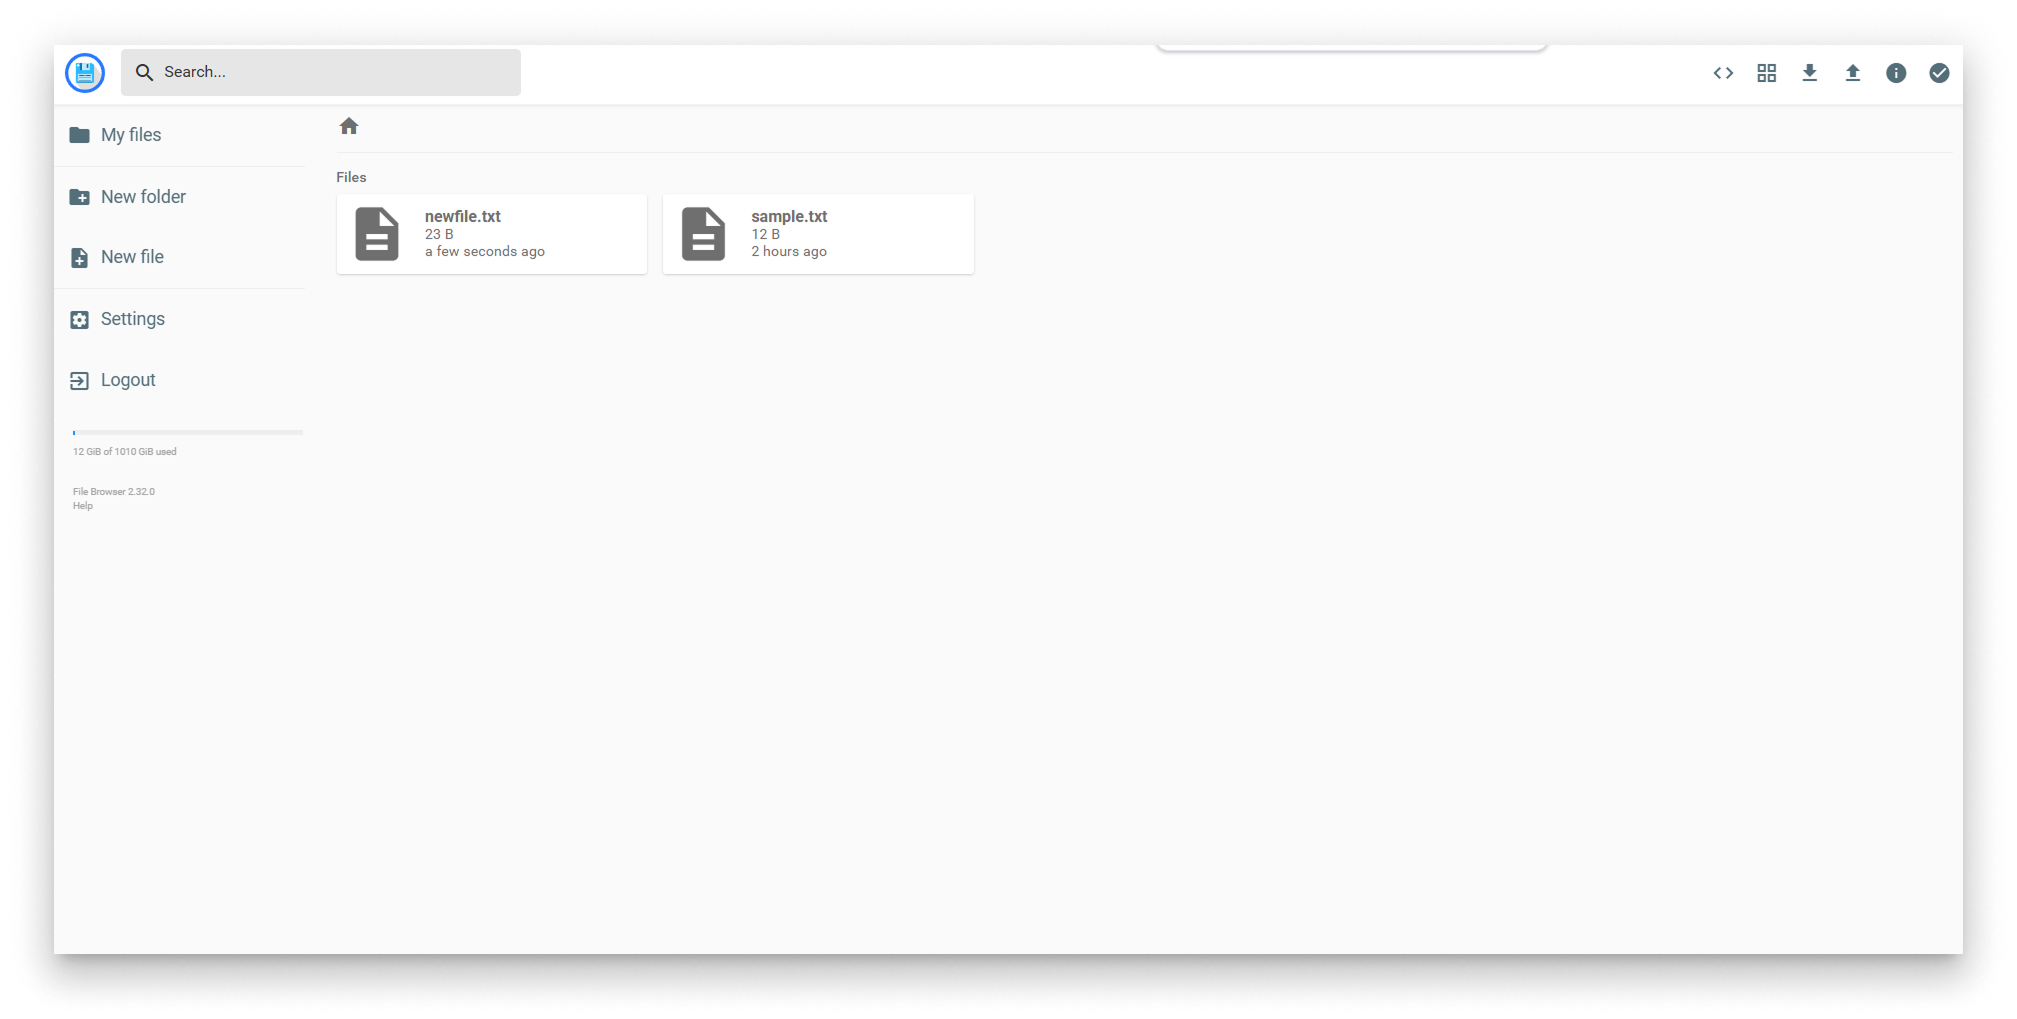
New file visible inside the container
A bind mount is a bidirectional live link — changes made by either side are visible to the other immediately.
6. Tear it down
docker-compose down
Practice 2 — deploy the same stack to a Barbara edge node
1. Zip the compose file
zip -r filebrowser_app.zip docker-compose.yaml
The zip ships only the compose file. If you need to seed persist/data with files, write a small Dockerfile that starts from the Filebrowser image and COPYs the directory in, then reference the Dockerfile from the compose with build:.
2. Upload to the App Library
In Barbara Panel, open the App Library, create a Docker application named filebrowser if it does not exist, and upload filebrowser_app.zip as a new version.
3. Deploy to a node
On the Node Details page, click Add card → Application and pick filebrowser.
4. Verify on the edge node
Open http://<NODE_IP>:8080 in your browser. Upload a few files through the UI.
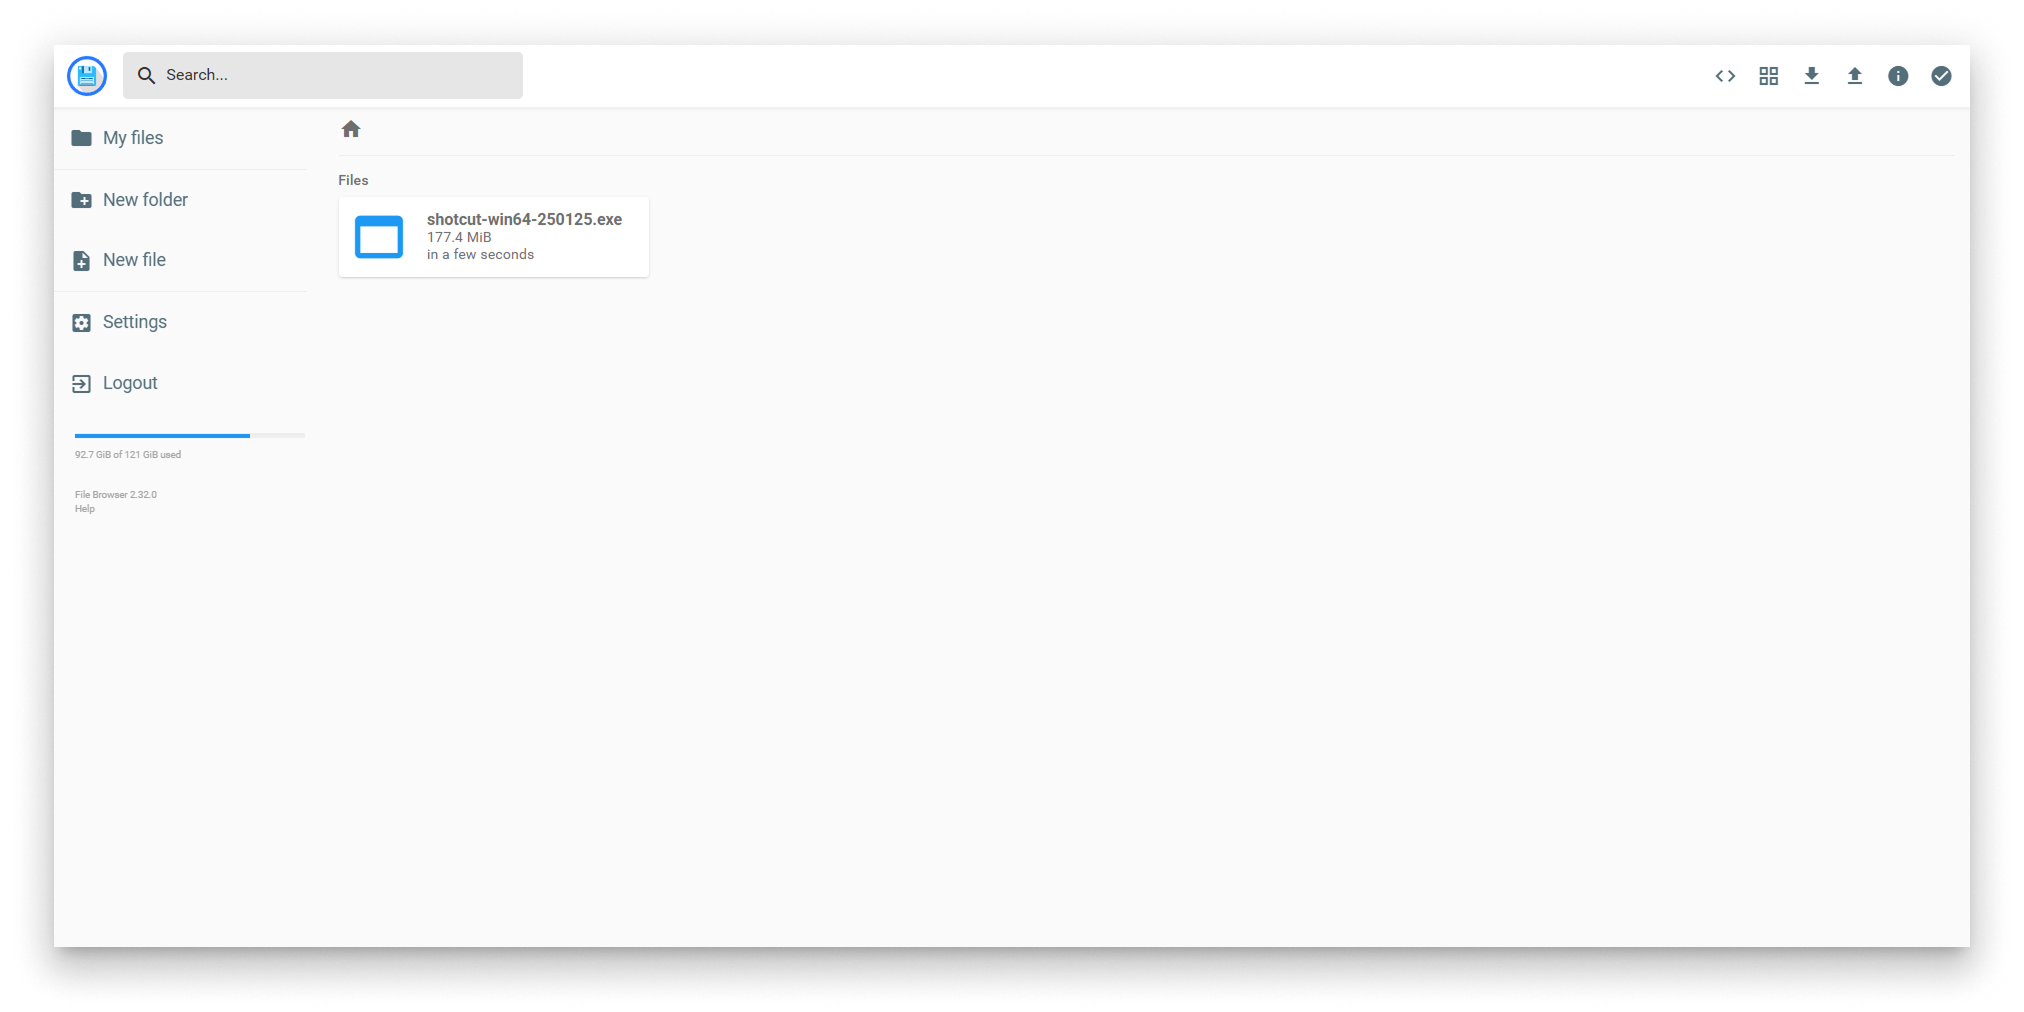
Files uploaded to the edge node
5. Manage the persistent folder from Panel
On the Node Details page, the Filebrowser workload card carries a Persistent Folder segment showing the size of ./persist/data and a Delete button that wipes it remotely.
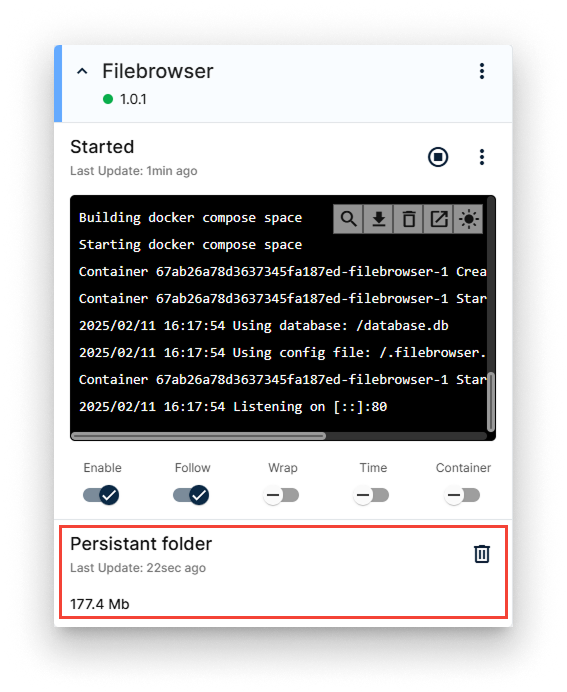
Persistent Folder segment on the workload card
6. Update the version without losing data
Uninstalling an application deletes its persistent folder. If you are deploying a new version of an existing app, do not uninstall and reinstall — use the Update Version action on the workload card instead. The persistent folder is preserved across version updates.
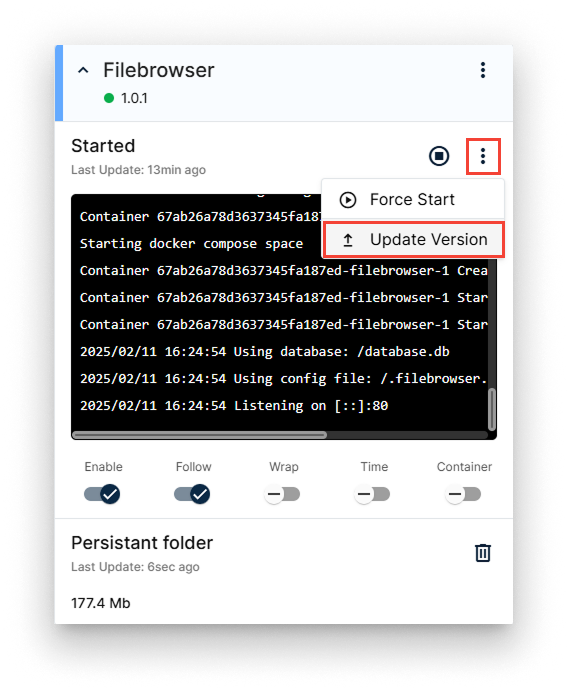
Update Version action
Summary
Bind mounts on ./persist survive container restarts and version updates, but they disappear if you uninstall the app. For data that must outlive the app itself, switch to Docker volumes — covered in the Internal volumes and External volumes steps.