Deploy the primary node
This article refers to Platform v3.3.0. The current Platform version is v3.3.0.
Overview
You now deploy the Schneider Softdpac High Availability A/B application on the first node and set it as the preferred primary. The deployment uses the standard Barbara application wizard. The only values you change are the HA role, the network and the clock variables, described in Prerequisites and how the network works; keep the defaults for everything else.
The second node (Node B) uses the same wizard with mirror values, so this page also serves as the reference for the next one.
The application must be in your App Library first. If it isn't, add it from the Marketplace as described in Add a Marketplace application to your library.
Read the node's network interfaces
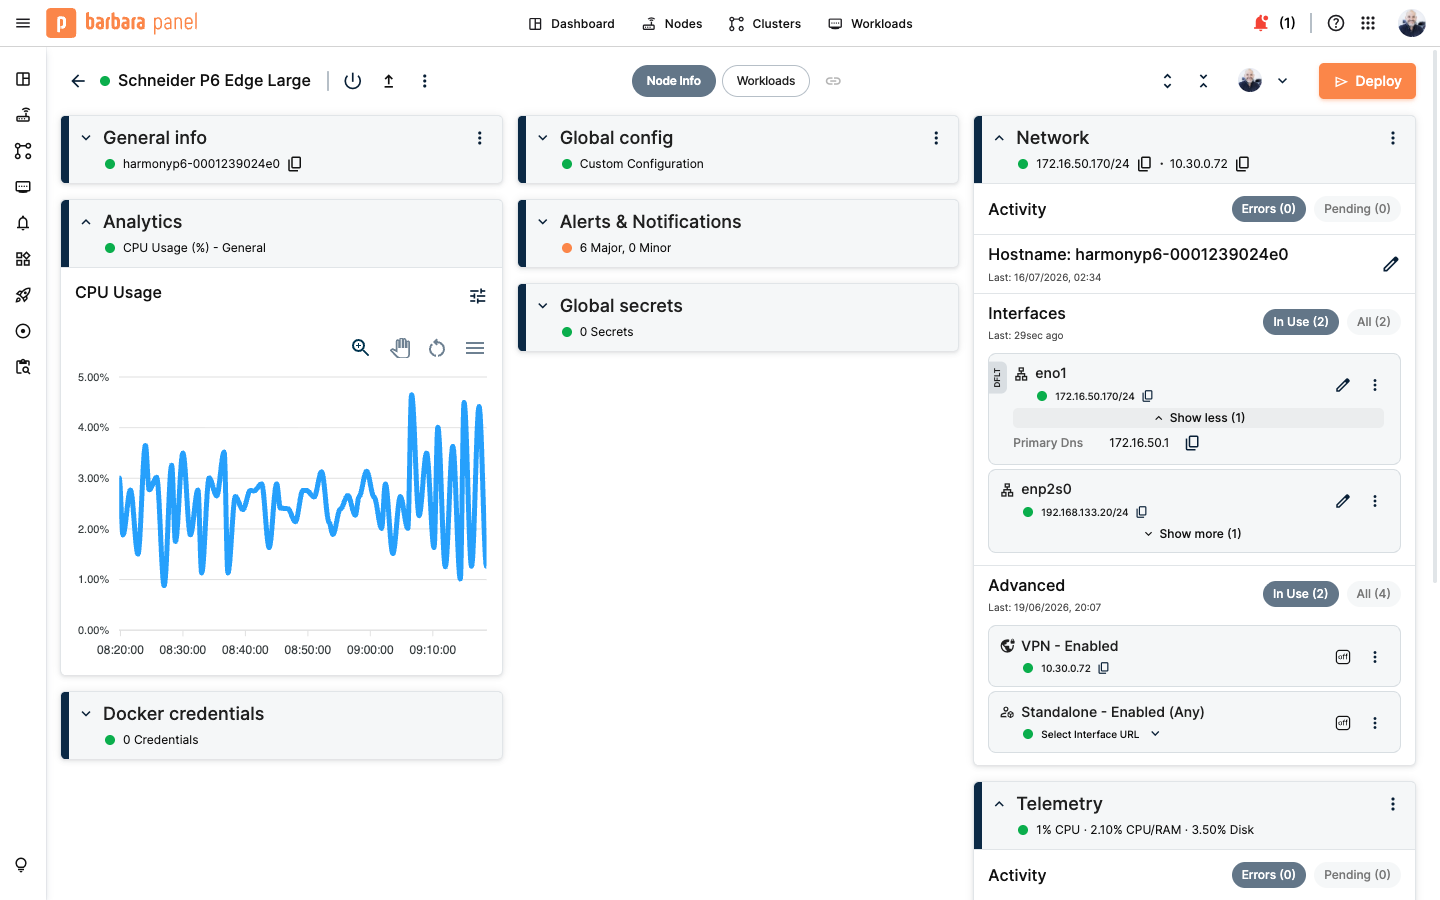
Before opening the wizard, you need the physical interface names and the gateway for this node. Open the node's Node Info tab and check its Network card.
Network card on the primary node
On this node the card shows two interfaces:
eno1carries the LAN address172.16.50.170/24, so it is the LAN interface (DEVICE_PARENT).enp2s0is on the isolated192.168.133.0/24link, so it is the dedicated interlink interface (INTERLINK_PARENT).
Expand the LAN interface to read the gateway. Here the primary DNS and gateway are 172.16.50.1.
Deploy to Node A
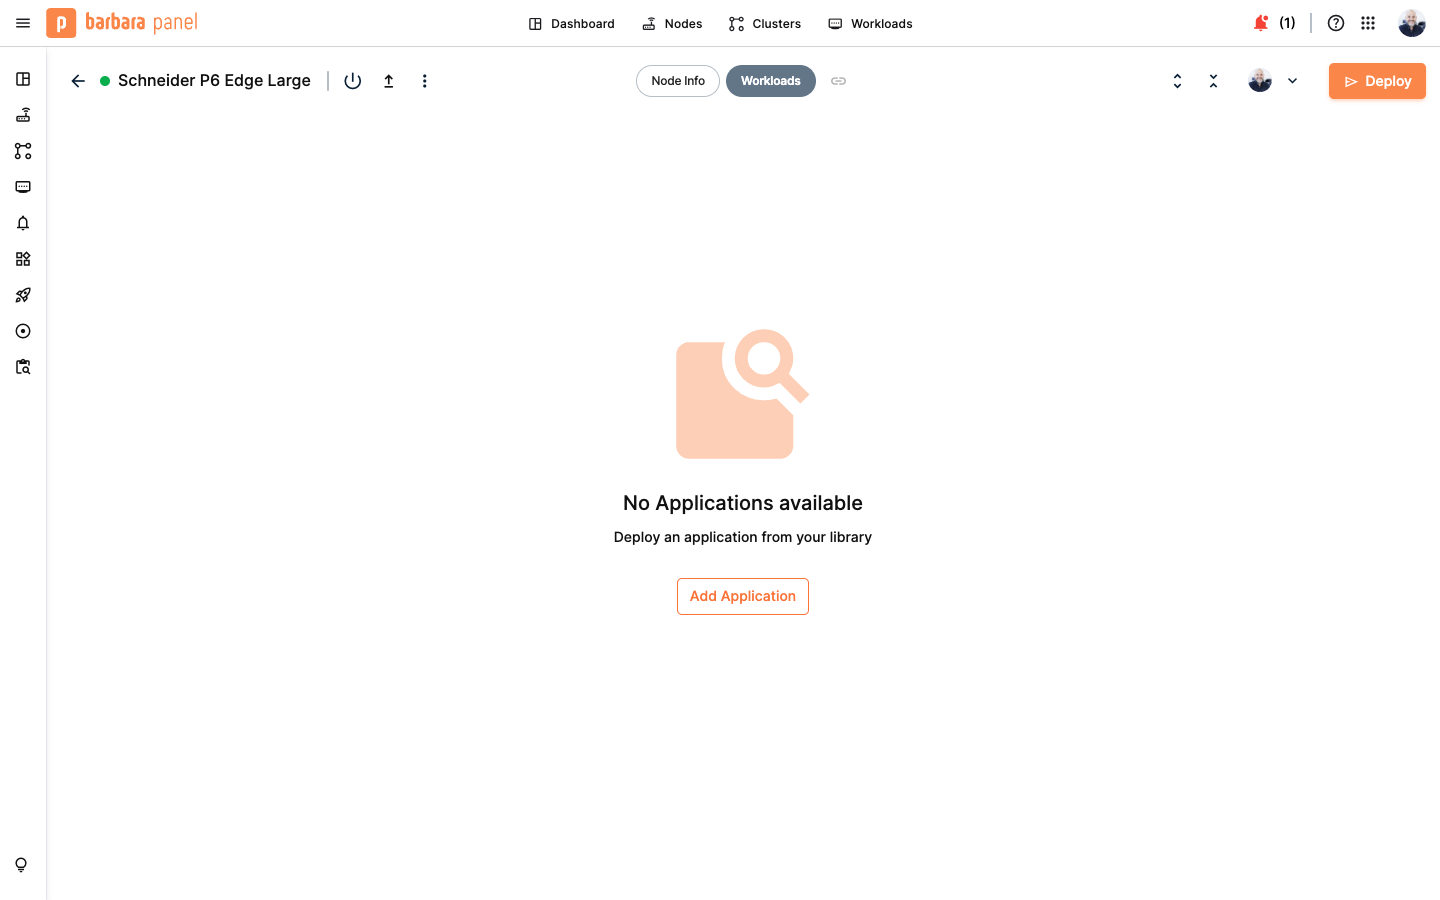
Switch to the node's Workloads tab and click Add Application.
Adding an application to the node
1) Command settings
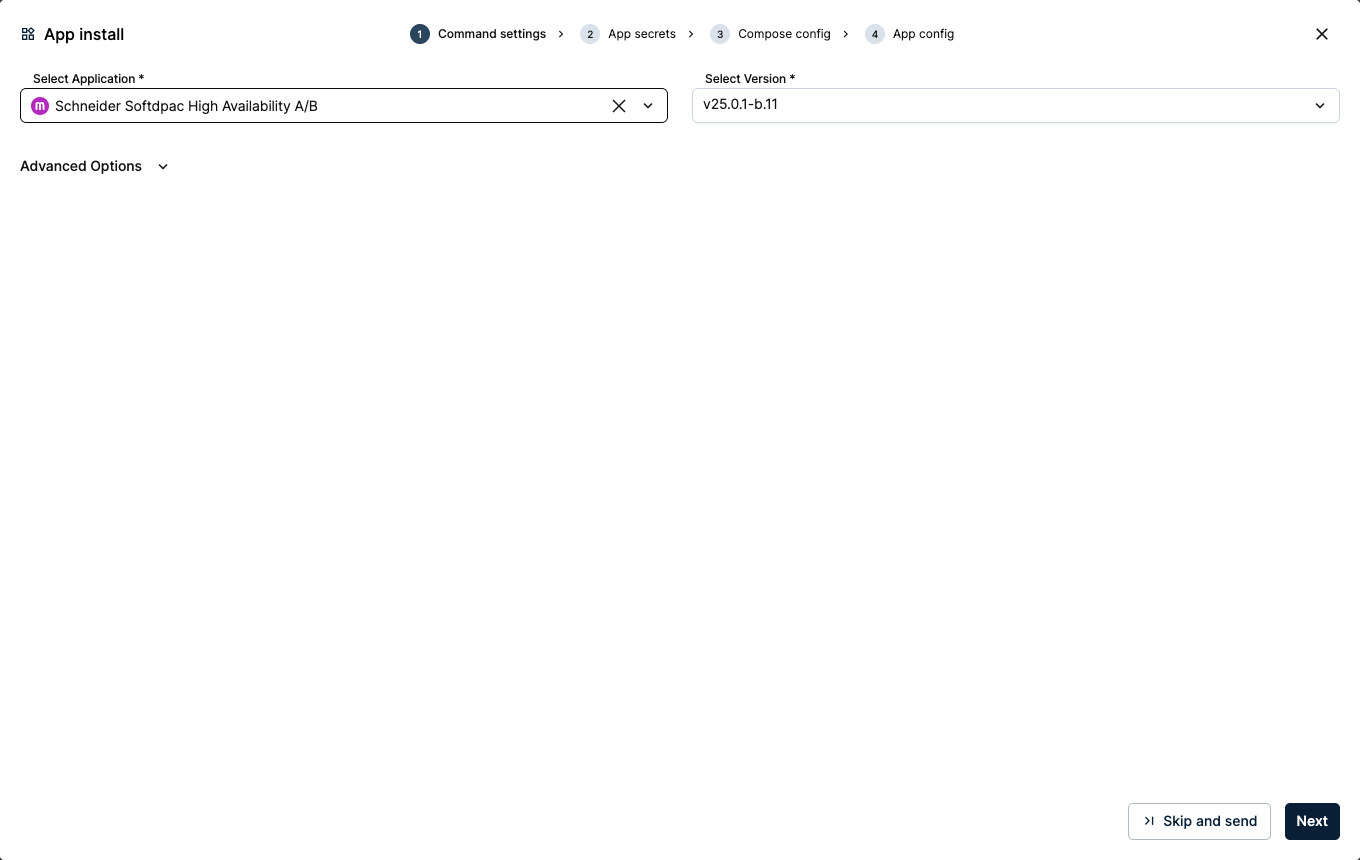
In Select Application, search for and choose Schneider Softdpac High Availability A/B. In Select Version, keep the latest version (v25.0.1-b.11). Click Next.
Selecting the application and version
2) App secrets
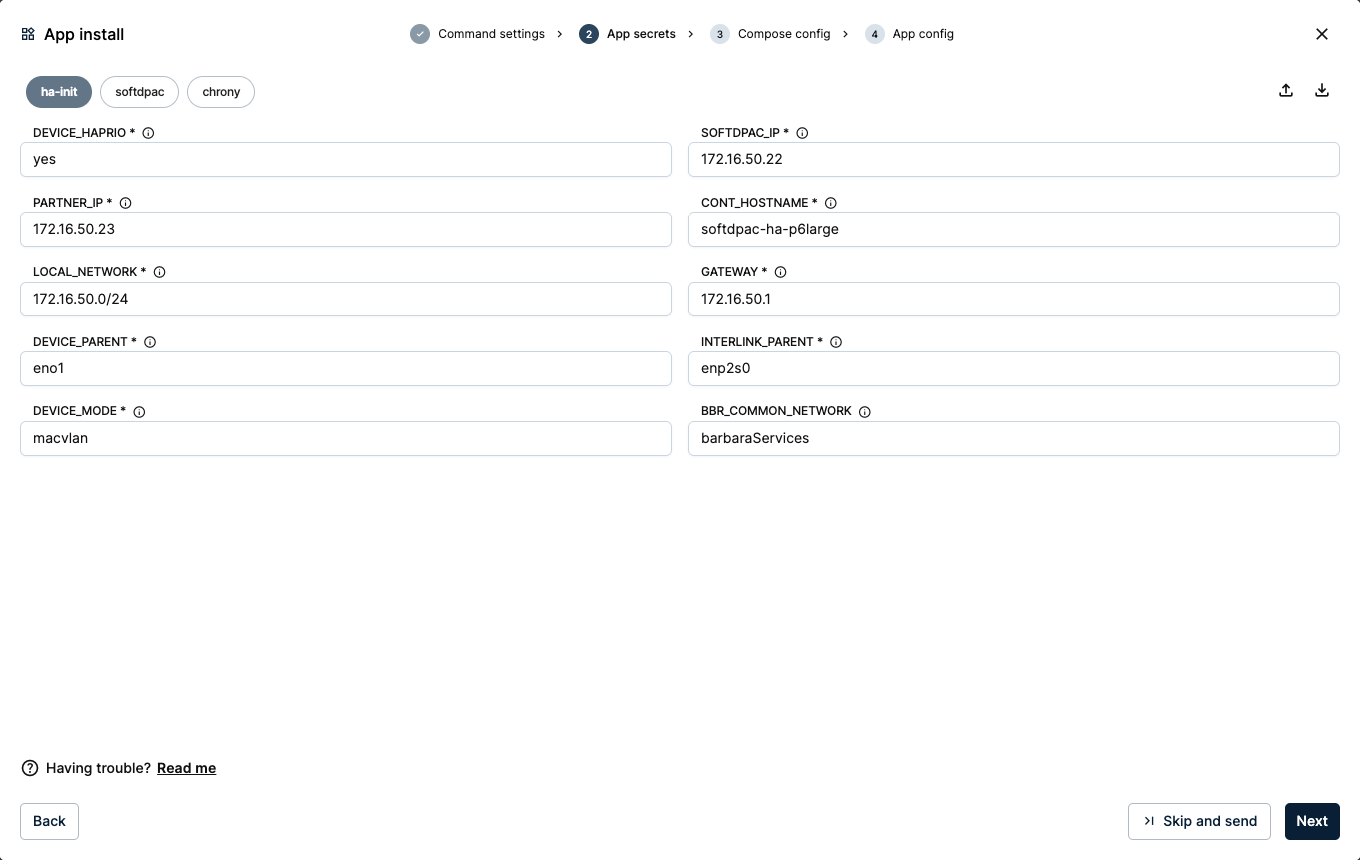
The App secrets step is grouped by service: ha-init, softdpac and chrony. On the ha-init tab, set the primary-node values below and keep the defaults for the rest.
| Variable | Value for Node A | Meaning |
|---|---|---|
DEVICE_HAPRIO | yes | This node is the preferred primary. |
SOFTDPAC_IP | 172.16.50.22 | This PLC's fixed LAN IP. |
PARTNER_IP | 172.16.50.23 | The other node's PLC IP. |
CONT_HOSTNAME | softdpac-ha-p6large | Unique device name (12+ chars). |
LOCAL_NETWORK | 172.16.50.0/24 | Your LAN subnet. |
GATEWAY | 172.16.50.1 | Your LAN gateway. |
DEVICE_PARENT | eno1 | LAN interface (from the Network card). |
INTERLINK_PARENT | enp2s0 | Interlink interface (from the Network card). |
DEVICE_MODE | macvlan | Physical hardware uses macvlan. |
On the chrony tab, keep CHRONY_ROLE at its default server: the primary node publishes the time. Leave CHRONY_PEER_IP at its default on the primary. Click Next.
App secrets for the primary node
Every variable, including the ports and volumes, is documented in the application's Technical Notes on its Marketplace page.
3) Compose config
The Compose config step holds the ports and the persistent volumes. Keep all the defaults: the ports 51443 (EAE), 4840 (OPC UA), 51499 (REST) and 12399 (clock sync), and the sdpac-ha-* volume names. The first three are published on the node's host, so the PLC is also reachable at the node's host IP and over the Barbara VPN, in addition to its own LAN IP. Click Next.
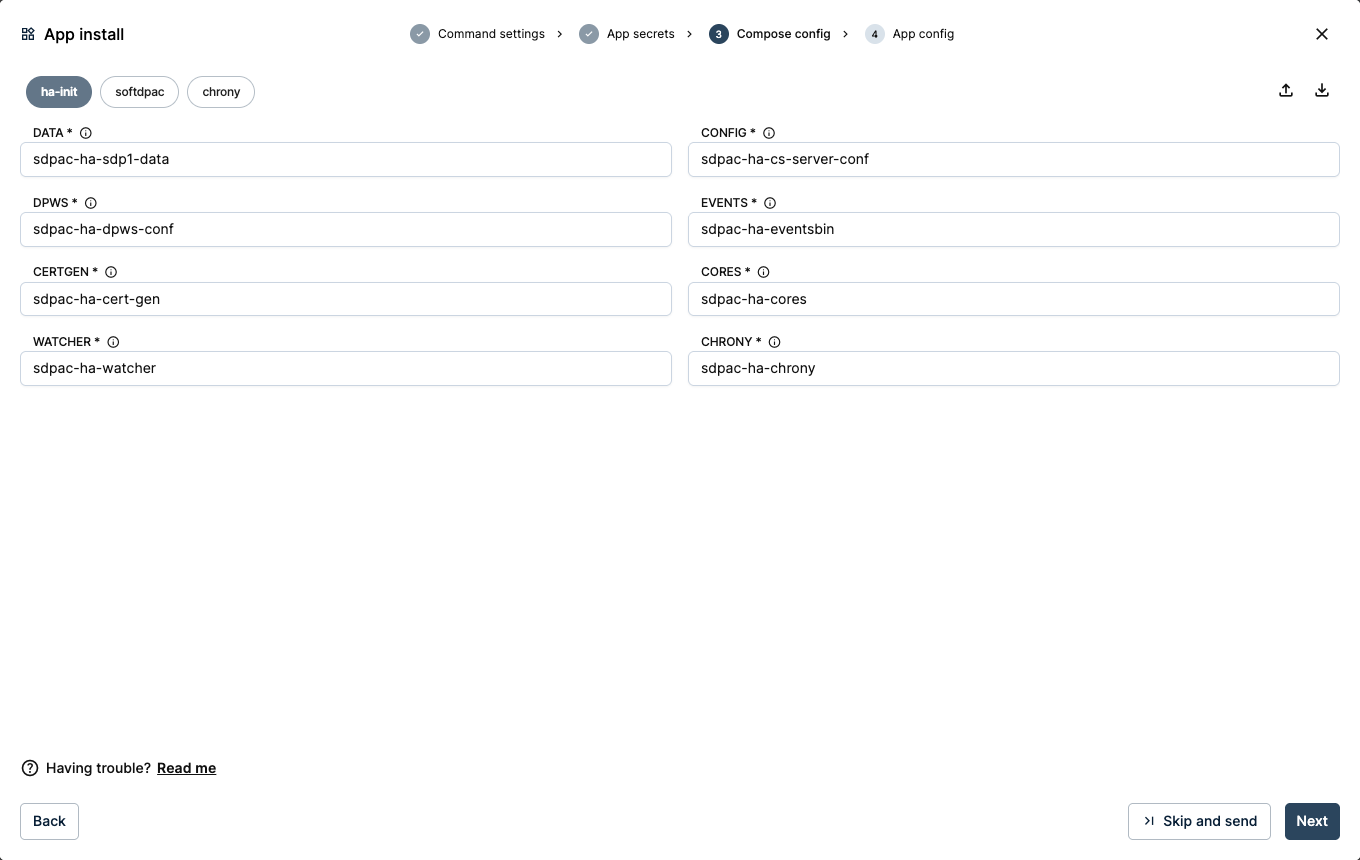
Keeping the default ports and volumes
4) App config
This application needs no App config, so leave it empty and send the application with Skip and send.
Verify the workload
A workload card appears under Workloads. Within a few seconds it reads Started, with its four services running: softdpac, cs-server, chrony and ha-init.
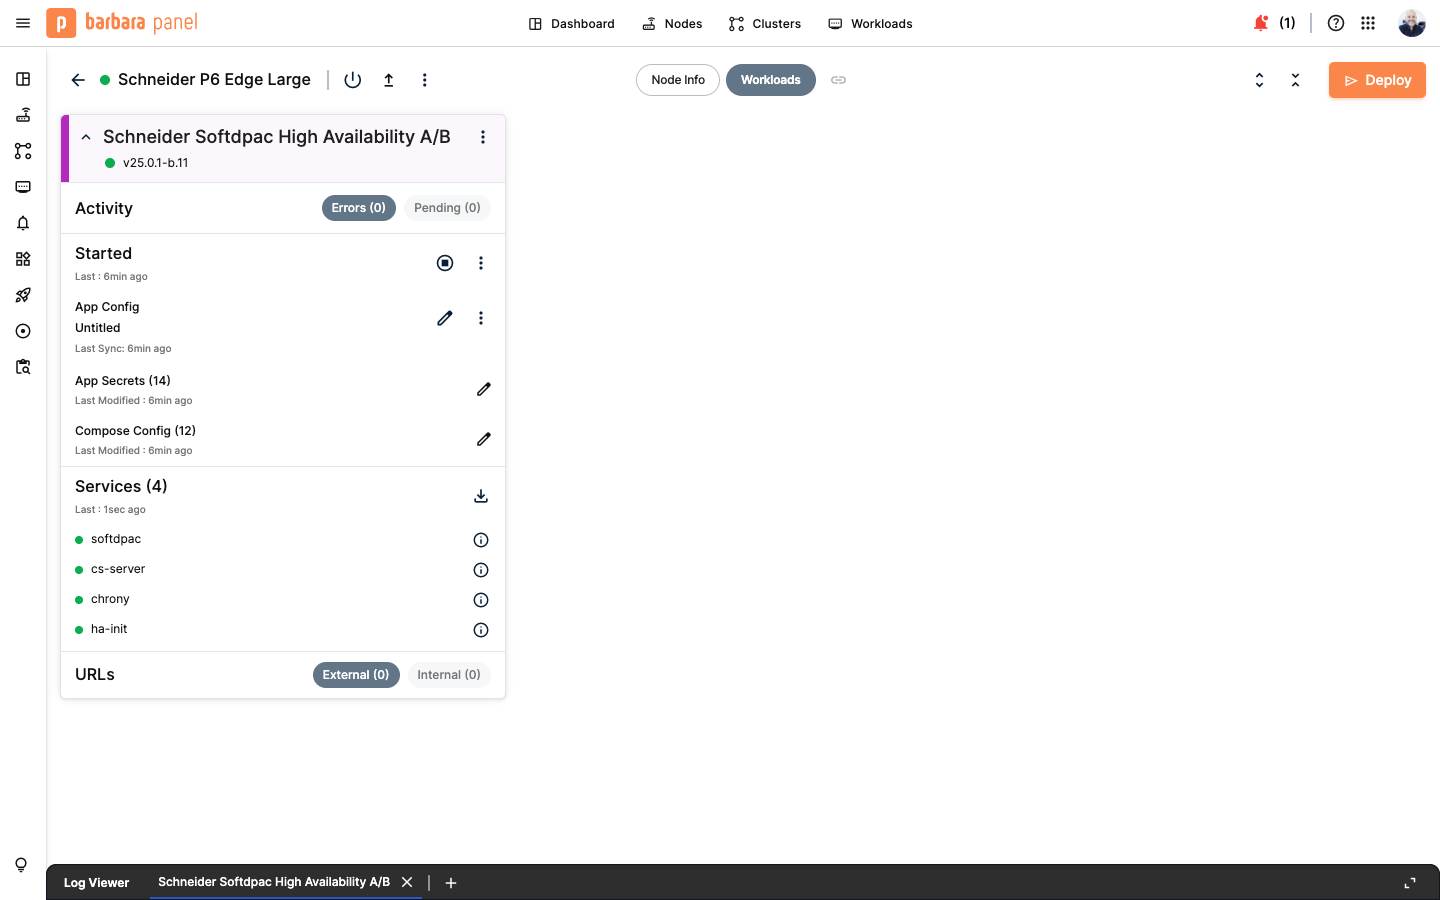
Primary node workload started
The secondary node isn't up yet, so the pair is not redundant until you deploy Node B. That is expected.
Summary
The primary node is running the SoftdPAC HA application with its role, LAN and clock settings in place. Barbara runs the controller as a first-class device on your LAN, ready for its partner. Next, deploy the secondary node with the mirror values so the pair forms.
Continue with Deploy the secondary node.