1.2 - Deploy Node-RED and open its flow editor
This article refers to Platform v3.2.0. The current Platform version is v3.3.0.
Overview
This step guides you through deploying your first application on the hosted node you registered previously. We'll use Node-RED as our example application.
Node-RED is a visual, browser-based tool that allows you to wire together devices, APIs, and online services in a low-code environment. It's perfect for quickly building edge data flows without extensive coding.
You can find Node-RED in the Barbara Marketplace:


Node-RED
Node-RED is a low-code programming tool for easily wiring together hardware devices, APIs, and online services.
Go to the official website: nodered.org.
Add the Node-RED Application to Your Library
Before you can deploy any application to an edge node, it must be in your Panel's Application Library. By default, this list is empty, as shown below.

Empty Application Library page
You can populate the app library by:
- Uploading your own user applications or models.
- Adding an application from the Marketplace (recommended for quick development).
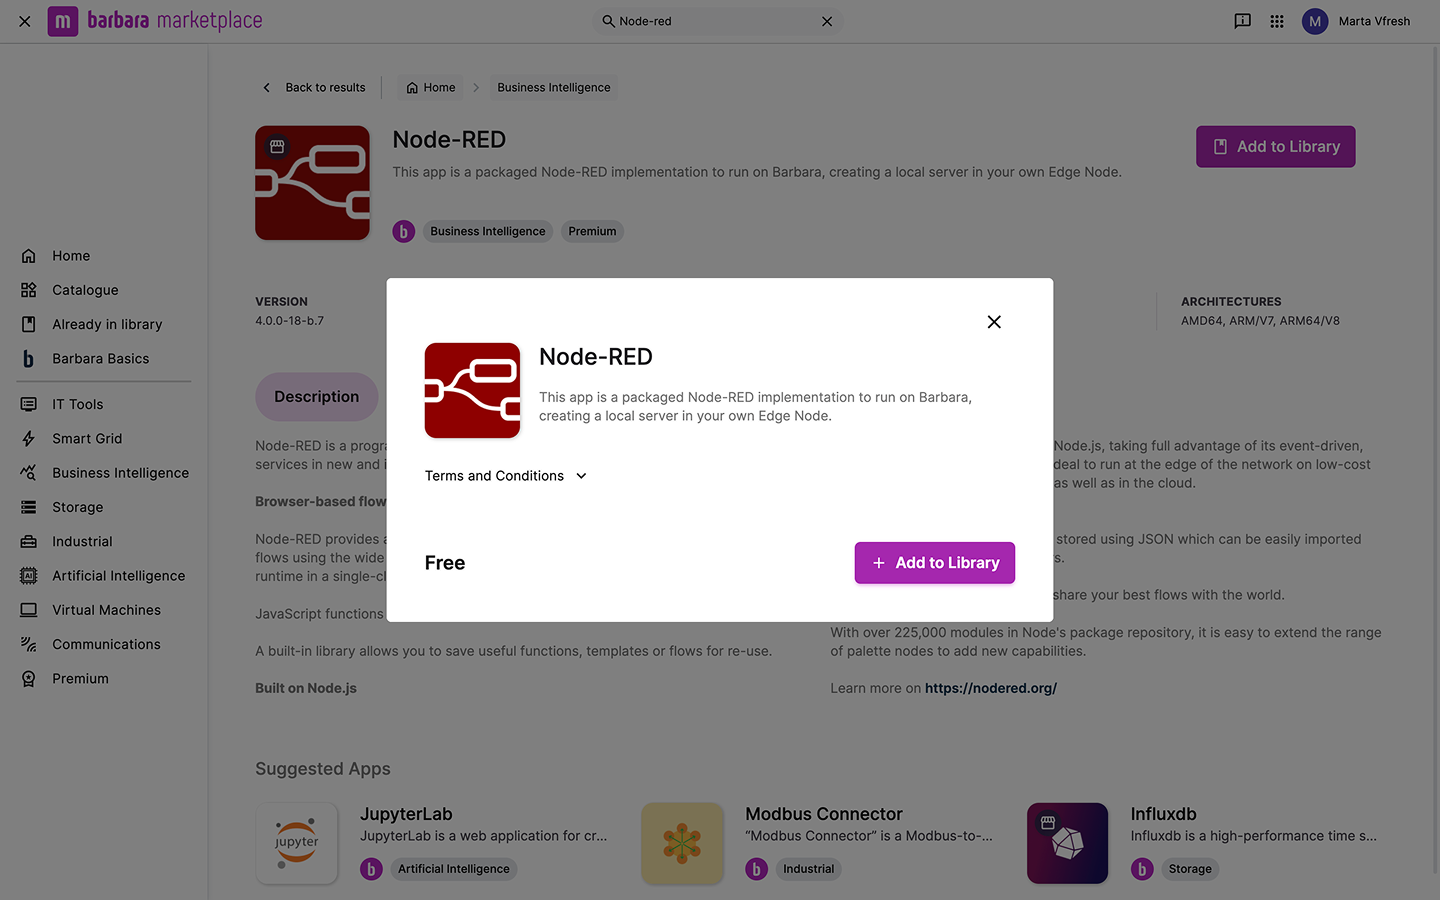
In this guide, we'll get Node-RED from the Marketplace. Go to the Marketplace and search for "Node-RED." You can also use the purple direct link provided earlier. Click on Node-RED in the search results to open its product page.
The Node-RED product page displays all app details, including the Technical Notes with configuration information. Click Add to Library and accept the terms and conditions to add the app to your library.
Node-RED in Marketplace
Return to the Application Library, where the Node-RED app will now be available.
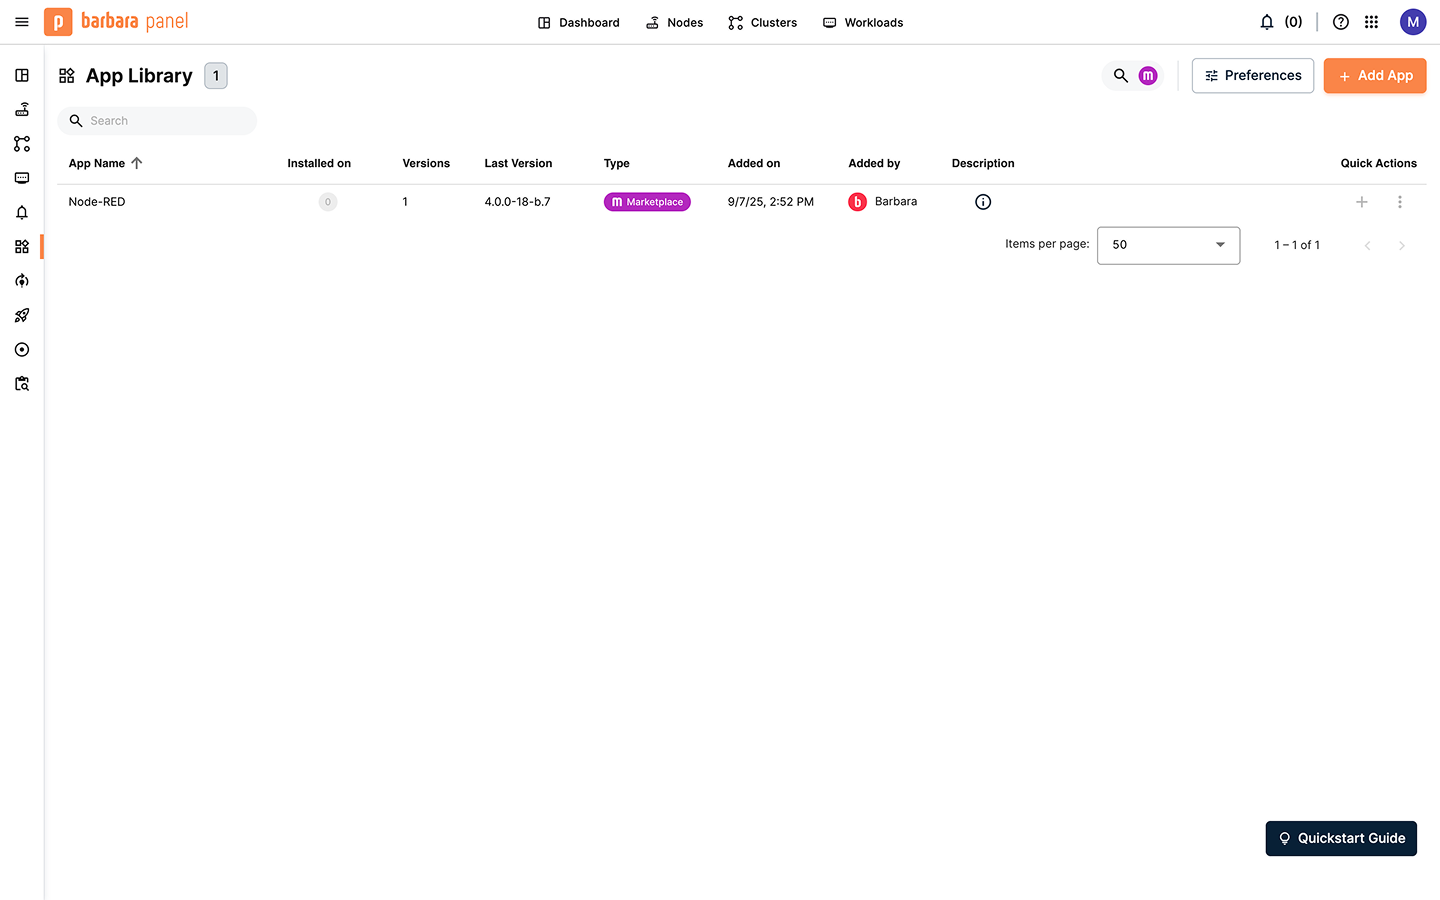
Node-RED in the Application Library
Deploy Node-RED to the Hosted Node
Once the app is in your library, you can deploy it to any of your nodes.
- Go to the Node List and click on your Hosted Node to open its details.
- The Node's Details page has two tabs: Node Info and Apps & Models.
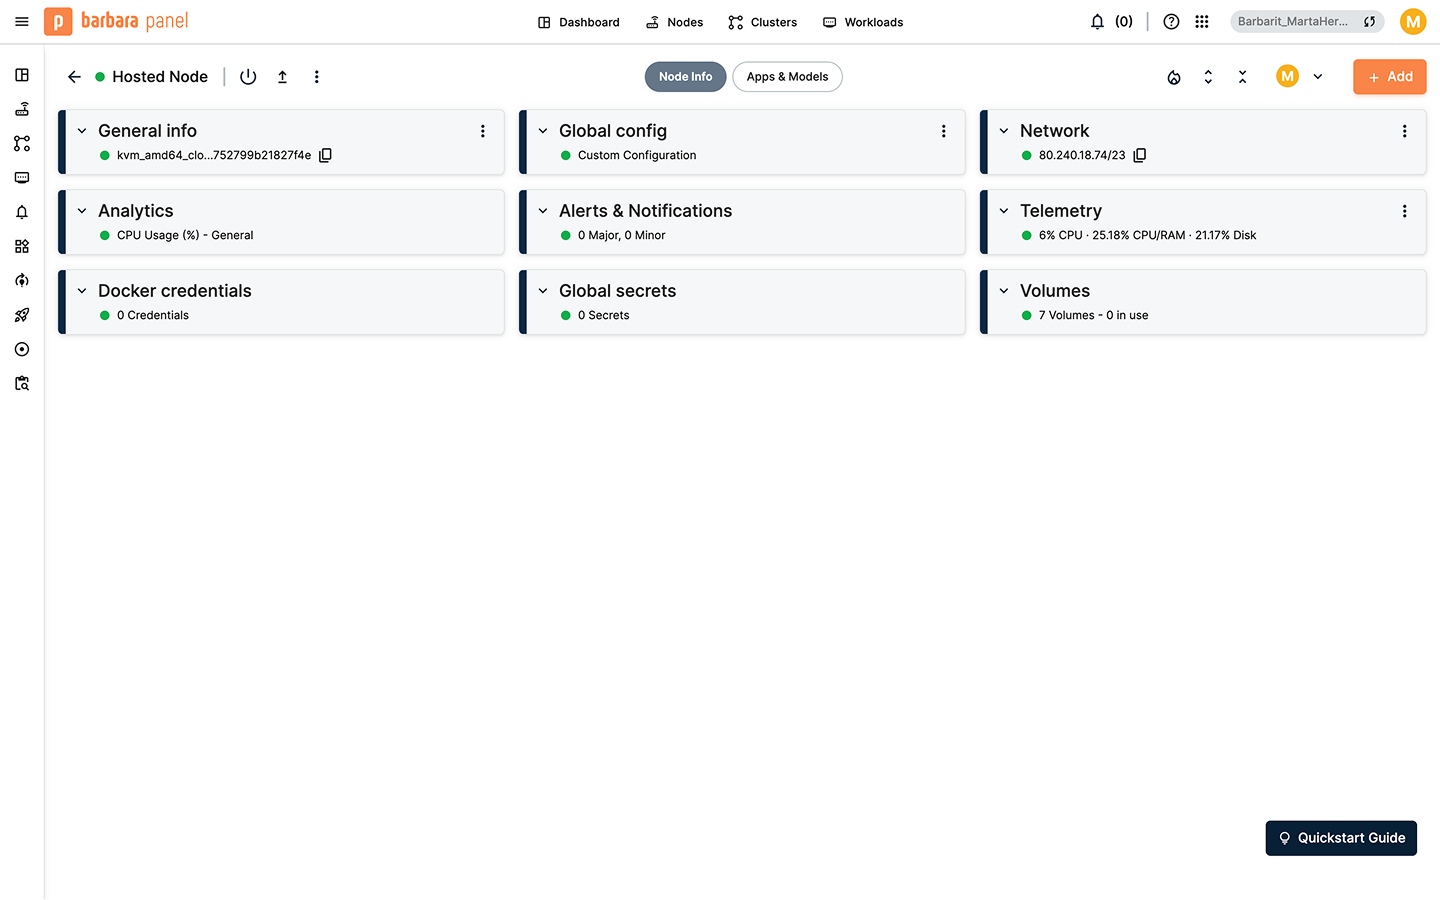
Node Info tab in Node Details
The Node Info tab lets you check and manage node-related details like its group, tags, location, underlying hardware, telemetry (CPU, RAM, Disk), and network settings. You can also define global configuration, secrets, create Docker volumes, or store repository credentials here.
Now, switch to the Apps & Models tab, click + Add, and choose Application. This opens the application deployment wizard.
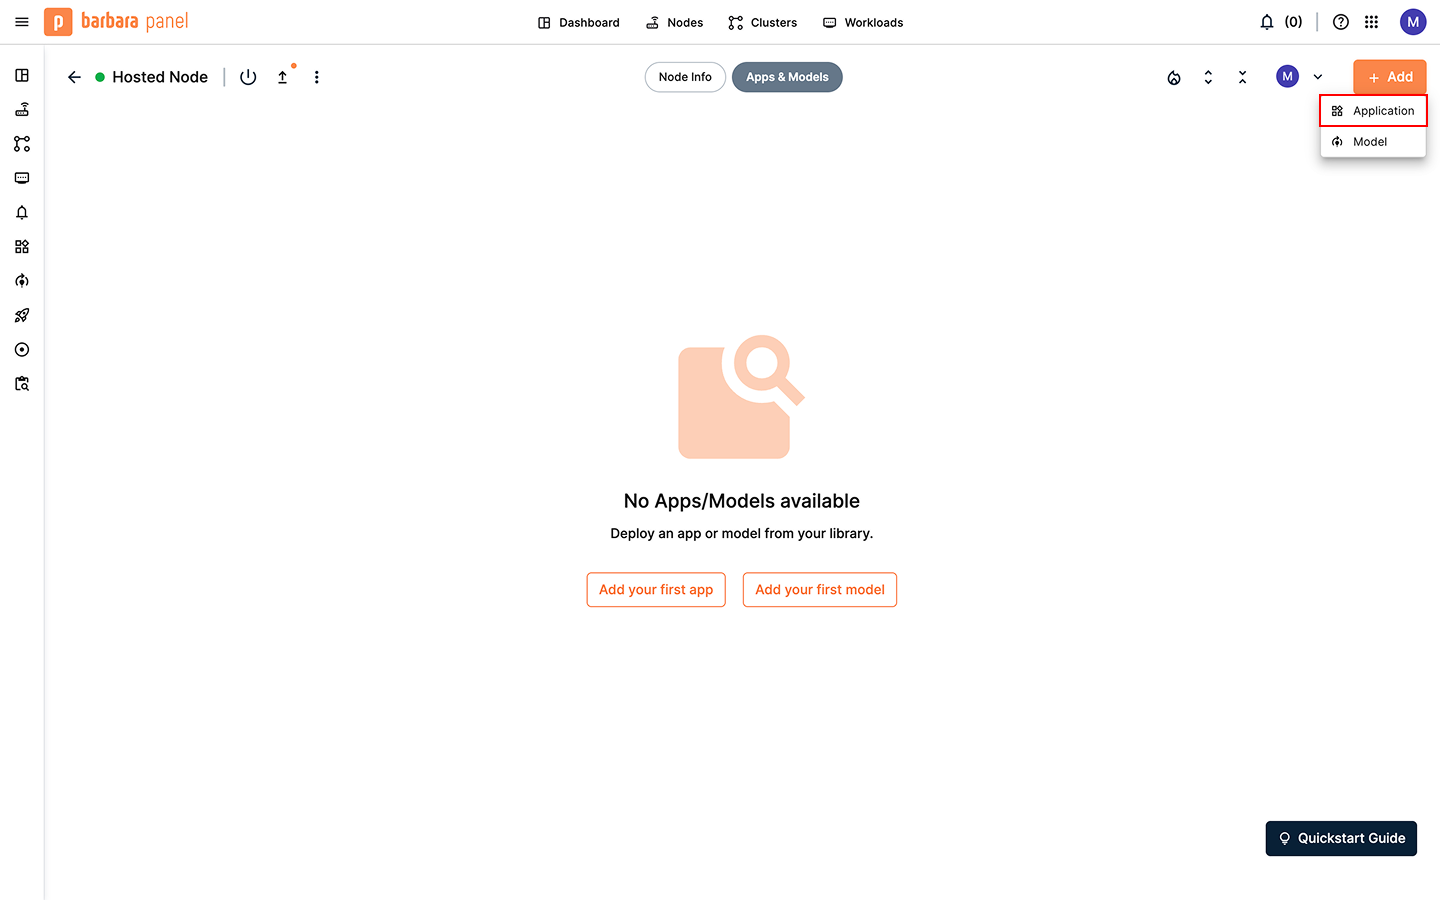
Add a new application in the Node Details page
1) Select application
Choose Node-RED from the dropdown and select the version to install. We recommend selecting the latest available version for the newest features and security patches. Click Next.
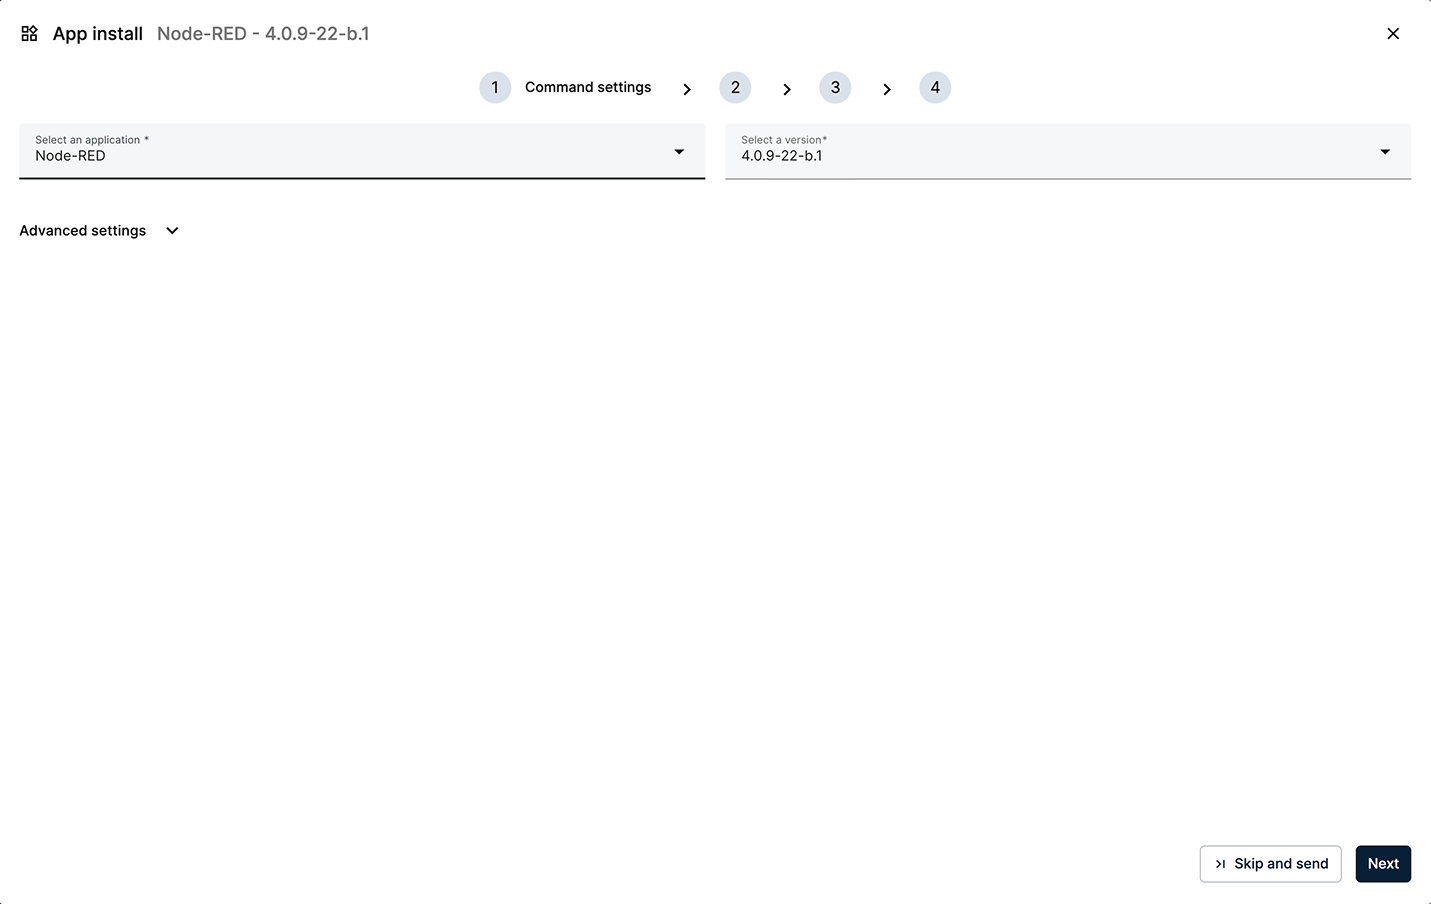
Select Node-RED and the latest version
2) App Secrets
Set the application secrets required by Node-RED. These secrets are specific to each app and are fully documented in the app's Technical Notes. You can quickly access these notes by clicking Having trouble? Read here in the bottom-left corner. Default values are typically provided for critical secrets to ensure a minimal-effort startup. Leave the default values and click Next.
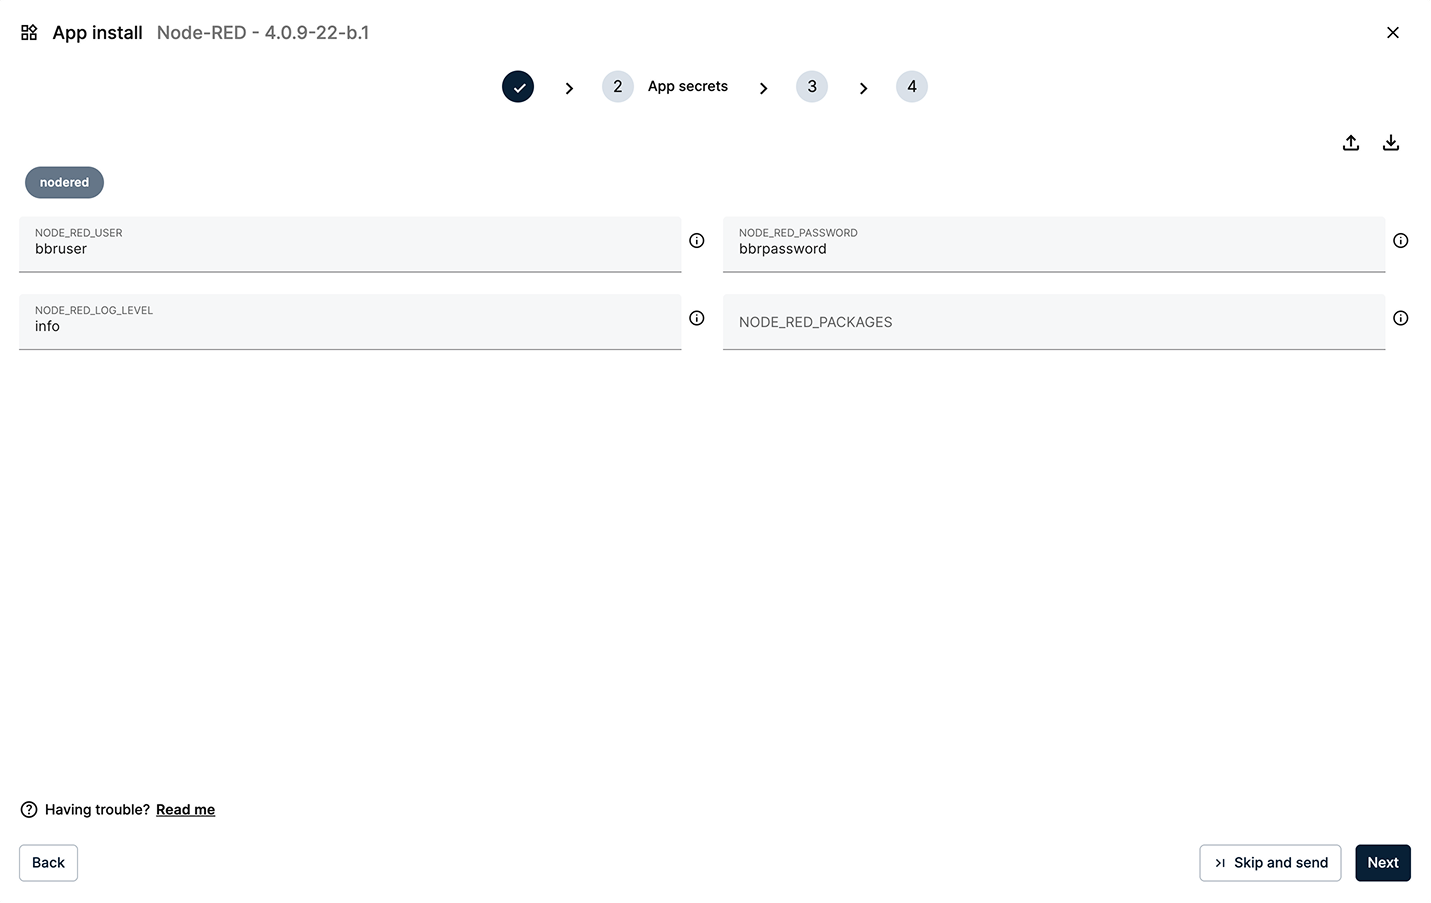
Keep the default values for the App Secrets
3) Compose Config
In the Compose Config step, you define the ports and Docker volumes that the app will use. Leave the default port 1880, as this is where Node-RED will be served. Also, keep the default volume node-red-data. Click Next to continue.
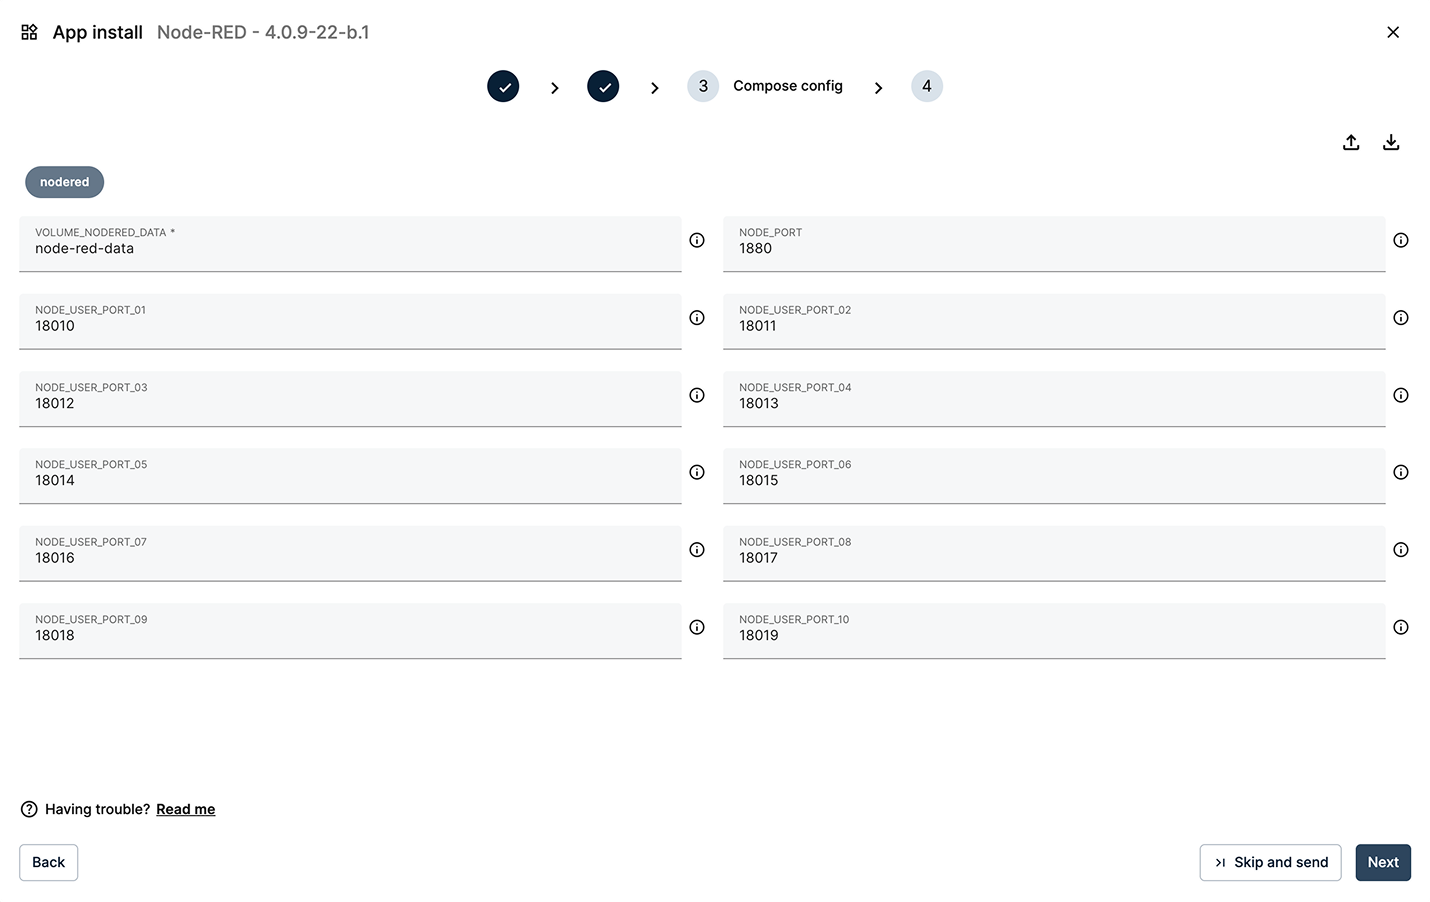
Keep the default values for the Compose Config
4) App Config
Some applications support an additional JSON configuration file. Node-RED doesn't require any App Config to run at the moment, so you can leave this step empty.
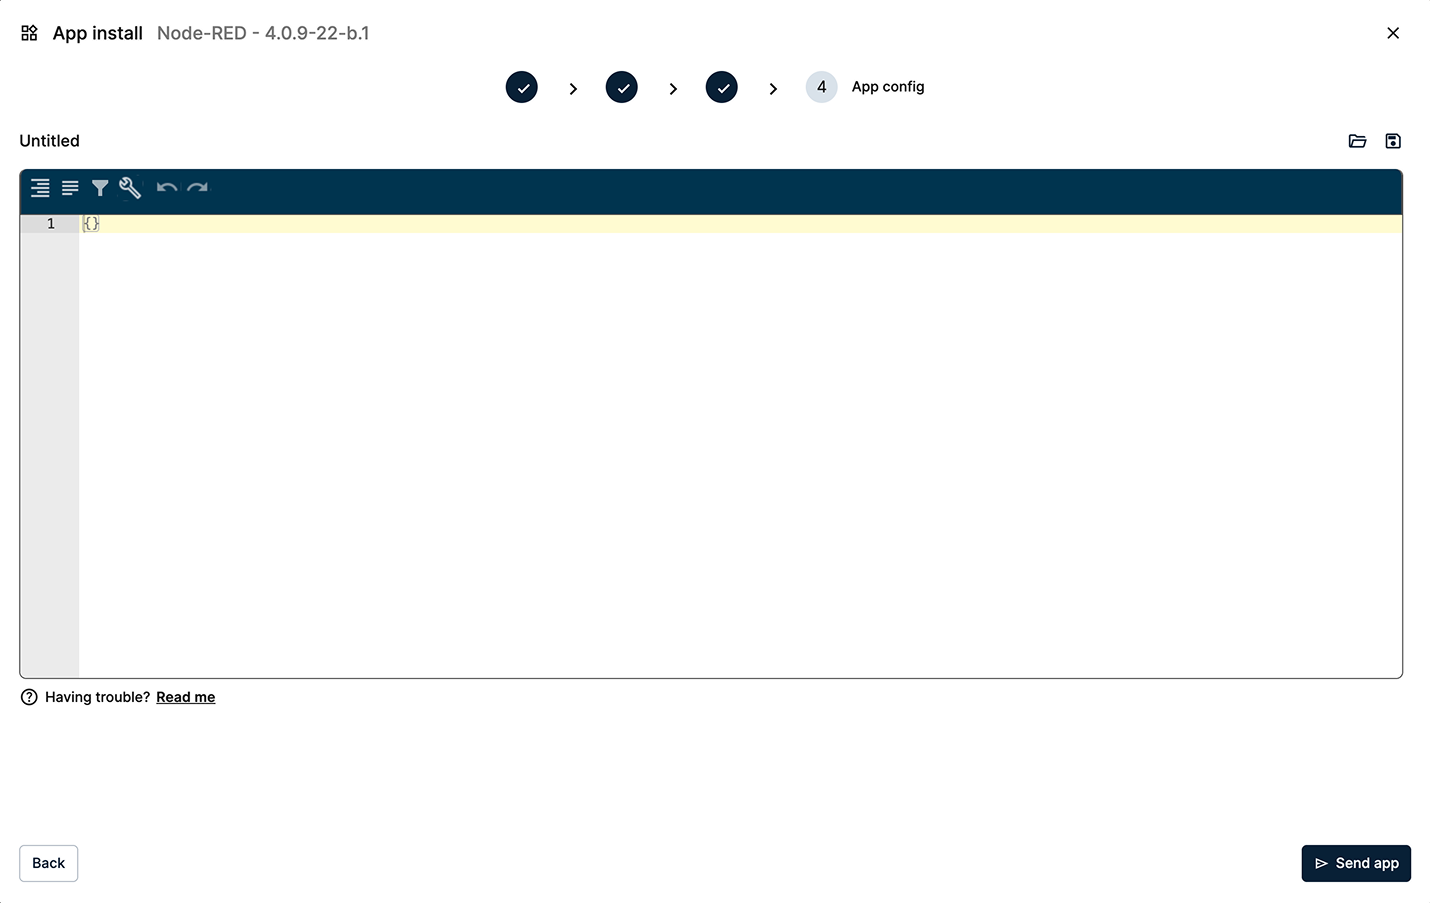
Keep the empty App Config data in the App Config editor
Click Send App to deploy. A new workload card will appear under "Apps & Models." This card contains all relevant information about the workload and allows you to send commands. Here, you can start/stop the workload, update the workload with a new version of the app, check for errors, review applied configurations, and modify them.
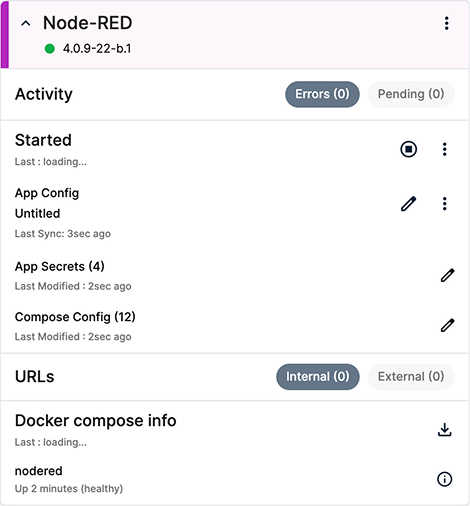
Node-RED workload
You can also open the real-time Log Viewer to inspect startup messages. This viewer lets you check, search, and export the logs of any deployed app. You can easily resize or minimize it.
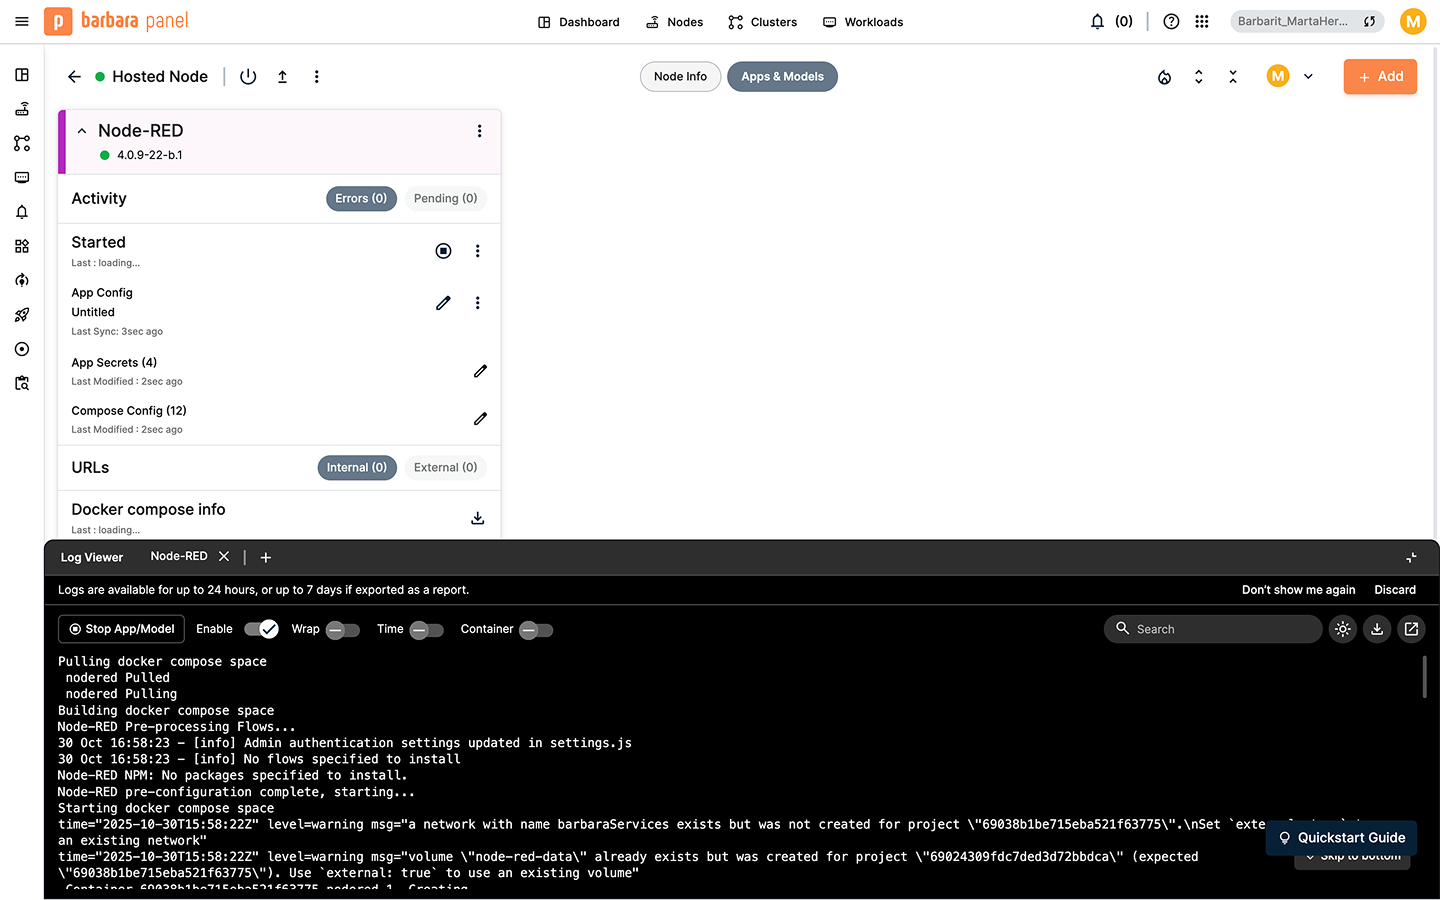
Real-time logs available in the Log Viewer
Open the Flow Editor
Now that Node-RED is running on your node, you can access its web UI. You'll need the node's IP address and the port you configured for Node-RED (1880 by default).
To get the node IP address:
- Go to Node Details.
- Open the Node Info tab.
- Check the Network card to find the public IP address.
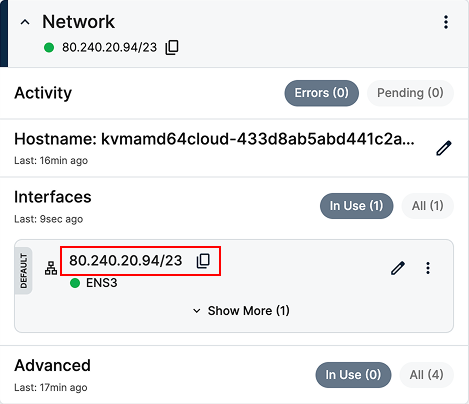
Network card showing the node's public IP address
Once you have the node's IP, open a new browser tab and navigate to: http://[NODE_PUBLIC_IP]:1880. Sign in with the default credentials: bbruser/bbrpassword.
Since this hosted node has a public IP, you can reach services without enabling a VPN. In on-prem edge scenarios, nodes usually don't expose a public IP, so you would have to enable the VPN to access services remotely.
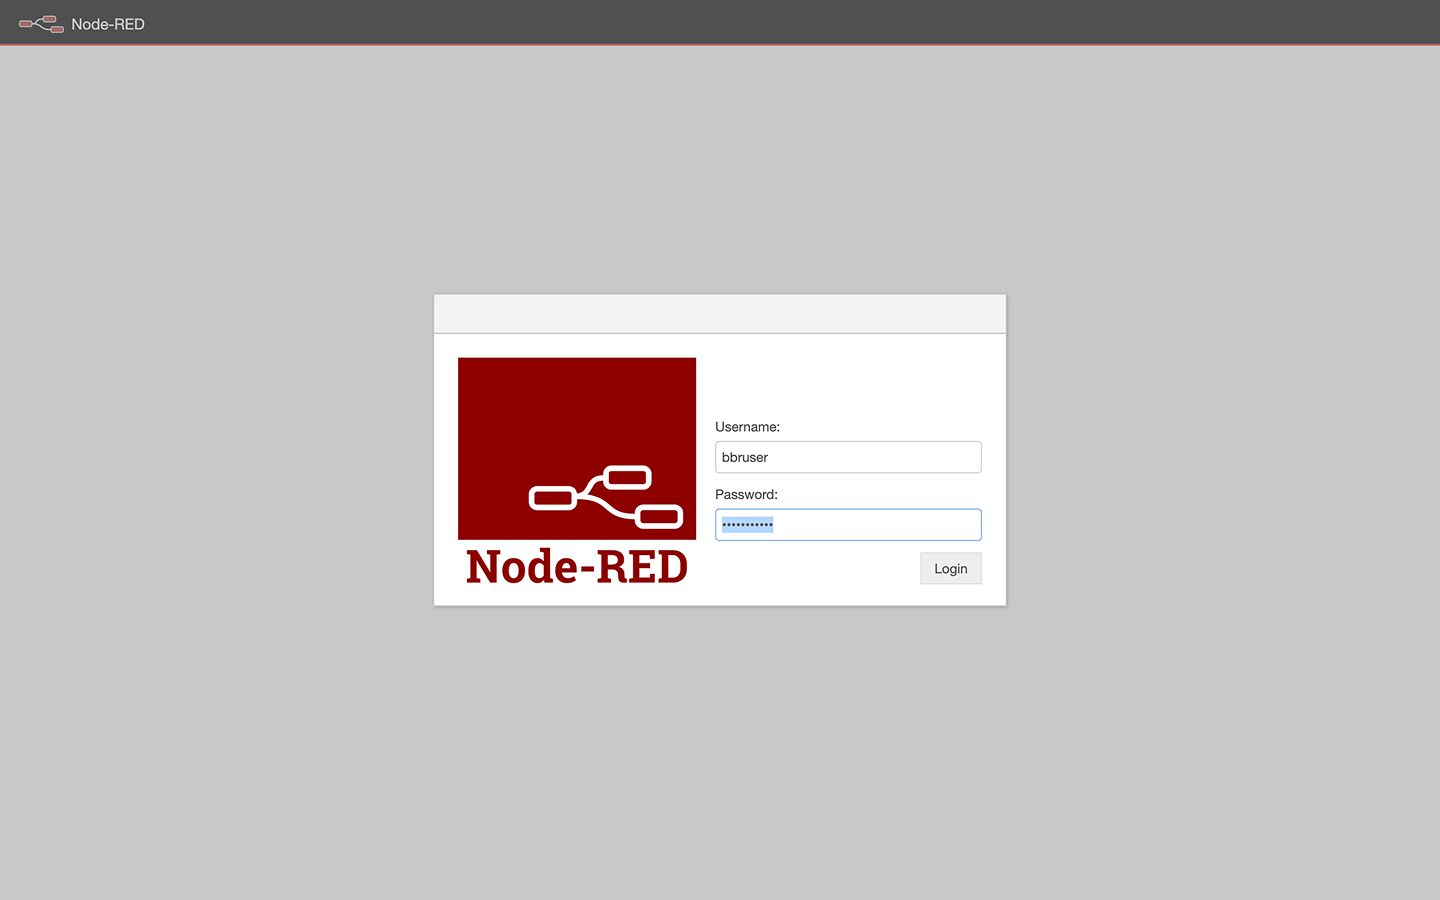
Node-RED login page
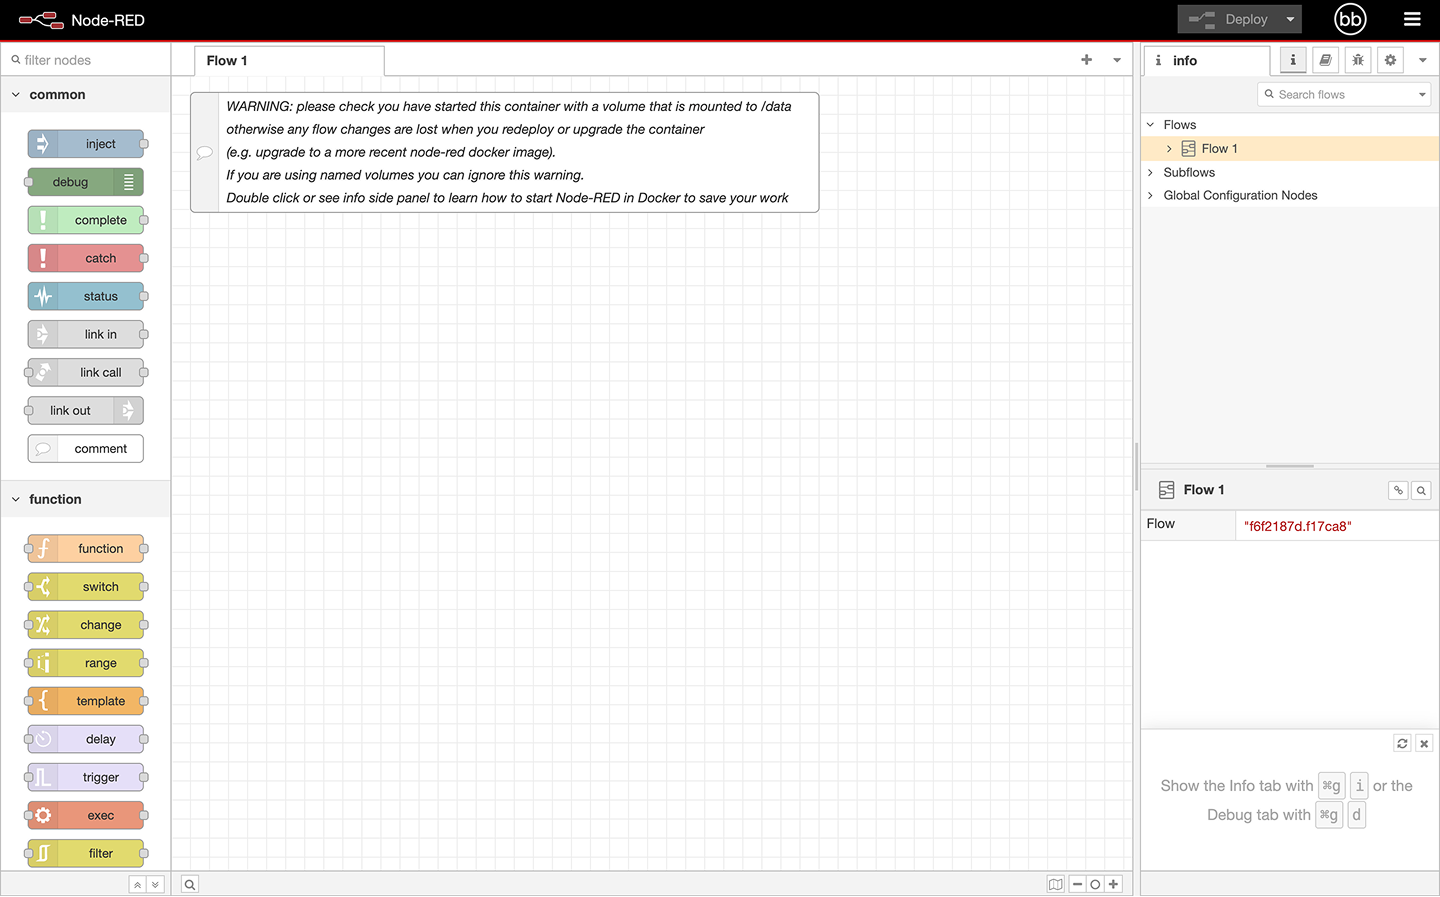
Node-RED Flow Editor
Summary
You've successfully added Node-RED from the Marketplace, deployed it to your hosted node using the wizard, and accessed the service remotely through your browser. You are now ready to start building flows to process data right at the edge.