2.2 - Deploy an industrial data simulator
This article refers to Platform v3.2.0. The current Platform version is v3.3.0.
Overview
In this step, you will deploy the Industrial Data Simulator (IDS) — a tool designed to generate realistic industrial data streams and publish them to your MQTT Broker. For this tutorial, you'll simulate telemetry from a CNC machine and send its values to the MQTT Broker deployed in the previous step.
In real-world scenarios, industrial applications connect to assets through connectors like OPC UA, Modbus, or others to collect data from sensors and PLCs. Here, you'll use IDS to simplify development, removing the need for an actual machine.
The IDS includes several preloaded data flows, but in this guide, you’ll upload your own CSV file and configure the app to publish records periodically.
For full technical details, visit the application page in the Marketplace:


Industrial Data Simulator (IDS)
Powerful tool designed to mimic the behavior of real-world industrial equipment and generate synthetic data streams.
Add the Industrial Data Simulator to the App Library
First, open Barbara Marketplace and search for Industrial Data Simulator. Alternatively, you can use the direct link above. Then, click Add to Library.
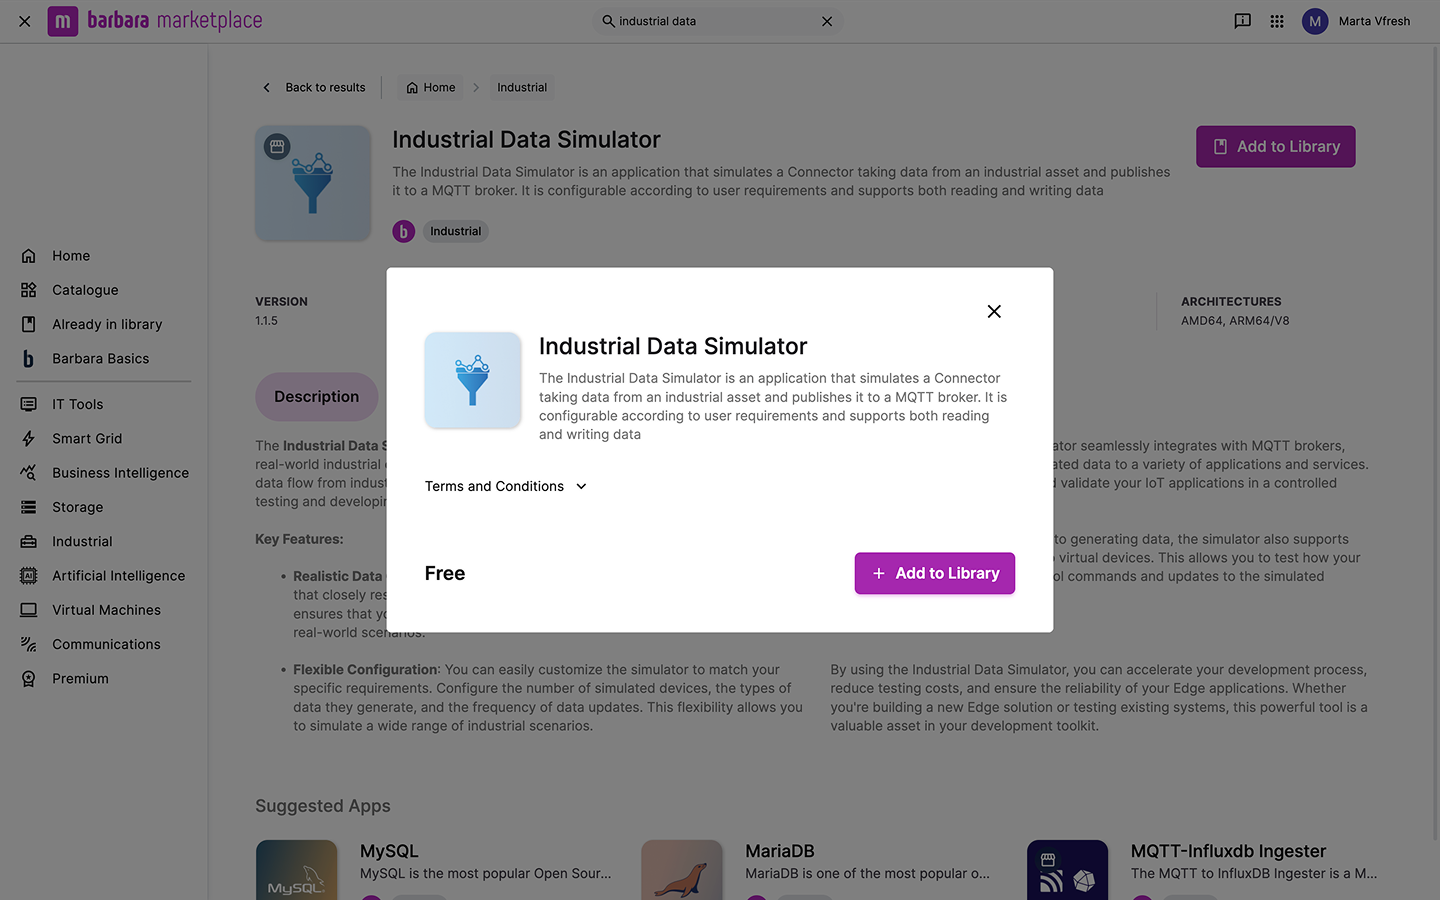
Industrial Data Simulator in Marketplace
Once added, the application appears in your Library, ready for deployment on any Edge Node.
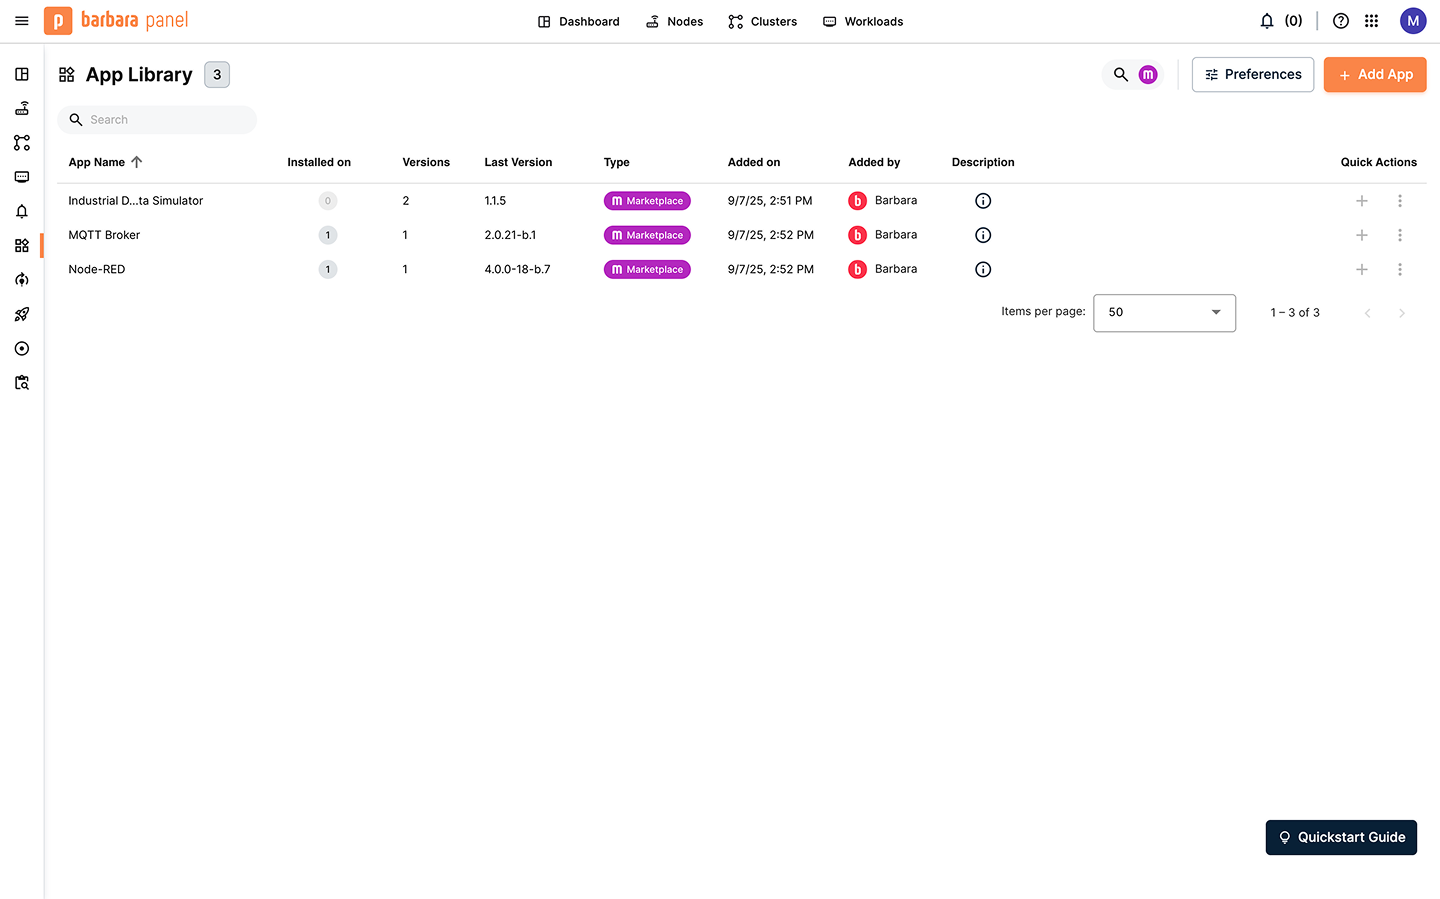
Industrial Data Simulator in the Application Library
Deploy the Industrial Data Simulator to the Edge Node
- Locate your target Edge Node from the Nodes List.
- Click to open its Node Details page.
- Go to the Apps & Models tab, click + Add, and choose Application.
This starts the deployment wizard.
1) Select application
Choose Industrial Data Simulator and select the latest version, then click Next.
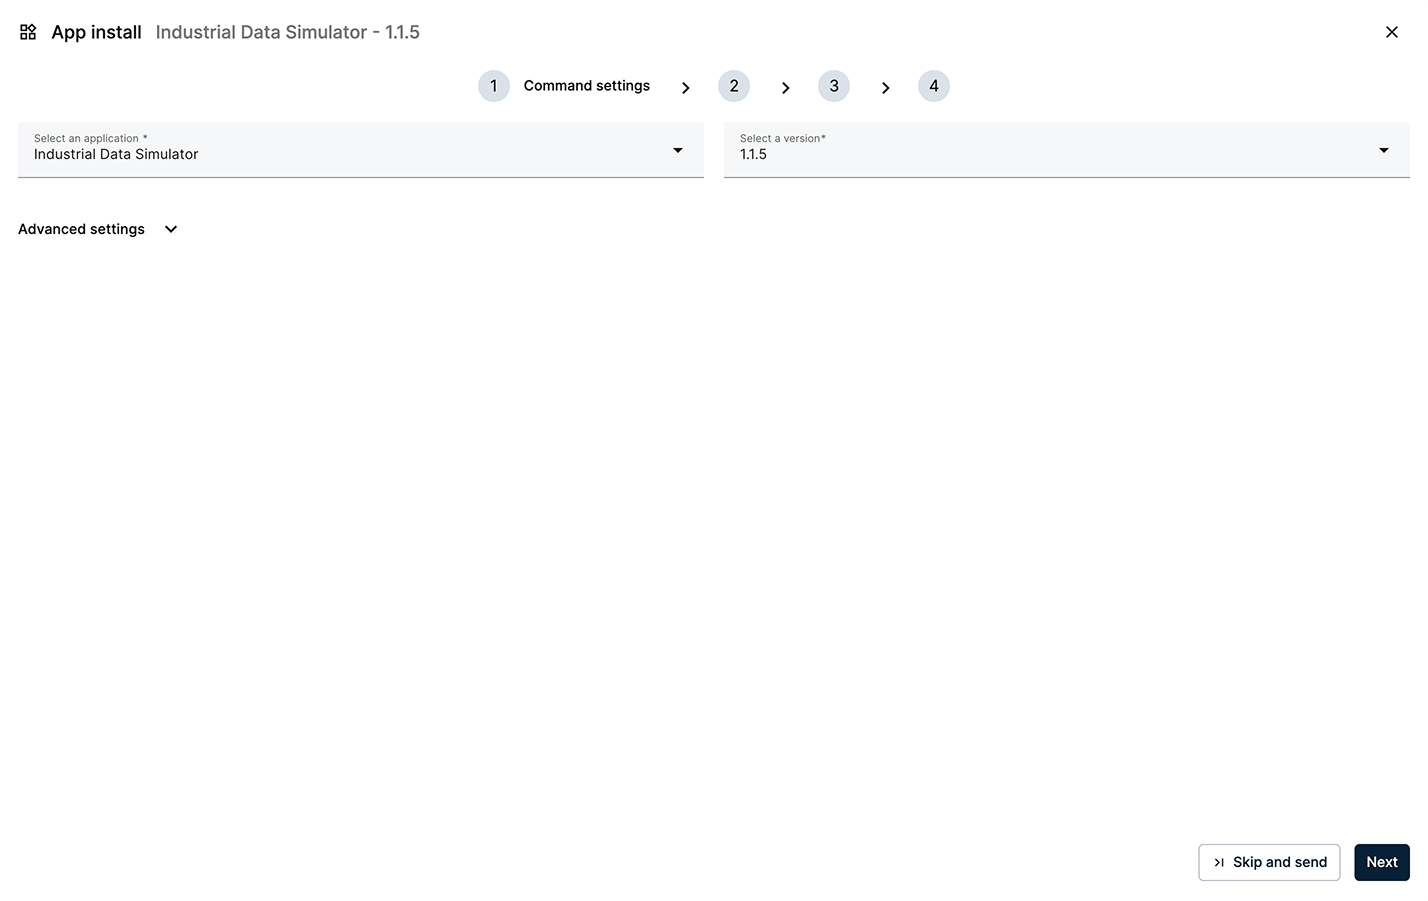
Select IDS and the latest version
2) App Secrets
Review the App Secrets. For this tutorial, keep the default values and click Next.
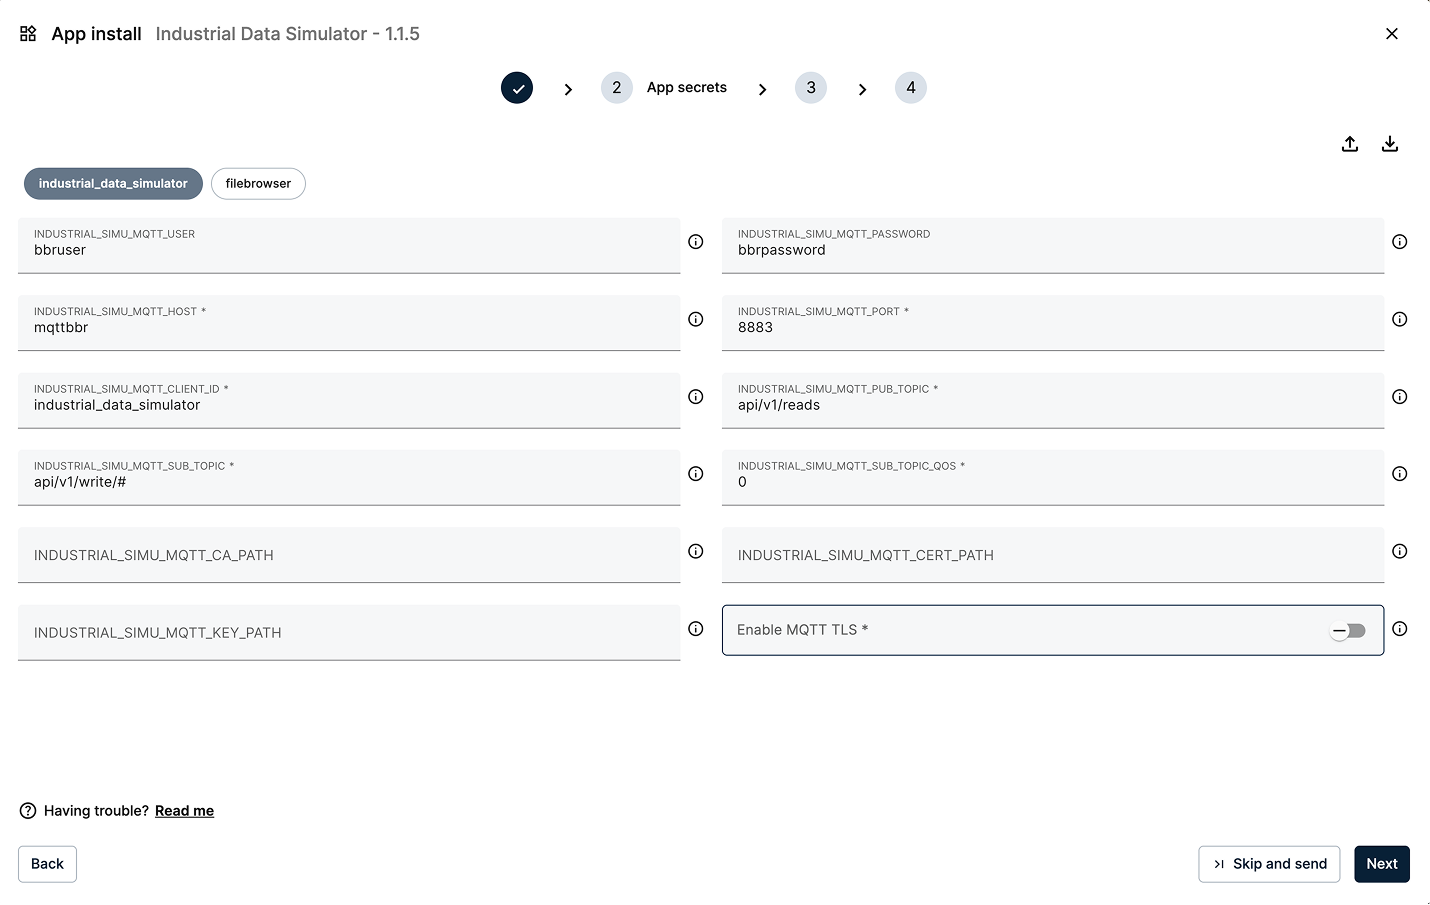
Keep the default values for the App secrets
3) Compose Config
Review the Compose Config. Leave the default values and click Next.
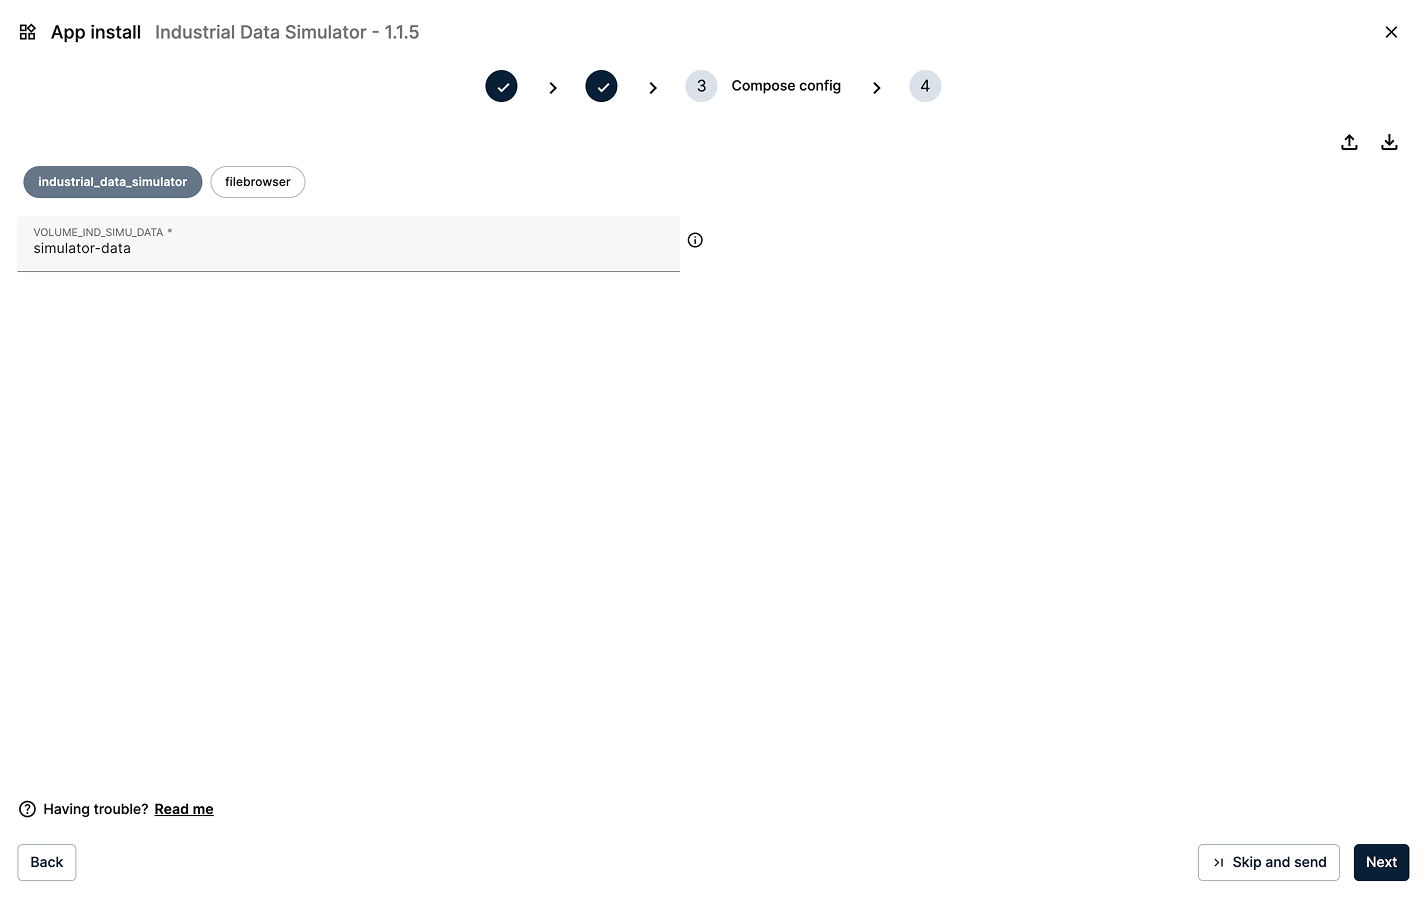
Keep the default values for the Compose Config
4) App Config
The IDS requires raw data to simulate, which is provided by uploading a CSV file. This file will be uploaded later, but first, you must specify its name in the configuration.
Copy the JSON content below into the editor and click Send App.
{
  "industrial_data_simulator": {
    "system": {
      "debugLevel": "info"
    },
    "inputs": [
      {
        "deviceDisplayName": "cnc01",
        "csvSourceFile": "cnc01_timeseries_2h_5s.csv",
        "writeGapTimeMs": 5000
      }
    ]
  }
}
You can download the configuration file from here: app_config.json.
Some of the key fields in this configuration file are:
- deviceDisplayName: unique identifier of the simulated device.
- csvSourceFile: the uploaded CSV filename.
- writeGapTimeMs: publish interval in milliseconds (set to 5 seconds).
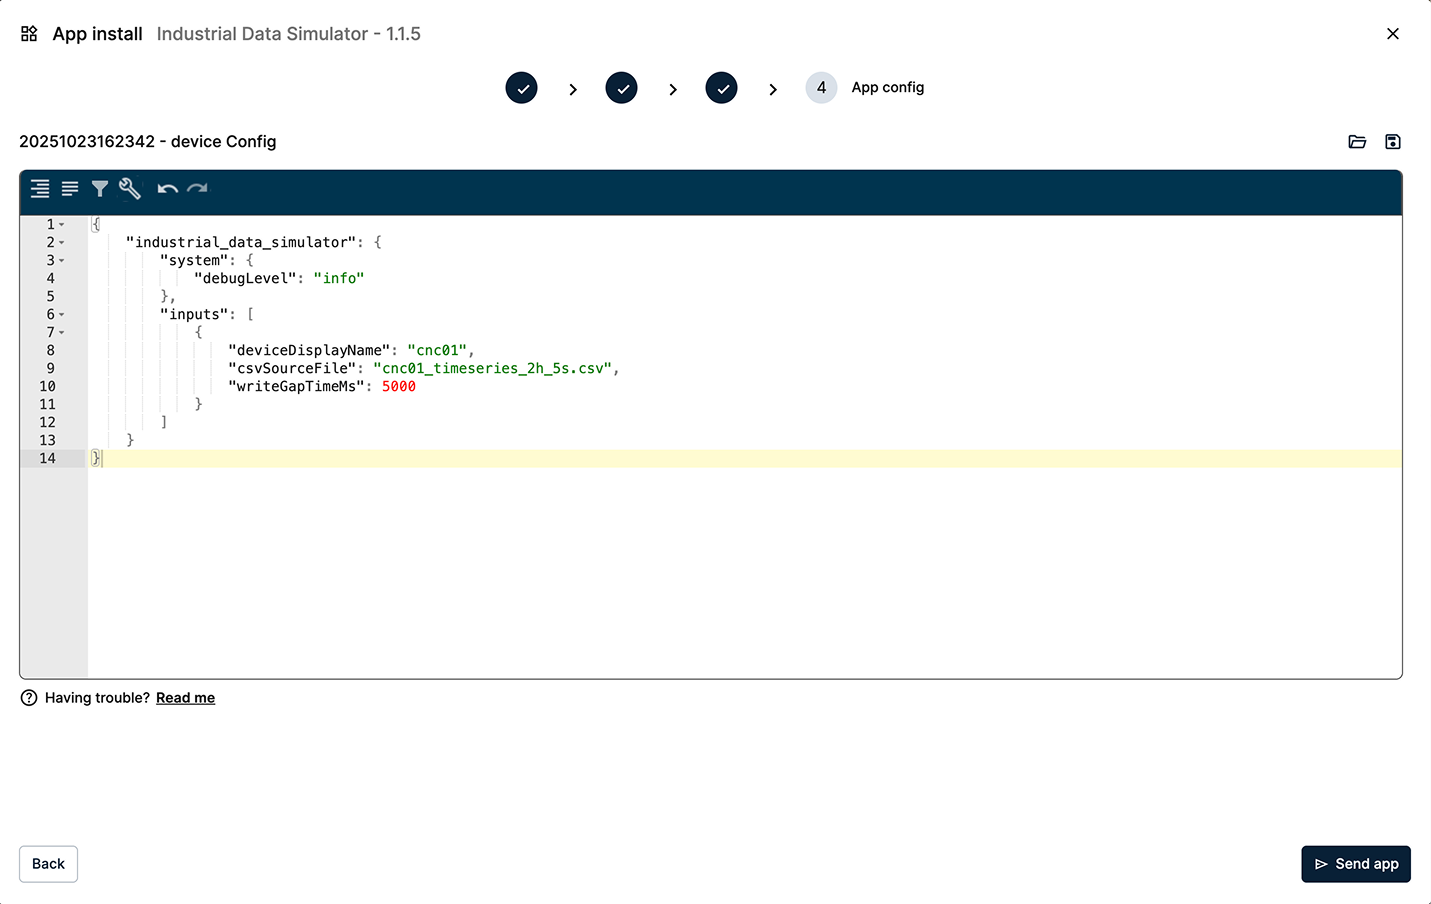
Paste the App Config data in the editor
Once deployed, the workload card will appear in Node Details.
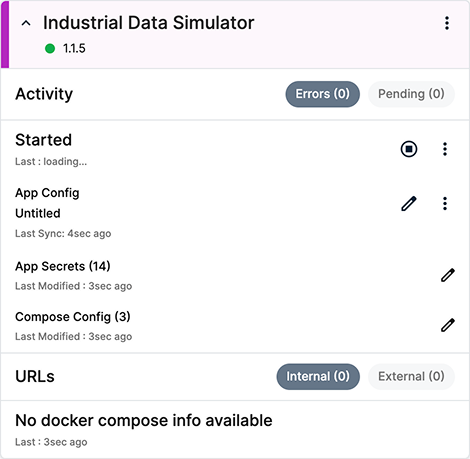
Industrial Data Simulator workload
Since the CSV file hasn’t been uploaded yet, an error will appear in the log viewer. You’ll fix it in the next step.
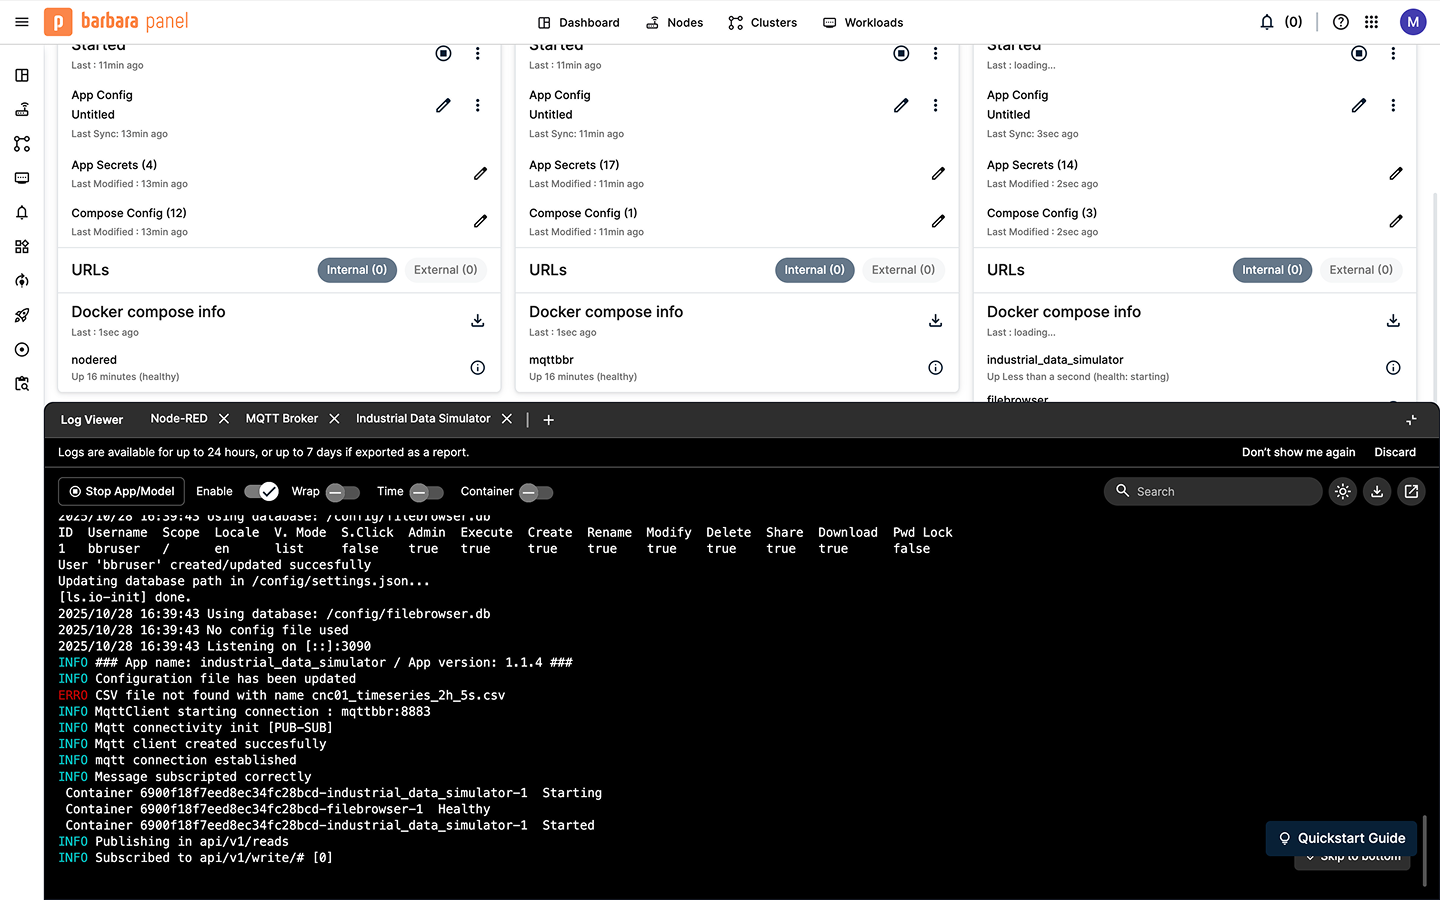
CSV file error in the Log Viewer
Upload the CSV File to the IDS
The IDS publishes data using values from a CSV file you provide. Once provided, the simulator will start publishing these values as if they came from a real device.
Download the sample file here: cnc01_timeseries_2h_5s.csv.
Download the CSV file from the link above. Sometimes, a hash number may be appended to the filename. If that happens, remove the hash and rename the file to cnc01_timeseries_2h_5s.csv. Make sure that the CSV filename matches exactly the name configured in the App Config, otherwise the simulator won’t recognize it.
The CSV filename must exactly match the name defined in the App Config — otherwise, the simulator will not find the file.
Open a new browser tab and go to: http://[EDGE_NODE_IP]:8888 (you should know the IP address from previous steps). This opens the Web UI of the IDS.
Use the following credentials to log in:
- user:
bbruser - password:
bbrpassword
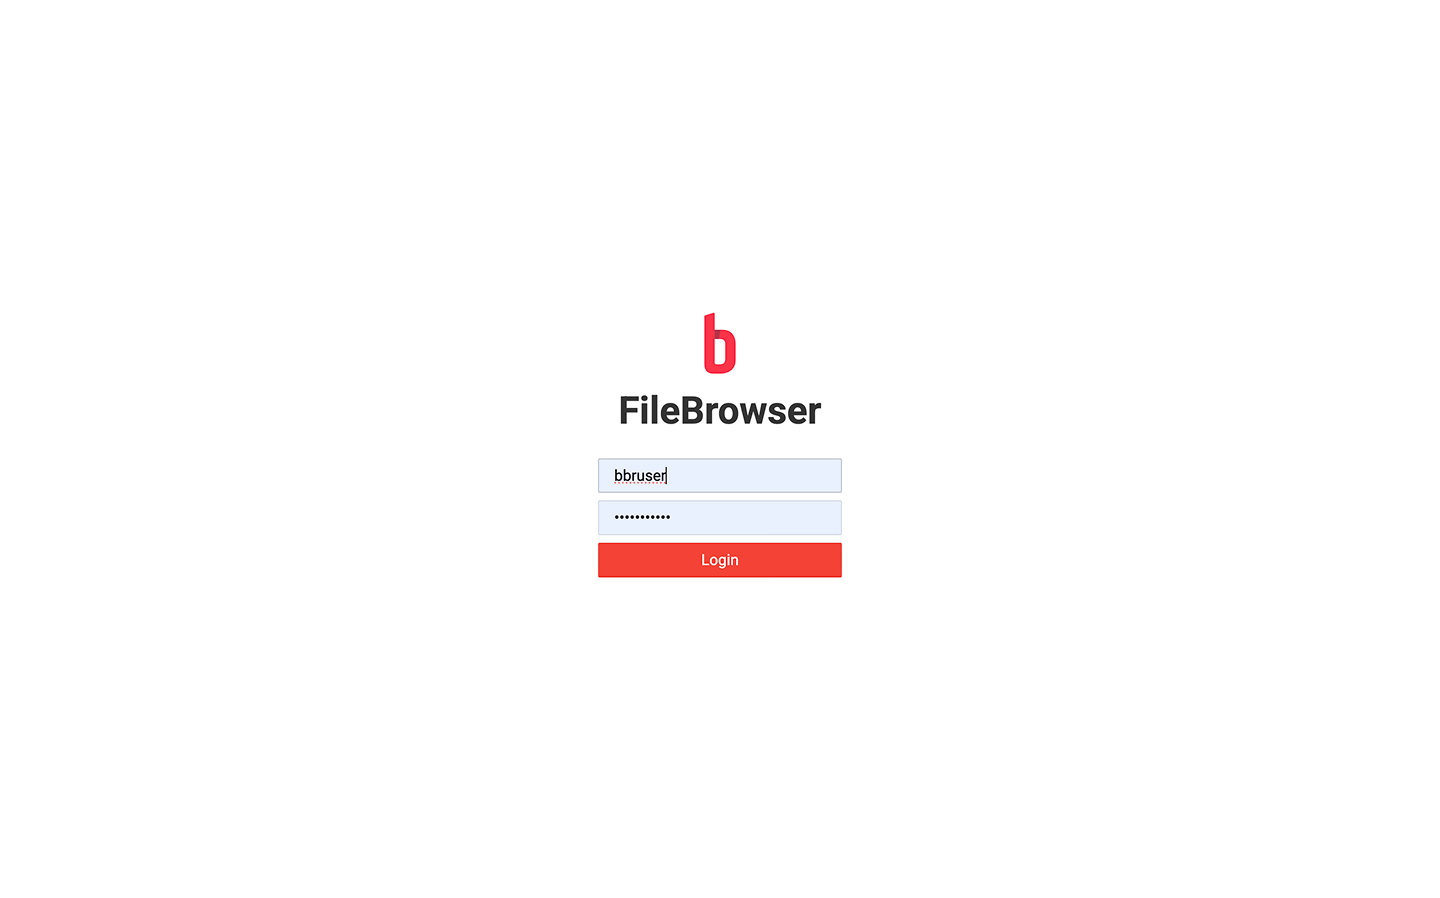
Industrial Data Simulator login page
After logging in, upload the CSV file by dragging and dropping it onto the csv-files folder.
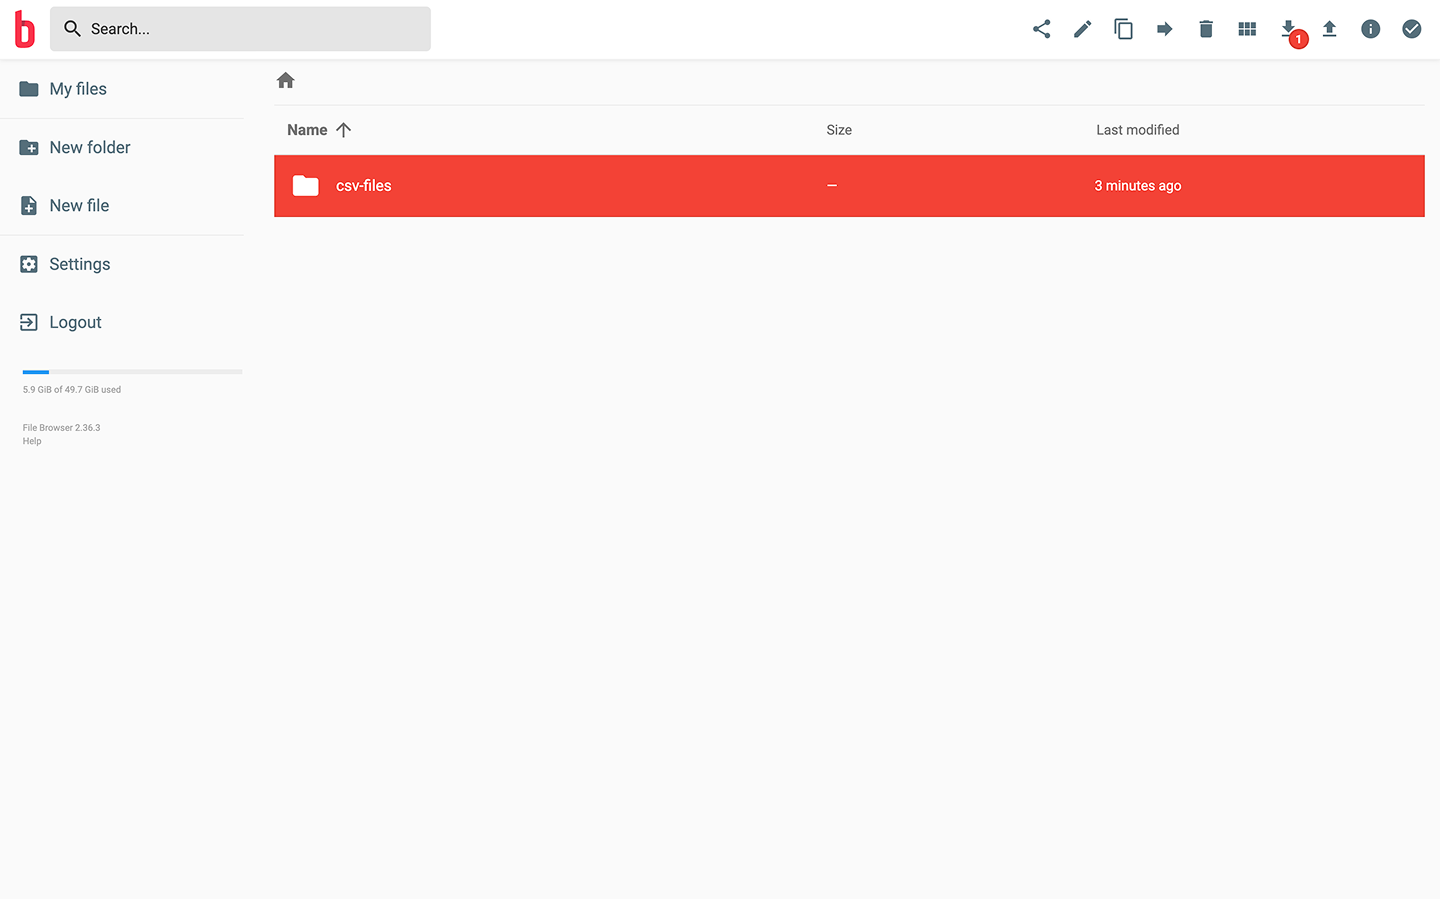
CSV successfully uploaded
Once uploaded, restart the application by clicking Stop and then Start. The simulator will then begin publishing data based on the CSV contents.
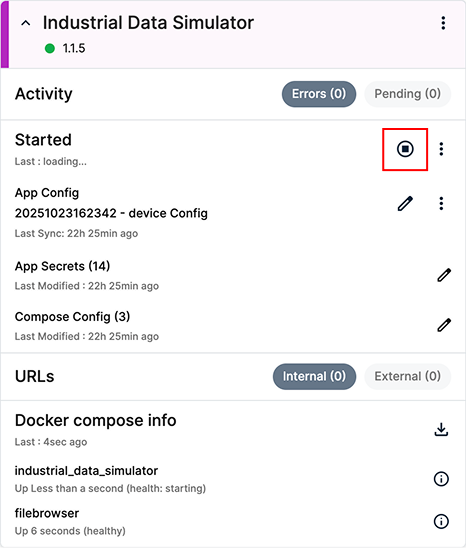
Stop and Start the application
After uploading the CSV file, you must restart the application to ensure the IDS reloads the new data.
Check the MQTT Messages in the broker
Use the MQTT Explorer to verify that IDS is publishing data to your MQTT Broker. Connect using the same broker address and credentials from the previous step, then browse to the reads topic for your device: api/v1/reads/cnc01.
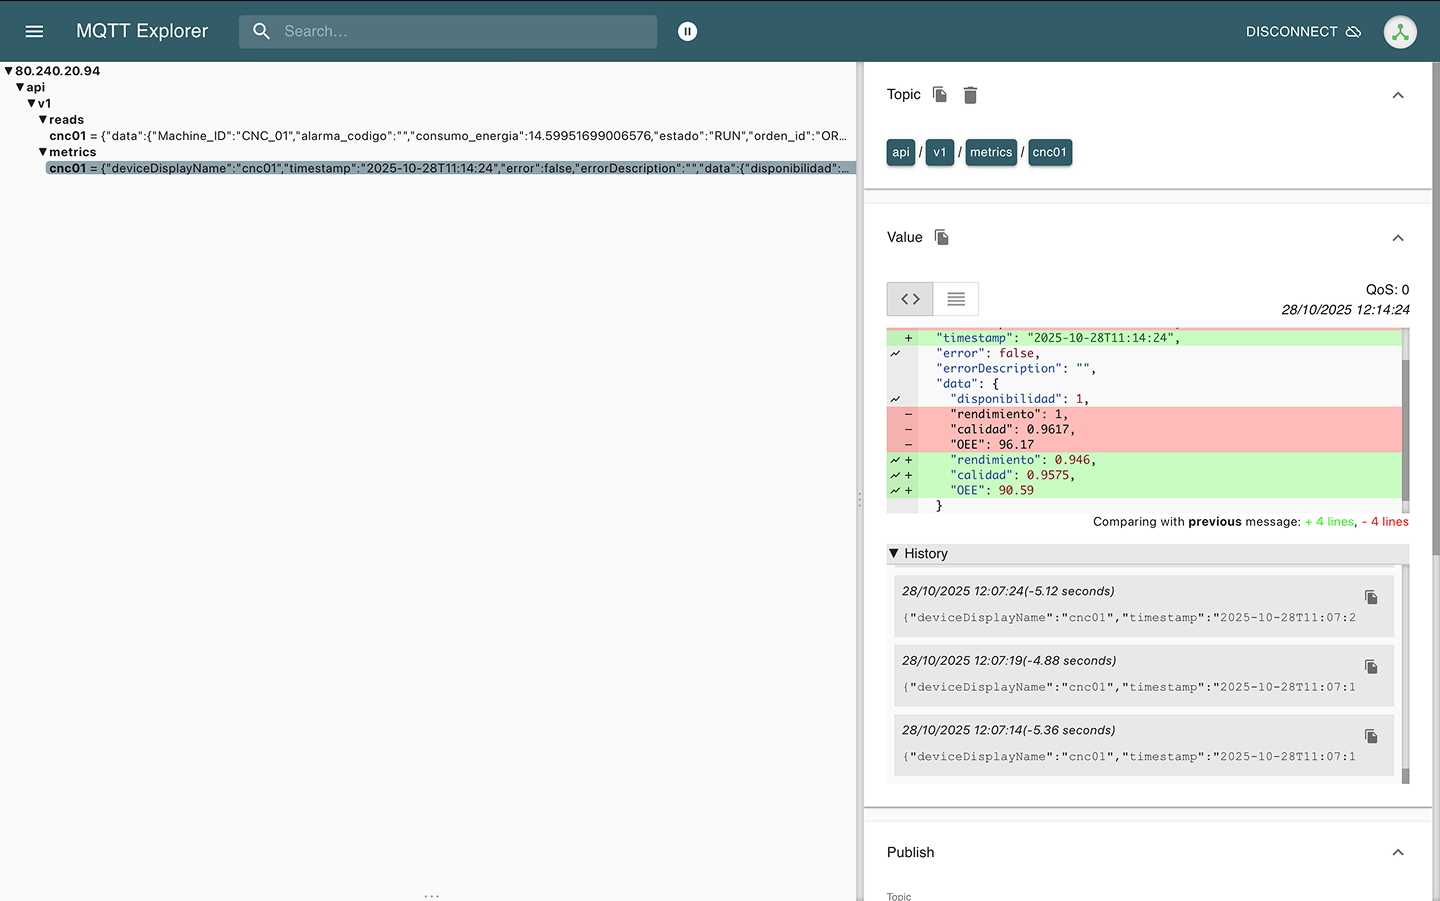
MQTT Explorer showing messages being published
You should see messages arriving approximately every 5 seconds containing all the CNC-related telemetry fields.
Summary
At this point, your data simulation pipeline is fully operational, streaming synthetic CNC telemetry to your MQTT Broker. In the next step, you will configure Node-RED to build a simple flow that calculates the machine's OEE (Overall Equipment Effectiveness) from these values.